• Skip to secondary menu
  • Skip to main content
  • Skip to primary sidebar
  • Skip to footer
  • Home
  • About
    • Email Me
    • Disclosure & Copyright
  • Start Here
  • Subscribe
  • Privacy Policy
  • Books for Moms

Creative Family Fun

Your one-stop shop for kids activities and family fun

  • Facebook
  • Instagram
  • Pinterest
  • Twitter
  • Spelling Activities
  • Family Fun
  • STEM
  • Movie Night
  • Toddler Activities

Holidays

Valentine Watercolor Resist Painting

February 3, 2014 By Terri Thompson

Every year, we tend to do a lot of craft projects leading up to Valentine’s Day. This year is no exception.

I’ve got so many great ideas pinned to my Valentine’s Day Pinterest board, but for this project, I wanted to keep things simple.

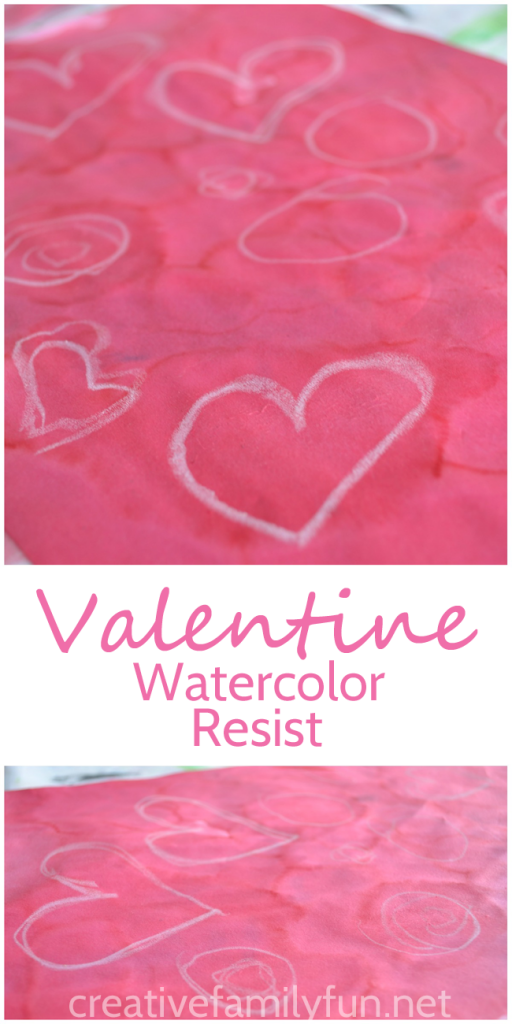
This Valentine watercolor resist art project was both open-ended and simple. When we were done, the final project was beautiful.

Make beautiful Valentine's Day kid art with a fun technique. These Valentine watercolor resist paintings are a fun process art project for February. #kidsart #ValentinesDay #CreativeFamilyFun

Disclosure: This post contains Amazon Affiliate and other affiliate links. Please see my Disclosure Page for more details.

You only need a few simple supplies to make this beautiful project. The process is easy and the results were stunning.
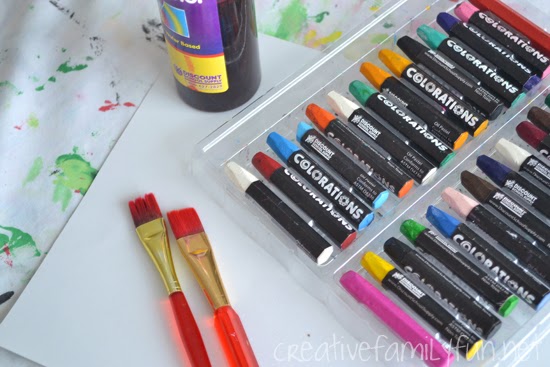
Make beautiful Valentine's Day kid art with a fun technique. These Valentine watercolor resist paintings are a fun process art project for February.

Supplies Needed

White paper
Oil pastels
Red liquid watercolor
Paint brushes

Make beautiful Valentine's Day kid art with a fun technique. These Valentine watercolor resist paintings are a fun process art project for February.

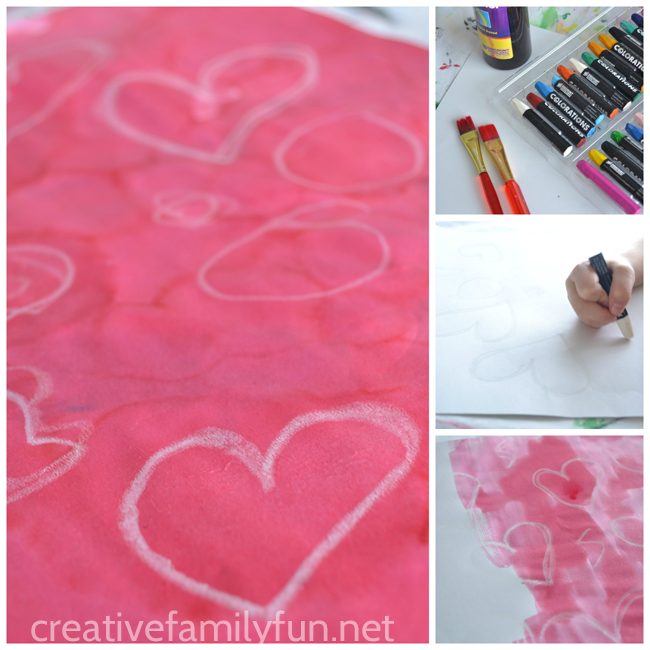
How to create your Valentine watercolor resist art project

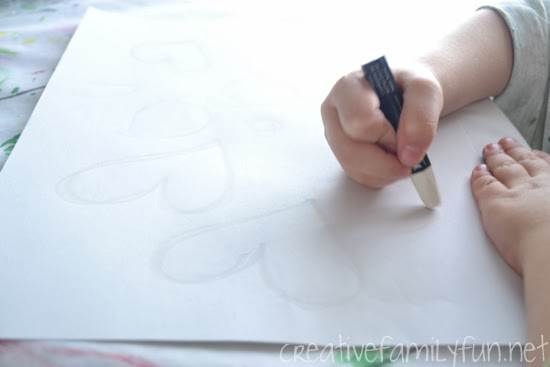
For the first step in the process, we used a white oil pastel to draw hearts, swirls, and other designs all over our paper.

Of course, this led to a lot of questions about why we were using white crayon on white paper since you can’t see it that well. I promised that we would see the magic soon!

Make beautiful Valentine's Day kid art with a fun technique. These Valentine watercolor resist paintings are a fun process art project for February.

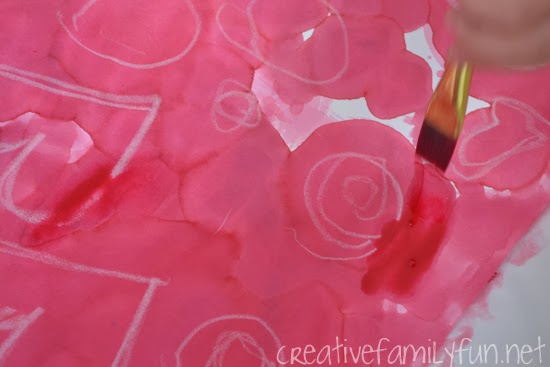
Once we finished our Valentine’s designs, we got our our red liquid watercolor paint to make the magic happen. I love using the liquid watercolor because the paints are so vibrant. But, if you don’t have any liquid watercolor paint, you can also use a tray of regular watercolors.

This is my favorite step of the whole process. It’s so much fun to see the hidden designs pop once you paint over them. We simply painted our entire paper red to get the full effect of our designs. The end result is beautiful no matter if your child drew perfect hearts or random designs.

Make beautiful Valentine's Day kid art with a fun technique. These Valentine watercolor resist paintings are a fun process art project for February.

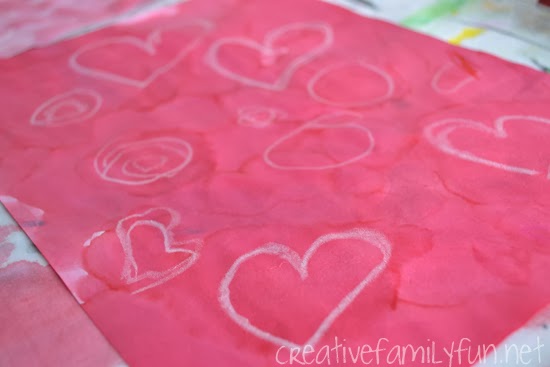
My preschooler created the picture shown above. Isn’t it stunning!

Make beautiful Valentine's Day kid art with a fun technique. These Valentine watercolor resist paintings are a fun process art project for February.

You may also like one of these Valentines crafts:

Monochromatic Collages for Valentine’s Day

Collage Heart Valentines

Stained Glass Window Valentines

Heart Dot Paintings at Gift of Curiosity

Candy Heart Bunting at Red Ted Art

January 27, 2014 By Terri Thompson


I’m guest posting at Red Ted Art today and sharing our our simple and pretty Candy Heart Bunting.
Please click this link to see how we put it together.
And come back tomorrow where we embark on a virtual journey to China. I’ve got some fun stuff to share with you. I can’t wait!

Christmas Bells

December 12, 2013 By Terri Thompson

After the Great Silver Bell Debacle of 2013, I decided to add in a bit a simplicity to our holiday crafting.

I still wanted to make bells, but this time no aluminum foil was allowed. (Read this post to find out why.)

Instead, I got out the paper and the paints and let my 4-year-old call the shots.

Disclosure: There are Amazon Affiliate and other affiliate links in this article which means, at no additional cost to you, we could receive compensation for our recommendations. You can read our full disclosure policy on our Disclosure Page for more details.

I cut out a few bells shapes from white construction paper and Miss Preschool started painting.

Instead of painting designs, she opted for all one color. That’s because she had something else in mind to jazz them up.

We had painstakingly selected all of these beads to embellish our silver bells.

They were still calling our name.

We had to use them.

Miss Preschool got out the glue and started adding beads, each one hand selected for that particular bell.

She didn’t add too many. She likes to keep things simple.

When they were done, they were beautiful.

We punched holes in the top of each bell and tied them all together with yarn.

Miss Preschool hung them with pride on the tree. That picture at the top, she took that one herself. She wanted a few pictures of her bells.

Keep it simple. Yes, that’s what I needed to learn and I had to learn that lesson from a pile of foil bits.

Silver Bells ~ A Tale of Two Craft Fails

December 10, 2013 By Terri Thompson

If you’ve ever had the assumption that all of our craft projects come out perfectly, let me be the first to correct you. They don’t.

Case in point, our attempt at silver bells.

After deciding to make crafts based on some of our favorite Christmas carols, I thought of the song Silver Bells.

Silver Bells should be easy, right? Ha!

Disclosure: There are Amazon Affiliate and other affiliate links in this article which means, at no additional cost to you, we could receive compensation for our recommendations. You can read our full disclosure policy on our Disclosure Page for more details.

It all started innocently enough.

We had our homemade Mod Podge and the obligatory supply photo.

The girls were itching to get started.

Little did we know there was a culprit in that pile. It was innocently lying there, unwilling to let us know that our brilliant silver bell project was not the least bit brilliant.

Nonetheless, we dug in.

But what was the mystery item in our midst… what was that one thing that was going to make our project go from brilliant to dud.

Why, it was the very thing that was going to make our silver bells silver: the aluminum foil.

Don’t be fooled by that innocent pile above. Those bits of foil are cantankerous. They’ll slip and they’ll slide. No amount of glue will hold them together.

Wrap your leftover food in it certainly, but don’t ever EVER try to glue it to cardboard.

We wrestled with the foil awhile and got glue all over our fingers.

We finally managed to get something that looked like a silver bell. We set them on our makeshift drying rack.

Take note of that drying rack, one upside down egg carton which is quite possibly the only part of the project that worked well. We walked away in the hopes that maybe this could work after all.

We were wrong.

As I sat and plucked foil bits off of soggy cardboard, I came up with a better idea… or so I thought.

I ripped our drying rack to pieces. It looks like bells, I thought.

I called the girls over. We strung jingle bells inside and started the silver process all over again.

We used plain white glue this time, globs of it. We tried wrapping the foil around the edges. Still, those foil bits slipped and slid and ended up everywhere but our bells.

My brain was working overtime. How could I get this stuff to stick. Hot glue? No, my cord’s not long enough. Super glue? It would probably stick. But, I’ve glued my fingers together too many time so I wasn’t about to give it to a 4-year-old. There’s got to be something, right?

That’s when I heard, “Mommy, this still isn’t working. Why don’t you finish it yourself.” from my 6-year-old.

Yes, it was time to finish it myself… finish it right into the trash can.

Moral of the story: It happens to all of us, even your favorite craft bloggers. So stop telling yourself you’re just not that crafty. Stop letting Pinterest make you feel bad. We all have projects that end up in the trash. Just have fun. Just do the projects that interest you and don’t worry about how they end up. That’s not the point. The point is just to have fun with your kids.

Now it’s your turn to share. What is your funniest craft fail?

Joy To the World Christmas Ornaments

December 5, 2013 By Terri Thompson

*Disclosure: CraftProjectIdeas.com provided me with some of the supplies for this project.

I always have Christmas music playing in December.

Always.

Which is why I decided to use Christmas carols as a loose theme for our craft projects this holiday season.

One of my favorite carols is Joy To the World, especially when it’s sung by a full choir.  (Here’s a lovely version if you want to take a listen.)

We took a little DIY Mod Podge (decoupage medium), a world map, and some cardboard to make these fun and sparkly reminders of the song.

Disclosure: There are Amazon Affiliate and other affiliate links in this article which means, at no additional cost to you, we could receive compensation for our recommendations. You can read our full disclosure policy on our Disclosure Page for more details.

Supplies Needed:

Homemade glitter Mod Podge (see below for instructions)
Paint brushes
Thin cardboard (cereal or cracker boxes work best)
World map (recycle one you own or print a new one)
Glitter
Permanent markers
String for hanging

DIY Mod Podge:
Glue
Water
Iridescent glitter

You’ll want to begin with a map.

We used colored pencils to color in an old outline map I had. You can use any map you might have, a state or city map would also world for this project.

If you don’t have a map you can cut up, National Geographic Education has an online map maker that you can use to create and print a world map.

Cut a rectangle from both your cardboard and your map of equal sizes.

DIY Glitter Mod Podge (decoupage medium): To make your decoupage medium, you will need one part glue to one part water. I mixed the two up in a small container with a tight fitting lid. Add the two ingredients together and shake until they combine. Then, add a generous amount of glitter to the mixture and shake again. I used the iridescent glitter from CraftProjectIdeas.com. Add a lot of glitter to your mixture. Once it’s in the glue, it won’t scatter about your house!

Brush a coating of your decoupage medium on your cardboard and press the map down on top.

Add another layer of the decoupage medium to the top of your map. Just add a thin coating, otherwise you’ll be waiting all day for the map to dry.

We added an extra shake of glitter on top of our glue, since we didn’t think our maps were quite glittery enough.

While the maps were drying (we waited about an hour), I made a simple template for our ornaments.

I used some of the scrap cardboard and wrote the word joy in big letters. I then cut around the letters.

If you’re not feeling artsy enough to make the word art, make a simple oval template.

Once your maps have dried, trace the outline of your template onto the back of your cardboard.

Cut around your outline.

Using your marker, trace the letters onto the front of your map. If you made an oval template, simply write the word “joy” in big letters on your map.

Punch holes in both sides of your ornament and add your string.

Your glittery Joy to the World ornaments is ready to hang on your tree!

What is your favorite Christmas carol?

  • « Go to Previous Page
  • Page 1
  • Interim pages omitted …
  • Page 25
  • Page 26
  • Page 27
  • Page 28
  • Page 29
  • Interim pages omitted …
  • Page 39
  • Go to Next Page »

Primary Sidebar

Footer

Categories

Archives

Copyright © 2026 ยท Designed by The Blog Surgery

Creative Family Fun uses cookies to improve your experience. These cookies provide feedback to our analytics and advertisers. We use the information to track views of the site, where you go and to know if you are a regular visitor or brand new as well as provide a personalized experience where possible. We'll assume you're ok with this, but you can opt-out if you wish.Accept Reject Read More
Privacy & Cookies Policy

Privacy Overview

This website uses cookies to improve your experience while you navigate through the website. Out of these, the cookies that are categorized as necessary are stored on your browser as they are essential for the working of basic functionalities of the website. We also use third-party cookies that help us analyze and understand how you use this website. These cookies will be stored in your browser only with your consent. You also have the option to opt-out of these cookies. But opting out of some of these cookies may affect your browsing experience.
Necessary
Always Enabled
Necessary cookies are absolutely essential for the website to function properly. This category only includes cookies that ensures basic functionalities and security features of the website. These cookies do not store any personal information.
Non-necessary
Any cookies that may not be particularly necessary for the website to function and is used specifically to collect user personal data via analytics, ads, other embedded contents are termed as non-necessary cookies. It is mandatory to procure user consent prior to running these cookies on your website.
SAVE & ACCEPT