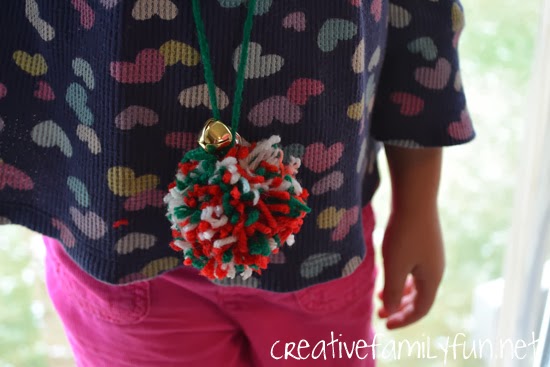
Everyone needs a festive necklace to wear for Christmas, right? I thought so.
That’s why we spent an afternoon making a few DIY pom pom and jingle bell necklaces.
Pom pom making is fun and it’s easy to do, even without a special pom pom maker. We don’t have one and were able to make these necklaces quite easily.
Disclosure: There are Amazon Affiliate and other affiliate links in this article which means, at no additional cost to you, we could receive compensation for our recommendations. You can read our full disclosure policy on our Disclosure Page for more details.
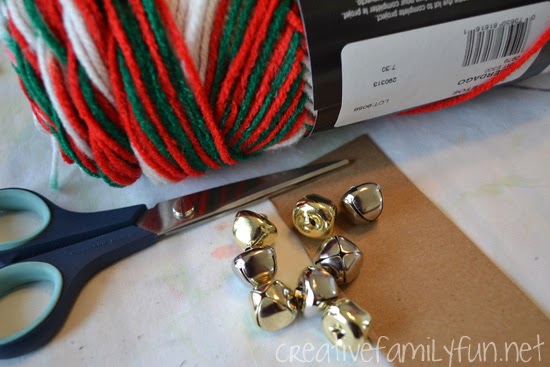
Supplies Needed:
Thin cardboard (cereal or cracker box)
Yarn
Sharp scissors
Jingle bells
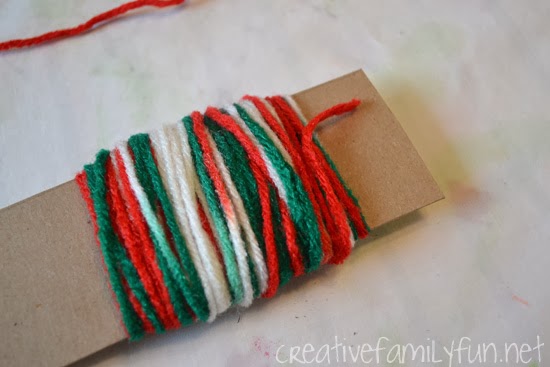
Before you begin, cut a couple of strips from the cardboard. Ours were about width of three fingers, and I thought it made a nice sized pom pom.
Next, wrap the yarn around the strips. Don’t wrap too tight! We wrapped the yarn around approximately 100 times. (Extra counting practice – yahoo!)
We found that 100 times made a perfect pom pom.
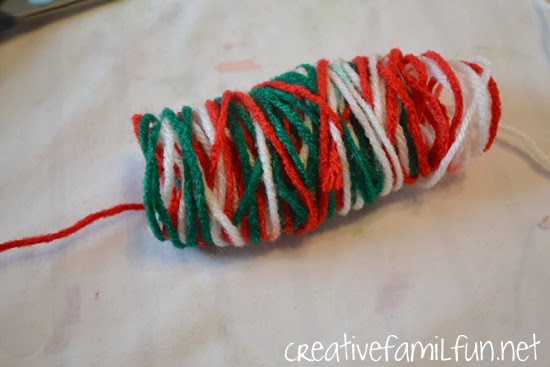
Carefully slide your cardboard out of your yarn bundle. If you wrap too tight, you won’t be able to get it out.
I found that the thin cardboard worked best because we were able to bend it a bit to slide it out more easily. Lay your yarn bundle on top of another length of string.

Bring up the yarn on either side of your bundle and tie it in a tight knot. Your bundle will form this nice little ball while you’re tying.
A grown-up may want to do this part because you will need to tie this tightly. We left one of ours too loose and our pom pom eventually scattered bits of yarn all over the floor. The ones we’ve tied tightly have held together nicely.
After you’ve tied your knot, slip another length of yarn underneath the knot. This will be the necklace.

Slip your scissors through the loops and start cutting. Use sharp scissors because kid safety scissors won’t cut the yarn well. Both of my girls did their own cutting and were well supervised at the time.
After all your loops are cut, trim your ends so that your pom pom resembles a ball instead of an unruly bundle of yarn.
Be careful that you don’t trim your long pieces of the necklace. You’ll need those to tie around your neck.
Once your pom poms are trimmed to your satisfaction, string two jingle bells on each necklace. We did find this step to be a bit difficult since our jingle bells had small openings at the top. We ended up wrapping tape around one end of the yarn and using it as a makeshift needle.
Once the jingle bells are on, tie the ends of the yarn together to make your necklace.
Now, you’ve got the perfect necklace for a bit of caroling.
Jingle all the way.
Oh what fun, it is to ride
In a one-horse open sleigh. Hey!
Have fun making your own DIY pom pom and jingle bell necklaces for Christmas.