This post contains Amazon Affiliate links. Please see my disclosure for more details.
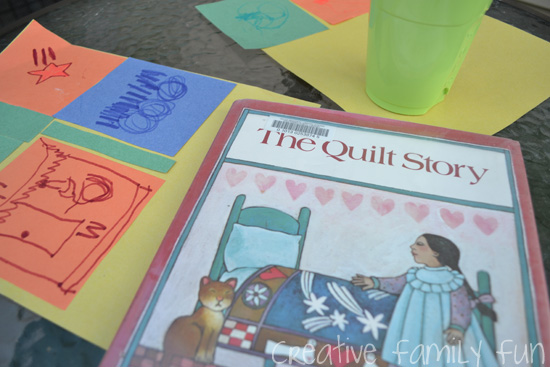
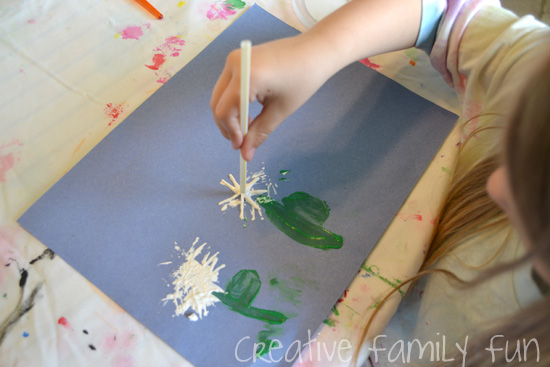
Today I’m participating in the Storybook Summer series at Make and Takes. I’d love for you to stop by and see all the fun we had making paper quilts to go along with The Quilt Story by Tomie dePaola.