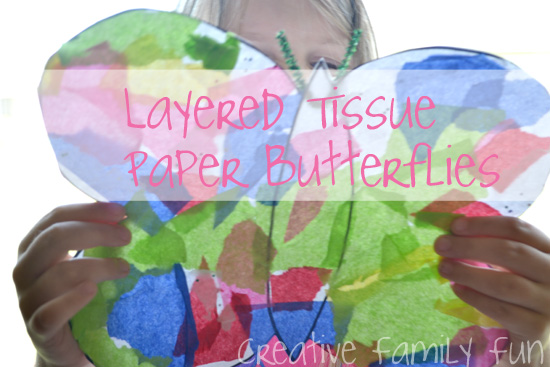
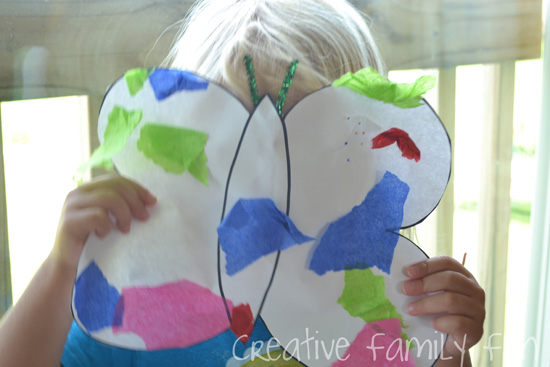
Butterflies are always a popular subject in the Creative Family Fun household.
So, when the girls wanted to do a craft project, the first thing that popped into my head was a butterfly project.
We had a lot of leftover torn bits of tissue paper from another project, so we thought we’d use them to make layered tissue paper butterflies.
Disclosure: There are Amazon Affiliate and other affiliate links in this article which means, at no additional cost to you, we could receive compensation for our recommendations. You can read our full disclosure policy on our Disclosure Page for more details.
Supplies Needed:
White paper
Black marker
Torn bits of colored tissue paper
Glue
Paint brush
Scissors
Pipe cleaner
Tape
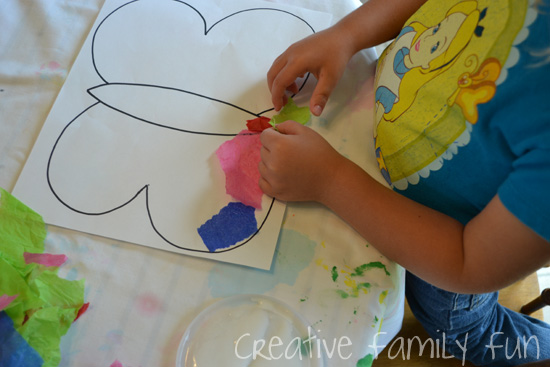
Before we started, I drew simple butterfly shapes on the paper.
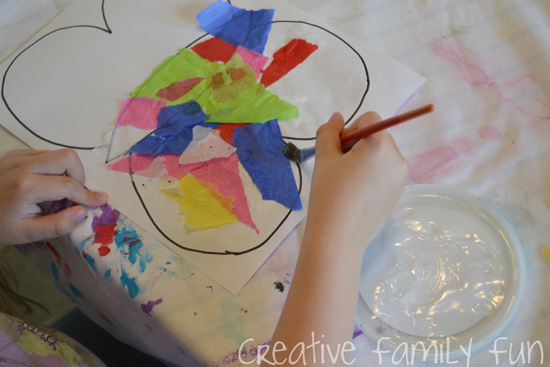
I gave the girls some glue that was thinned out with water to make brushing easier.
They painted the glue on their paper and started sticking the tissue bits.
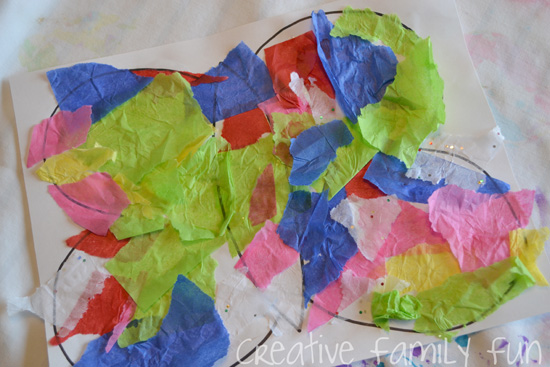
I encouraged layering and overlapping to see what kind of pretty designs the girls could come up with.
We didn’t worry about staying within the lines either; we were planning on cutting out our butterflies.
Once the glue dried, we cut out our butterflies and attached our antennae.
I cut a sparkly pipe cleaner in half. The girls bent each piece into a “u” shape. We then attached them to the back of our butterfly heads with tape.
Simple and fun!
Perhaps the best part about this project was that the girls spent the afternoon playing with their new butterfly “toys.” I love it when a craft project turns into a play thing!
Have you made anything fun with your kids lately?
Latest posts by Terri Thompson (see all)
- Cardboard Tube Turkey Craft - October 30, 2023
- Simple and Fun Shape Crafts for Toddlers - October 25, 2023
- Thanksgiving Math Activities for Kids - November 10, 2022
