• Skip to secondary menu
  • Skip to main content
  • Skip to primary sidebar
  • Skip to footer
  • Home
  • About
    • Email Me
    • Disclosure & Copyright
  • Start Here
  • Subscribe
  • Privacy Policy
  • Books for Moms

Creative Family Fun

Your one-stop shop for kids activities and family fun

  • Facebook
  • Instagram
  • Pinterest
  • Twitter
  • Spelling Activities
  • Family Fun
  • STEM
  • Movie Night
  • Toddler Activities

Crafts

Get Crafty: Shape Collages

May 8, 2012 By Terri Thompson

When I first saw this shape recognition robot from Make, Do, & Friend, I though it would be a fun craft project.

I set to work cutting out shapes from construction paper and told the girls they could make try and make robots from the shapes.

They had different ideas!

Disclosure: There are Amazon Affiliate and other affiliate links in this article which means, at no additional cost to you, we could receive compensation for our recommendations. You can read our full disclosure policy on our Disclosure Page for more details.

Supplies Needed:

Construction paper cut into various shapes
Construction paper for background
Glue sticks
Scissors

I set both girls up with a glue stick and a pile of multicolored shapes.

AJ (age 3) thought a robot sounded like a perfect idea and got to work gluing. She glued and piled and glued and piled until she had an interesting layered robot.

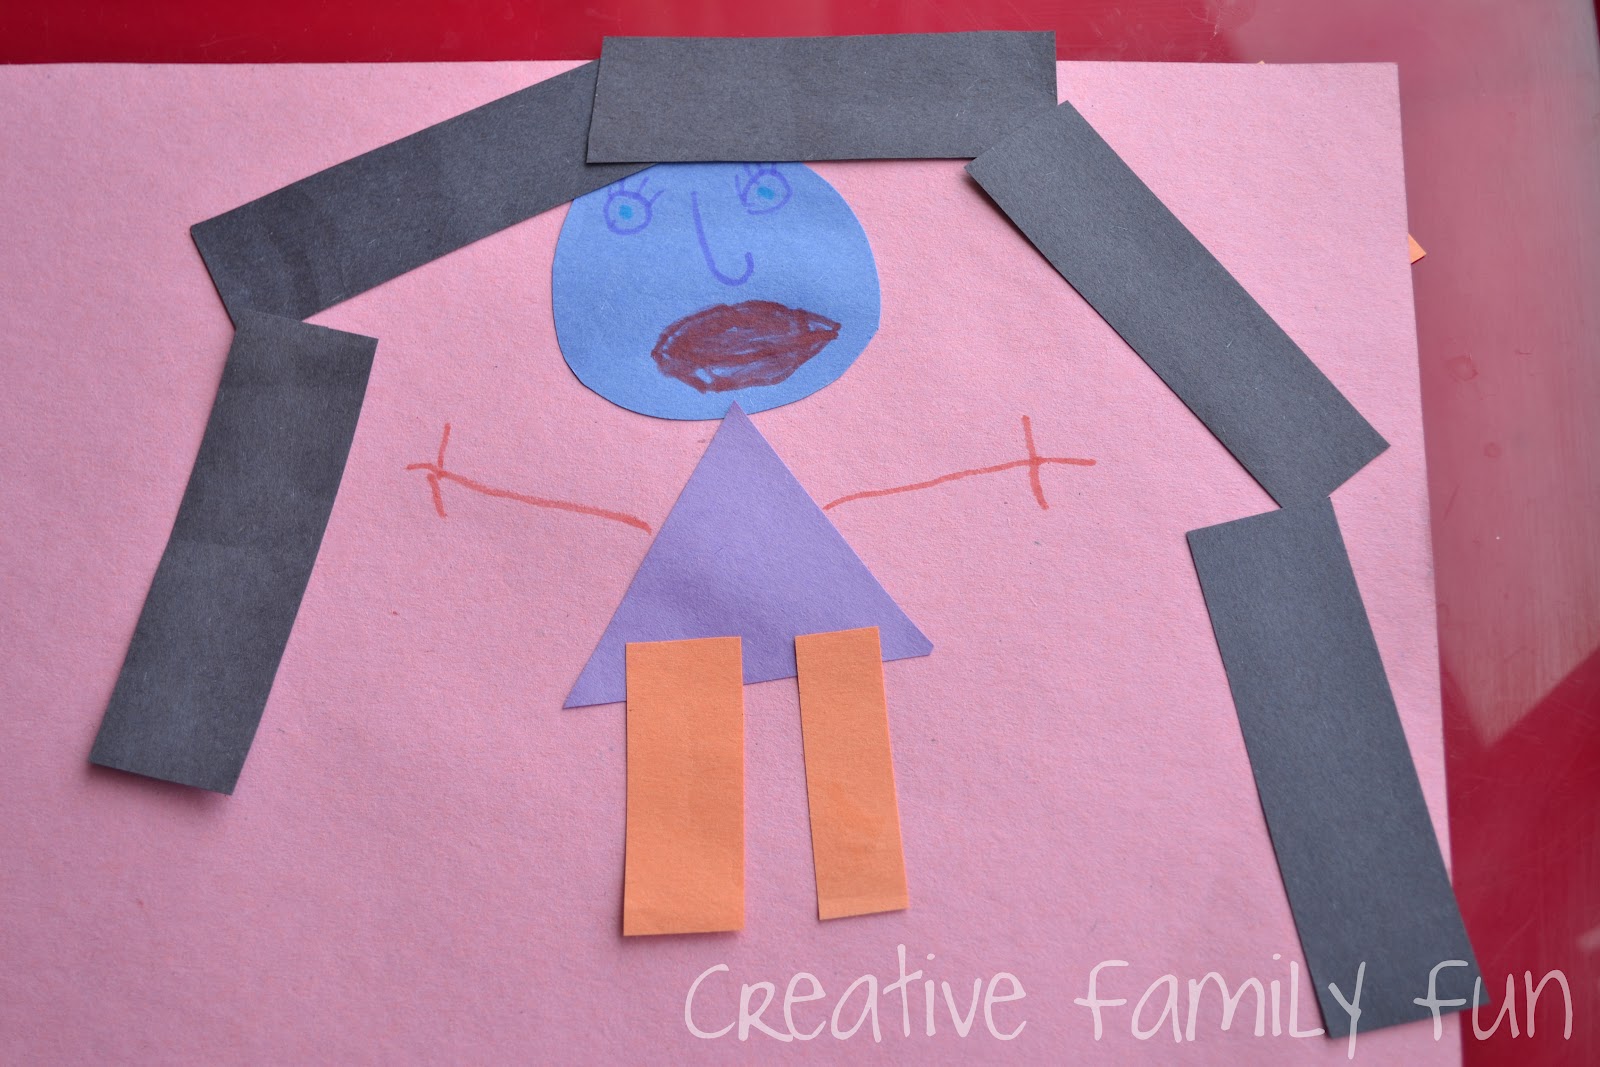
Lizzie (age 5), as usual, had a different idea.

She started making pictures with her shapes. First she made this kite and then she made a pretty girl with very long hair.

All in all, it was a very fun and successful crafting session. The girls were able to work independently and worked hard coming up with their own masterpieces.

Art Lessons: Russian Matryoshka Dolls

May 7, 2012 By Terri Thompson

As part of our Around the World in 12 Dishes challenge, we read the book The Littlest Matryoshka by Corinne Demas Bliss.

It was a very sweet book about a set of Matryoshka dolls. The littlest doll got lost and at the end is reunited with her sisters.

After reading the book, we were inspired by the beautiful illustrations to design our own set of Matryoshka dolls.

Disclosure: There are Amazon Affiliate and other affiliate links in this article which means, at no additional cost to you, we could receive compensation for our recommendations. You can read our full disclosure policy on our Disclosure Page for more details.

We used our oil pastels for this project in order to get some nice vibrant colors, but any art material would work. Try watercolors, tempura paints, markers, crayons, or even glued-on paper for a collage version.

I drew a quick outline of the dolls for each girl, then let them create and color without any further instruction.

They worked hard. Lizzie (age 5) carefully chose each color and design for the individual dolls. She continued long after AJ (age 3) was finished.

My favorite part are the faces! Big eyes, long eyelashes, and round cheeks.

We used some of the illustrations in the book for inspiration and the girls kept referring back.

You’ll notice that they added head scarves to mimic the dolls in the book.

Here are the finished products. AJ’s (age 3) is the first picture. I was pleasantly surprised to see that she added faces to her dolls. Lizzie’s (age 5) is the second. I love the colors and details in her dolls.

Get Crafty: Ladybugs

April 30, 2012 By Terri Thompson

Last week we decided to do out own twist on a classic kid’s craft, the paper plate lady bug.

We were down most of the week with the stomach flu and needed a low-key craft to do once we started feeling better.

Disclosure: There are Amazon Affiliate and other affiliate links in this article which means, at no additional cost to you, we could receive compensation for our recommendations. You can read our full disclosure policy on our Disclosure Page for more details.

We happened to have The Grouchy Ladybug by Eric Carle in our pile of library books and a pile of paper plates in our craft supplies, so we decided to make some simple paper plate ladybugs.

After reading the book, we made our own ladybugs using the illustration on the front of the book for inspiration.

Supplies Needed

Paper plate cut in half
Red and black paint
Construction paper
Glue
Googly eyes (optional)

I started by giving each girl a paper plate half along with some red and black paint.

They painted the background and spots.

To make it a bit easier on the girls, I gave each girl two paintbrushes, one for each color of paint.

Once we were done, we cut circles out of the black construction paper for heads.

As usual, Lizzie had her own idea. She wanted a half circle and did not want to use the googly eyes. She opted for some blue paint to paint her own antenna and eyes.

Remember, with kid’s crafts, the outcome isn’t that important. Let your kids express their own creativity in the process. If they want an all-black ladybug with a few red spots, go with it!

It was nice to get back to normal after being sick and doing a simple craft helped us ease back into our days.

Owl Masks

March 28, 2012 By Terri Thompson

While learning about birds, there was no way we could forget the owl. Plus, the girls love just about any excuse to run around the house “hoo-hooing” at the top of their lungs.

To encourage a bit of owl play, we got out our supply of paper plates and made a couple of owl masks.

Disclosure: There are Amazon Affiliate and other affiliate links in this article which means, at no additional cost to you, we could receive compensation for our recommendations. You can read our full disclosure policy on our Disclosure Page for more details.

I cut the initial shape and the eye holes.

We opted for the horned owl look, but you could certainly leave the paper plate round as many owls have rounded faces.

We looked at several owl pictures for inspiration and picked out a few paint colors that were best suited to the owl.

After cutting out the shapes, I stepped back and let the girls work on their own.

The girls looked at pictures and got lost in the painting for awhile.

Lizzie had found a picture of a great-horned owl and was attempting to replicate the look on her mask. I love the white circles she made around the eye holes!

AJ added a bit of yellow to her owl. She loves yellow and wants to add that color to just about everything she does! She had a lot of fun just experimenting with her paint.

When the paint was dry, we drew on beaks, punched holes in the side, and added string to tie around the girls head. Then they ran around the house “hoo-hooing” at the top of their lungs!

What animal does your kid like to pretend to be?

Daily Buzz Moms 9×9 Spring Fever!

March 27, 2012 By Terri Thompson

I’m thrilled to be writing this post as part of the Daily Buzz Moms 9×9: Spring Fever.

When I think of spring I think of flowers, birds, warm breezes and new warmth.

Lizzie and I set out to capture that feeling by creating our own indoor garden. Not only did we want to create a beautiful garden, we also planned on making it all from items that were in our recycle bin.

Disclosure: There are Amazon Affiliate and other affiliate links in this article which means, at no additional cost to you, we could receive compensation for our recommendations. You can read our full disclosure policy on our Disclosure Page for more details.

To create the base, we found a small cardboard box and cut off all the side flaps. We wanted a clean and sturdy base.

Then we raided our supply of cardboard tubes and arranged them until they fit inside. This was for our grassy area. We planned on sticking our flowers in between two tubes.

Since empty cardboard tubes are quite squishable, it’s easy to fit them inside most cardboard boxes.

After we had an arrangement we liked, we glued them into the box. Make sure you only put glue on the bottom because you will need to slide things in between the tubes.

By this time, AJ wanted to join in on the fun, so I gave her the green paint and she started painting the grass.

Meanwhile, Lizzie and I set to work on the flowers. We took an empty egg carton and separated it into single cups. I trimmed off the ragged edges and Lizzie picked out painted colors. We planned on turning these into tulips, our favorite spring flower.

Lizzie was in charge of the colors, so she chose red and purple. She opted to do one color on the inside and the other color on the outside of our egg cups. We wanted to paint both the inside and the outside so that our garden would be colorful no matter what angle you were looking.

While the paint was drying, we worked on the hummingbird for our garden. This was Lizzie’s idea. She thought a hummingbird would be a great addition to our garden and she was right. We looked through our pile of bird books from the library and found a simple picture of a hummingbird. I drew the hummingbird on a scrap piece of cardboard and Lizzie colored it with her markers.

Once the paint was dry, we attached out tulips to our craft sticks. We already had a package of colored craft sticks in our art supplies, so we opted to used those instead of something from the recycle bin.

If you don’t have colored craft sticks, you could paint plain craft sticks, use strips of stiff cardboard, or anything else you can find to provide a stiff base for your flowers (and hummingbird). I cut a slit in the bottom of the egg cups, so we could slide the craft sticks in. We glued the craft stick on the back of the hummingbird.

Now it was time to arrange our garden. After we were satisfied with our arrangement, we put glue at the bottom of each craft stick for stability, stepped back, then let it dry.

I loved our collaboration and I love the way our project turned out! We now have a beautiful spring centerpiece for our table… at least when it isn’t being played with!

  • « Go to Previous Page
  • Page 1
  • Interim pages omitted …
  • Page 22
  • Page 23
  • Page 24
  • Page 25
  • Page 26
  • Interim pages omitted …
  • Page 31
  • Go to Next Page »

Primary Sidebar

Footer

Categories

Archives

Copyright © 2026 ยท Designed by The Blog Surgery

Creative Family Fun uses cookies to improve your experience. These cookies provide feedback to our analytics and advertisers. We use the information to track views of the site, where you go and to know if you are a regular visitor or brand new as well as provide a personalized experience where possible. We'll assume you're ok with this, but you can opt-out if you wish.Accept Reject Read More
Privacy & Cookies Policy

Privacy Overview

This website uses cookies to improve your experience while you navigate through the website. Out of these, the cookies that are categorized as necessary are stored on your browser as they are essential for the working of basic functionalities of the website. We also use third-party cookies that help us analyze and understand how you use this website. These cookies will be stored in your browser only with your consent. You also have the option to opt-out of these cookies. But opting out of some of these cookies may affect your browsing experience.
Necessary
Always Enabled
Necessary cookies are absolutely essential for the website to function properly. This category only includes cookies that ensures basic functionalities and security features of the website. These cookies do not store any personal information.
Non-necessary
Any cookies that may not be particularly necessary for the website to function and is used specifically to collect user personal data via analytics, ads, other embedded contents are termed as non-necessary cookies. It is mandatory to procure user consent prior to running these cookies on your website.
SAVE & ACCEPT