The weather lately has been rainy and grey, so much so that it inspired this fun raindrop kids craft.
It’s easy to get down when the weather is so dreary, so instead of feeling mopey, we started crafting.
The day instantly got better. Instead of moping about the rainy day, we celebrated it instead.
Disclosure: There are Amazon Affiliate and other affiliate links in this article which means, at no additional cost to you, we could receive compensation for our recommendations. You can read our full disclosure policy on our Disclosure Page for more details.
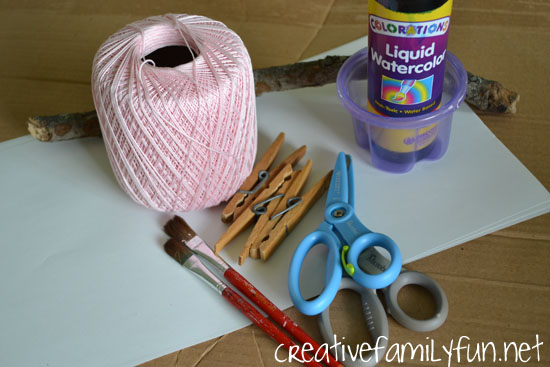
Supplies Needed:
Paper
Liquid watercolors
Cardboard or wood (something to clip your paper to)
Clothespins
Thin cardboard (cereal or cracker box)
Scissors
Hole punch
String
Stick
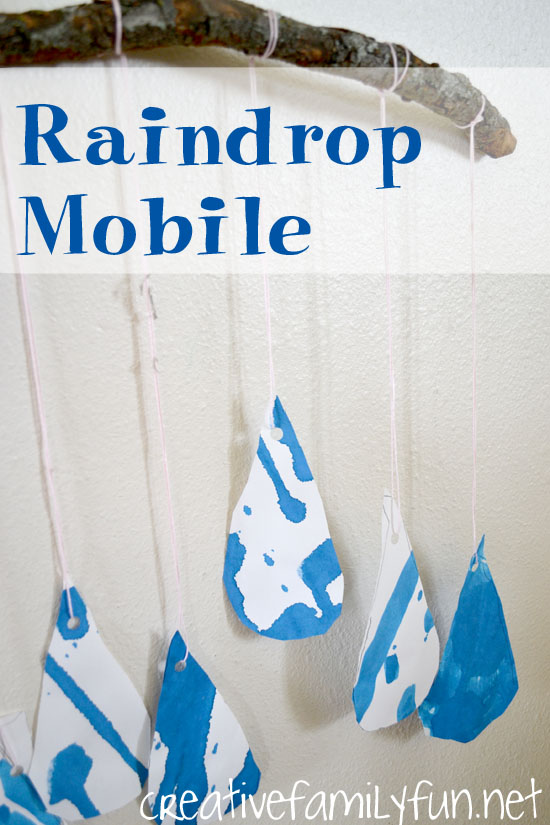
How to make your raindrop kids craft
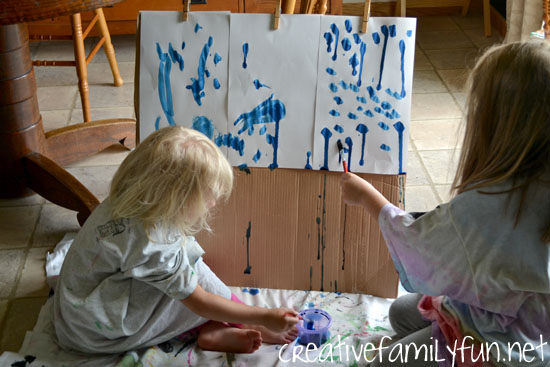
To set up the project, you will need to clip your paper to your cardboard or wood.
Put something underneath to catch your drips; the paint will drip all the way to the floor. We just used an old sheet.
You can use any kind of paper for to paint. We have an over-abundance of legal-size copy paper, so that is what we used. Use copy paper, card stock, watercolor paper, construction paper, or any white paper.
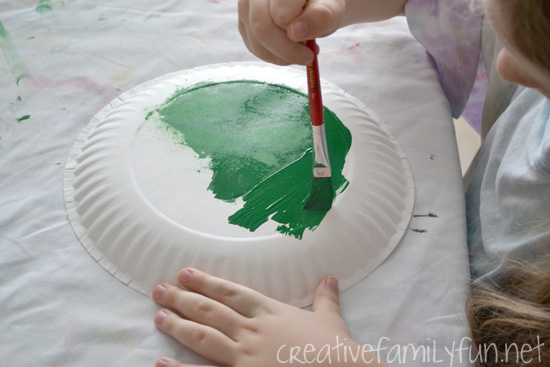
Load up your paint brush with blue liquid water color and start smooshing it onto the paper.
This was definitely the girls’ favorite part. They loved watching the patterns form when the paint dripped down.
Once you are satisfied with your painting, stop and let them dry.
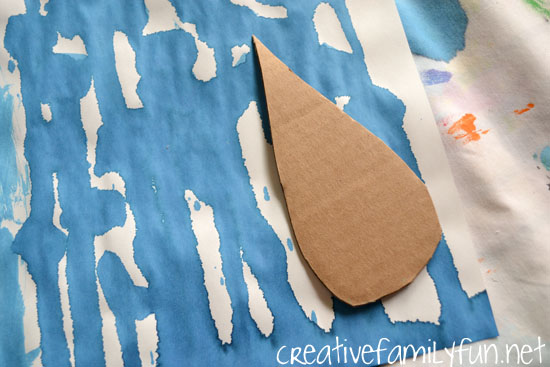
While your paint is drying, cut a raindrop-shaped stencil out of your cereal box.
Trace several raindrop shapes on your dry painting and cut them out.
How many you cut will depend upon the length of your stick. You will want enough to go all the way across your stick. We only needed 6 raindrops.
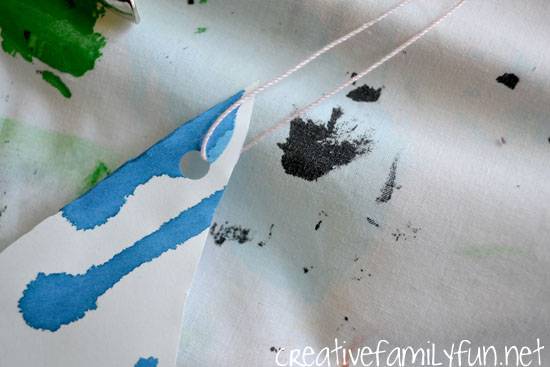
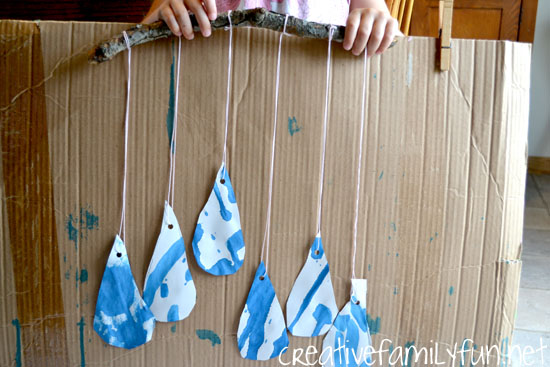
Punch a hole at the top of each raindrop and run your string through.
Tie the string to your stick. Our raindrops were tied approximately 2 inches apart.
Hang your raindrops at different lengths or all the same length, depending on the look you prefer.
Once we were done we propped our mobile up on a shelf so that our raindrops dangled down.
You could also add additional string to the top of the stick for hanging on the wall or from the ceiling.
The next time gray and rainy weather is getting you down, try making a fun raindrop kids craft. It’s guaranteed to make your day better!