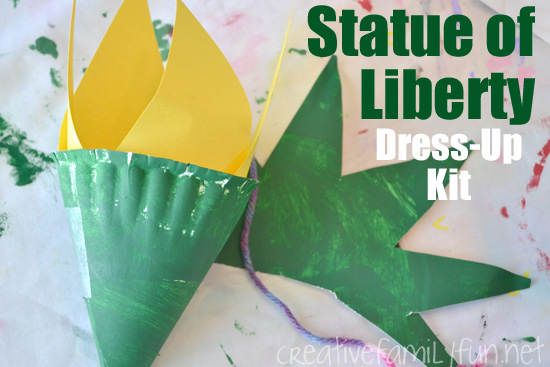
After working on our Statue of Liberty math experiment, the girls told me that they wanted to dress-up like the Statue of Liberty.
Of course, I was game, so this fun craft project was created.
All it took was one paper plate to make the Statue of Liberty’s torch and crown.
Disclosure: There are Amazon Affiliate and other affiliate links in this article which means, at no additional cost to you, we could receive compensation for our recommendations. You can read our full disclosure policy on our Disclosure Page for more details.
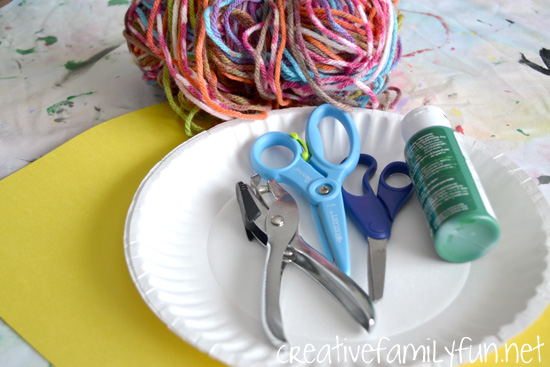
Supplies Needed:
Paper plate (for each kid)
Green paint
Scissors
Hole punch
Yarn
Tape
Yellow construction paper
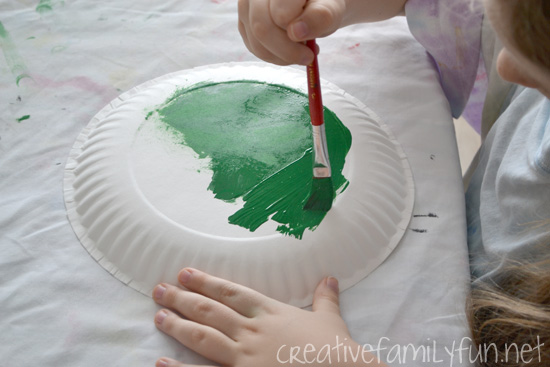
To begin, we painted out paper plates green.
Once they were dry, the girls cut their plates in half. One half for the crown and the other half for the torch.
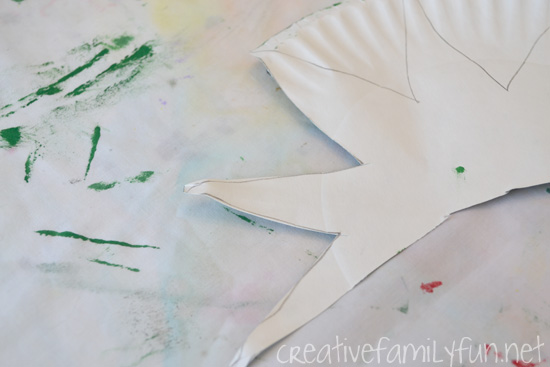
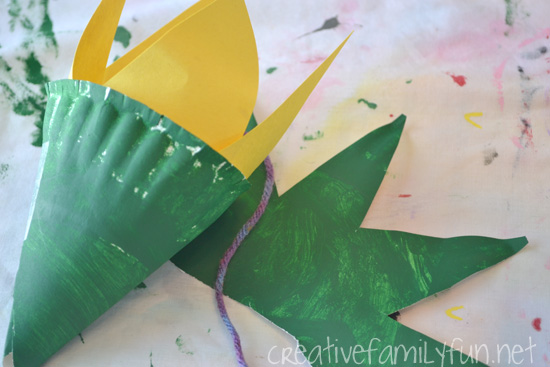
To make the crowns, we drew spikes on the backside of our paper plates.
The girls then cut them out.
We took our hole punch and make a hole on each side of the crown.
I ran yarn through the holes and tied them to fit snugly around each girls head. Our crowns were done!
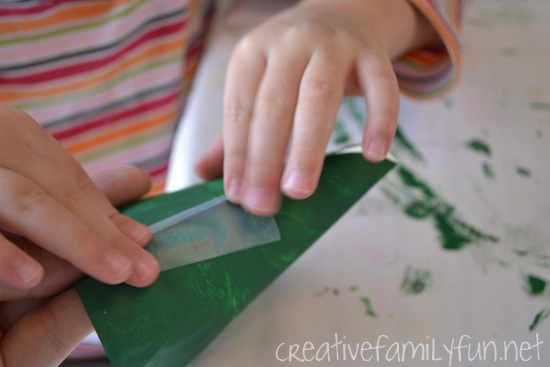
Next, we took the other half of our plates and rolled them to form a cone.
We used tape to hold our cone together.
We cut flames out yellow construction paper and taped them inside the cone. We used tape only because we didn’t want to wait for our glue to dry.
This was such an easy project and it made such a great dress-up kit.
If you want to complete the look, have your kids wrap a sheet around themselves and they could also find a nice thick book to hold. What fun!
Have you ever visited the Statue of Liberty? I’d love to know what you thought!
Latest posts by Terri Thompson (see all)
- Cardboard Tube Turkey Craft - October 30, 2023
- Simple and Fun Shape Crafts for Toddlers - October 25, 2023
- Thanksgiving Math Activities for Kids - November 10, 2022
