I’m not sure if there’s a kid these days that hasn’t made a volcano. It’s such a classic science experiment. It’s fun to put together and it’s fun to watch the eruption.
Both of my girls have done this experiment before. In fact, they’re old hands at it. So, it was time to kick it up a notch and combine some history, some science, and a good book into one fun STEM project. We’re going to learn about Pompeii with this Mount Vesuvius activity.
Disclosure: There are Amazon Affiliate and other affiliate links in this article which means, at no additional cost to you, we could receive compensation for our recommendations. You can read our full disclosure policy on our Disclosure Page for more details.
Pompeii History for Kids
Have you read any of the books in the You Wouldn’t Want To series?
We discovered them about a year ago and have been enjoying them whenever we find them at the library. This series is such a fun way to learn about history. You learn about the gritty and real parts of history in a kid-appropriate way.
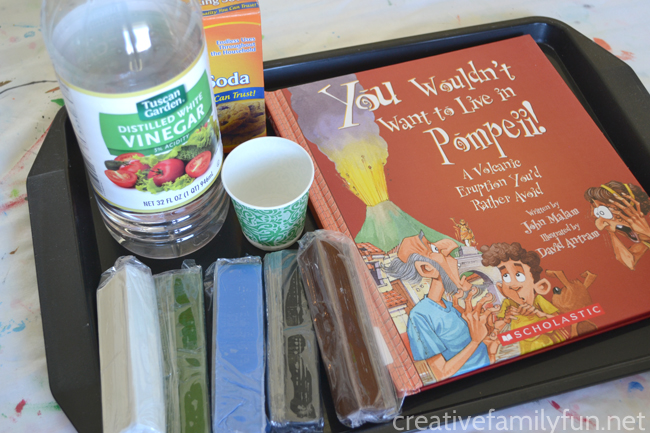
Recently, we brought home You Wouldn’t Want to Live in Pompeii! A Volcanic Eruption You’d Rather Avoid by John Malam. Pompeii is such a fascinating story. It seems like the plot of a good fiction book, only it’s very, very real.
In this book we became a resident of Pompeii. We learned about what life was like in the town in AD 79. We lived through the days leading up to the eruption, we experienced just how frightening it was during the eruption, and we learned what life was like for those who survived. This book covered a lot of good stuff.
Mount Vesuvius Activity
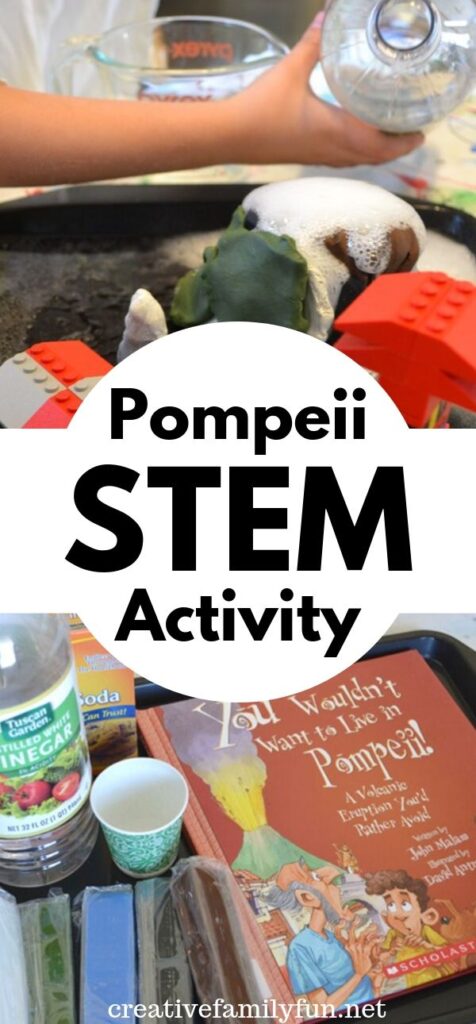
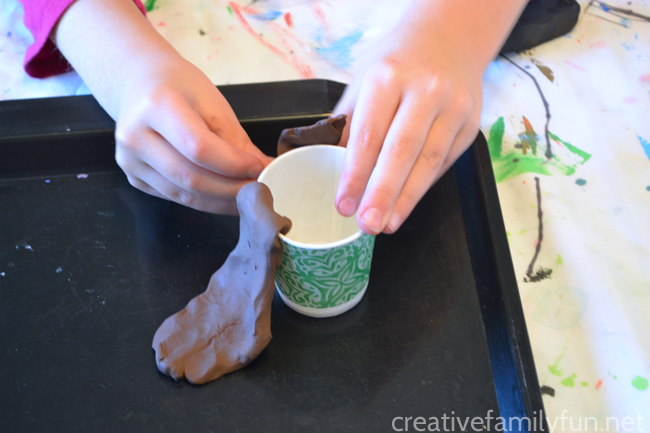
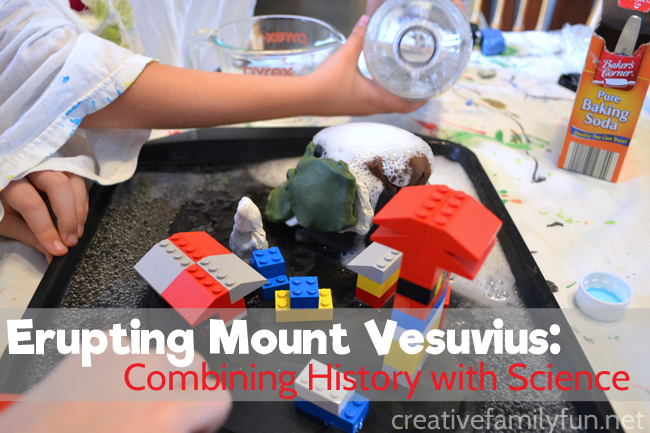
Once we were done reading, we were ready to recreate the eruption of Mount Vesuvius. We used a small cup and some modeling clay to create our volcano.
We were very aware that our model was not an accurate model of the volcano. But, nonetheless, we talked about the different parts of a volcano we learned about in our book. The cup represented our magma chamber (the space under the mountain that is filled with molten rock). We build a mountain around it using the modeling clay. (You can also use play dough for this step.)
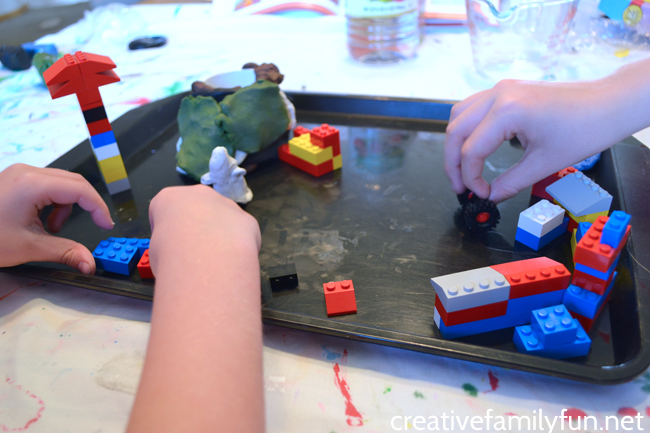
Once Mt. Vesuvius was complete, we put it in the corner of our plastic tray and got to work building Pompeii.
Note: You’ll want to do this experiment on an enclosed surface. It will get messy! We used a plastic tray. If you don’t have a plastic tray, a baking sheet will also work well.
We used our Legos and built a tiny town to represent Pompeii. We had houses, a library, a school, a vineyard, and a river made out of clay.
Erupting Mount Vesuvius
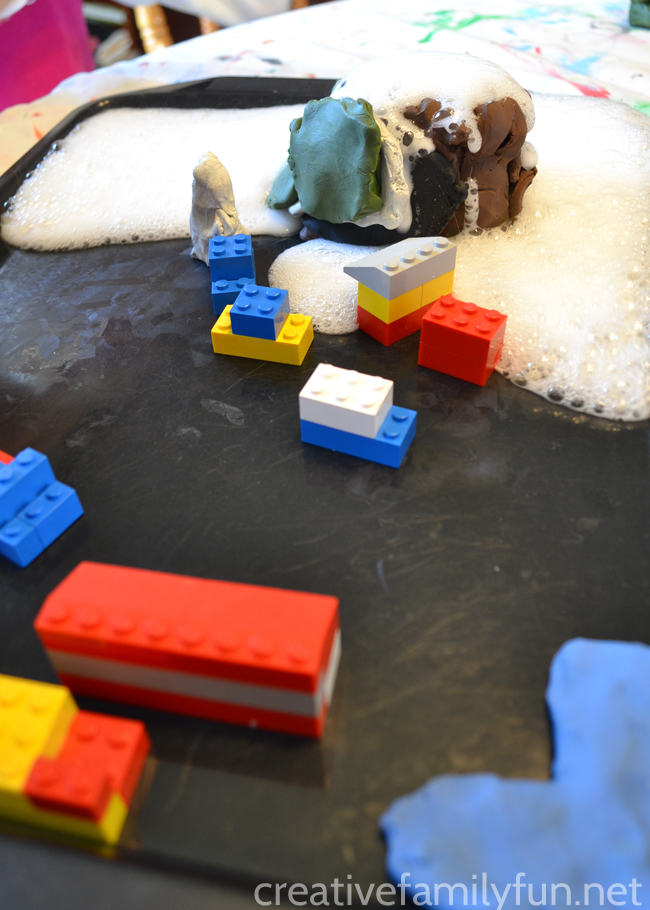
Finally, it was eruption time! My girls filled the cup half full of baking soda. We wanted a big eruption. Then, they added the white vinegar. Boom! Mount Vesuvius erupted and the lava flowed toward Pompeii.
We knew our STEM challenge wasn’t quite complete. We missed the tremors that happened for days before and also the ash that fell from the sky before the lava started flowing. So much ash and pumice fell that roofs began to collapse and started burying the town. By the time it was over, the ash, lava, and volcanic debris completely buried the town.
But, wait a minute! What about the science?
Baking soda is a base and vinegar is an acid. When the two meet, a chemical reaction occurs which creates carbon dioxide – the bubbling, fizzing reaction. The carbon dioxide creates a pressure which pushes your mixture out of the cup similar to the pressure that pushes the molten rock out of the volcano.
I’ve always loved bringing history alive. It’s such a great way to explore and learn about the world, both past and present. And, it was so much fun to tell the story of Pompeii through our volcano STEM challenge. It’s a lesson we’ll never forget!
You’ll also love these STEM activities:
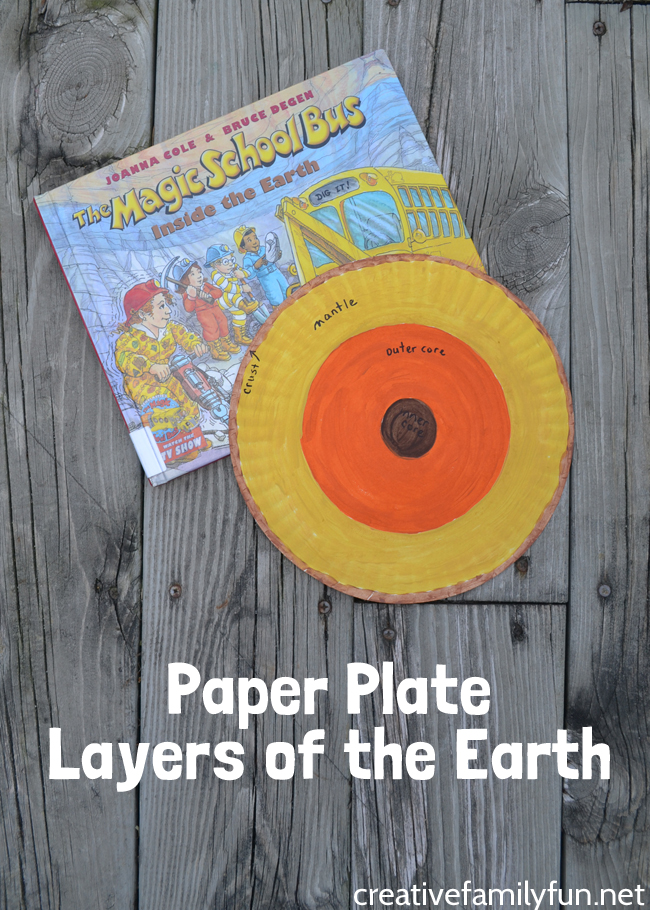
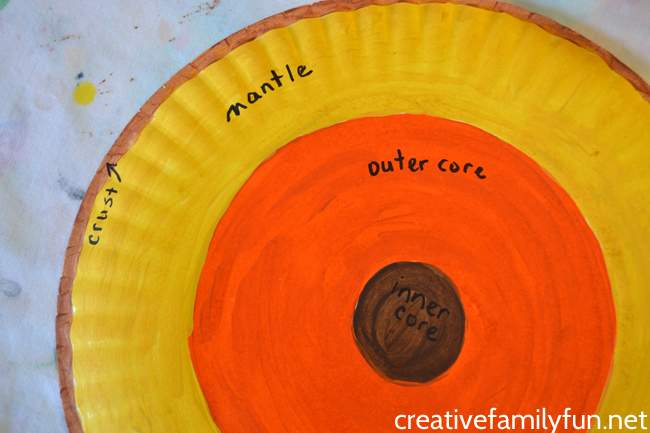
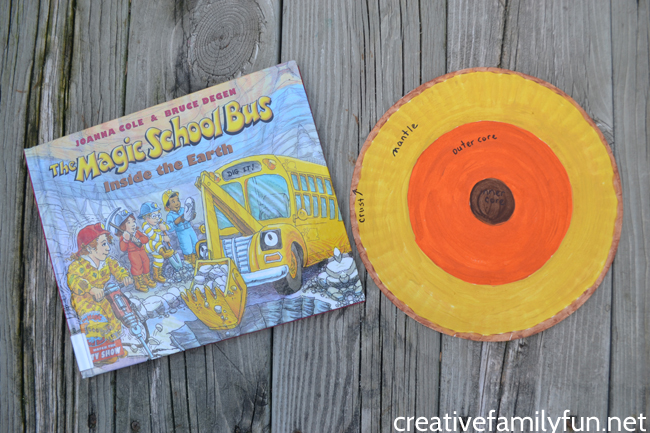
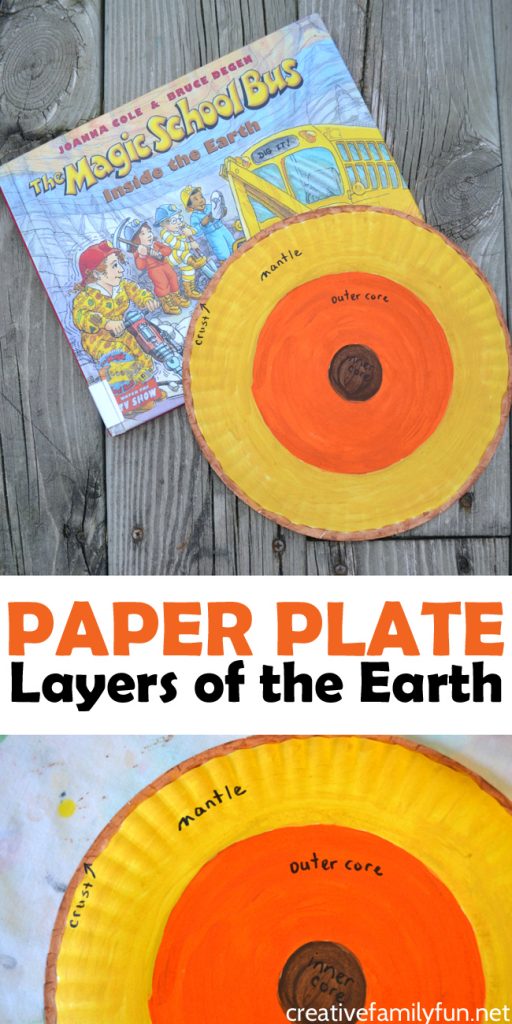
Paper Plate Layers of the Earth Project
20 Cool STEM Activities to Learn About Ancient Times at Techie Homeschool Mom
Mount Vesuvius Books for Kids
For our Mount Vesuvius activity, we used the book You Wouldn’t Want to Live in Pompeii!, but that’s not the only book you can use. Here are some other great books about Pompeii for kids.
Family STEM Challenges
Wouldn’t it be so much fun to get STEAM family activities delivered to your inbox? I think so! That’s why I’ve created this fun series, STEAM Family Fun, to be delivered to your inbox. After going through all the letters in STEAM each week with a fun activity devoted to each, you’ll start receiving a fun STEAM activity once a month. (And I’ll also pop up in your inbox occasionally if I’ve got other fun things to share.)
Fill out the form below to start receiving STEAM Family Fun in your inbox.