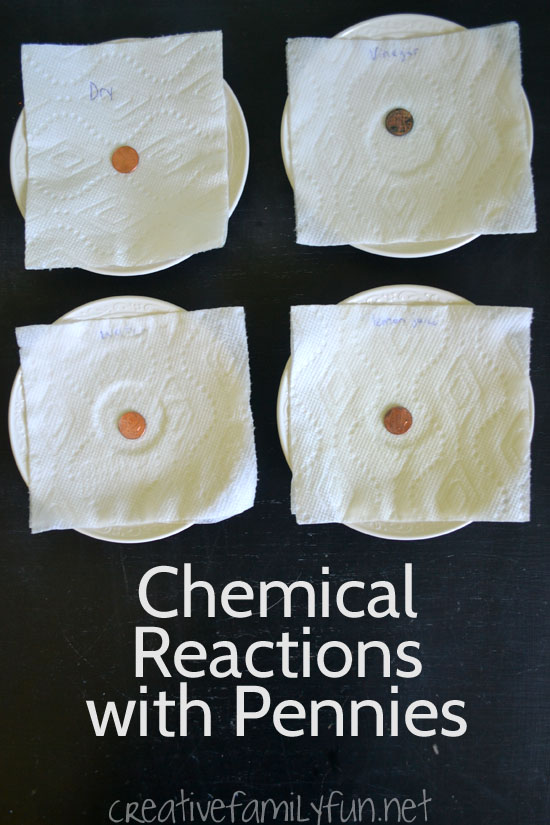
What is a chemical reaction?
It is the change of a substance into a new one that has a different chemical identity.
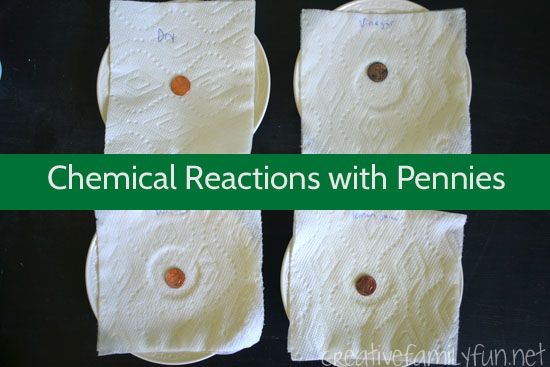
My kids were completely fascinated when we decided to explore this at home with these safe chemical reactions with pennies.
I know this sounds very high school chem lab-ish and like something that should require a full range of safety equipment, but I’ve got a fun science project that’s completely safe to do at home with no special equipment required.
(Although, feel free to wear the safety goggles. They’re kind of cool!)
Grab some supplies and let’s explore chemical reactions with pennies.
Disclosure: This post contains Amazon Affiliate links. Please see my Disclosure Page for more details.
Table of Contents
Supplies Needed
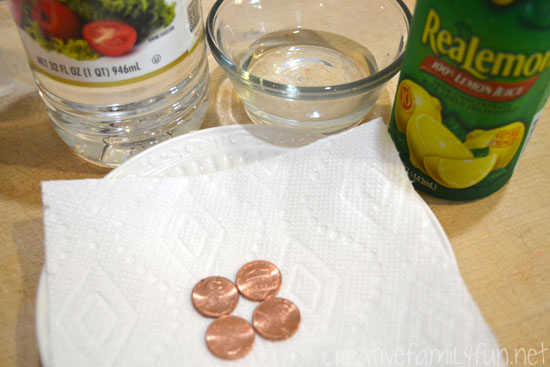
4 shiny pennies (make sure they are all as shiny as possible)
4 paper towels
White vinegar
Lemon juice
Water
4 saucers or bowls
My Science Experiment recording sheet(optional)
Prepare Your Experiment
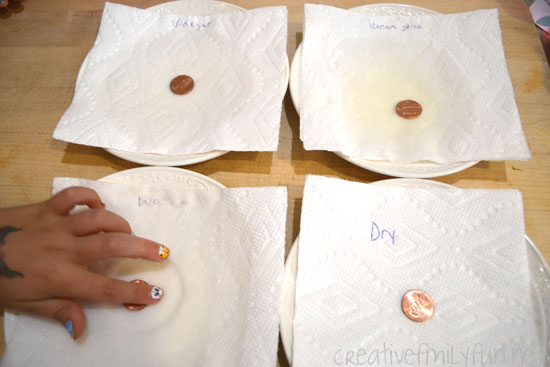
To set up your experiment, fold and place a paper towel on top of each saucer (or bowl).
Next pour water on one paper towel, lemon juice on the next, and white vinegar on another. Leave one paper towel dry.
Place one penny in the middle of the wet area of each of your paper towels. Use a pen to label each paper towel.
To guide us through our experiment, we used our My Science Experiment sheet. (You can click the link to download and print your own copy.)
We started with our question: What will make a penny turn a different color? Then we made our predictions. We each chose the substance we thought would turn our penny green.
We recorded our different substances: water, white vinegar, and lemon juice, while also noting that we left one paper towel dry. It was to serve as our control – the one penny we didn’t make any changes to so that we could use it as comparison later.
The results of our chemical reactions with pennies experiment
It was hard, but we waited 24 hours for our experiment to work.
We checked on our pennies after about 12 hours and refreshed the liquid every so often.
Your paper towels will dry out, so be ready to add more liquid to keep them wet.
After 24 hours, we took a good look at our pennies. The results surprised even me!
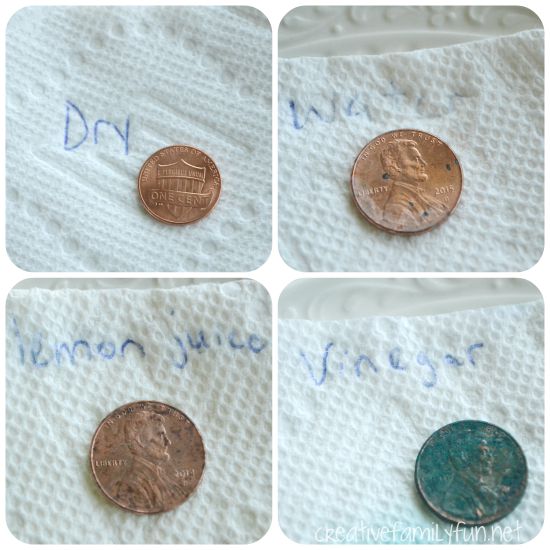
I knew the vinegar would turn the penny green. Check it out in the collage above. But, I was a bit surprised to see the results of the other liquids.
Water did change the penny; it left it looking dull, worn, and caused a few black dots to form.
Lemon juice ate away at the penny making it look worn away (similar to a penny that has been run over by a car a few times).
The penny in vinegar turn green, both on the side exposed the liquid and the side exposed to the air.
And finally, the dry penny did not change at all. Interesting results!
Why did the penny turn green in vinegar?
The combination of the vinegar and air caused a blueish green substance called malachite to form on the penny. This is the same substance that has turned the Statue of Liberty green.
Have fun doing this fun (and safe) chemical reaction with pennies experiment with your kids!
You may also like one of these science experiments:
Melting Crayons Science Experiment
Christmas Science – Grow the Grinch’s Heart
Our 2nd grade blogging squad has been hard at work creating fun projects about money.
Here are some other great Money activities for your 2nd graders:
Money Activities for Second Grade from Look! We’re Learning!
Money Math Problems for 1st-3rd Grade from Planet Smarty Pants
Counting Coins Scavenger Hunt from School Time Snippets
Skip counting nickels and dimes from Sugar Aunts
Free Money Fractions and Probability Activity from Life Over C’s
Currency Collections from Rainy Day Mum
Latest posts by Terri Thompson (see all)
- Cardboard Tube Turkey Craft - October 30, 2023
- Simple and Fun Shape Crafts for Toddlers - October 25, 2023
- Thanksgiving Math Activities for Kids - November 10, 2022
