I’m thrilled to be writing this post as part of the Daily Buzz Moms 9×9: Spring Fever.
When I think of spring I think of flowers, birds, warm breezes and new warmth.
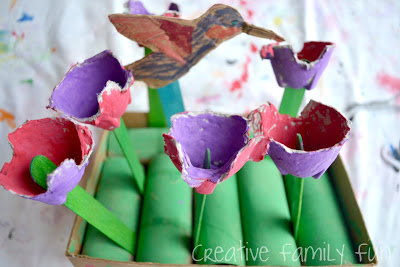
Lizzie and I set out to capture that feeling by creating our own indoor garden. Not only did we want to create a beautiful garden, we also planned on making it all from items that were in our recycle bin.
Disclosure: There are Amazon Affiliate and other affiliate links in this article which means, at no additional cost to you, we could receive compensation for our recommendations. You can read our full disclosure policy on our Disclosure Page for more details.
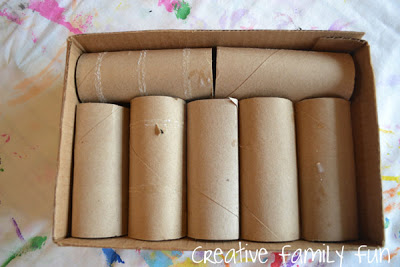
To create the base, we found a small cardboard box and cut off all the side flaps. We wanted a clean and sturdy base.
Then we raided our supply of cardboard tubes and arranged them until they fit inside. This was for our grassy area. We planned on sticking our flowers in between two tubes.
Since empty cardboard tubes are quite squishable, it’s easy to fit them inside most cardboard boxes.
After we had an arrangement we liked, we glued them into the box. Make sure you only put glue on the bottom because you will need to slide things in between the tubes.
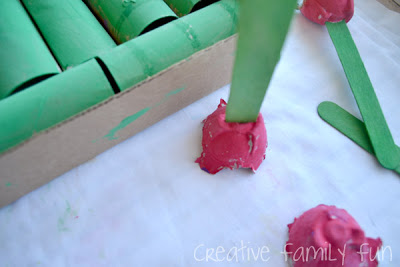
By this time, AJ wanted to join in on the fun, so I gave her the green paint and she started painting the grass.
Meanwhile, Lizzie and I set to work on the flowers. We took an empty egg carton and separated it into single cups. I trimmed off the ragged edges and Lizzie picked out painted colors. We planned on turning these into tulips, our favorite spring flower.
Lizzie was in charge of the colors, so she chose red and purple. She opted to do one color on the inside and the other color on the outside of our egg cups. We wanted to paint both the inside and the outside so that our garden would be colorful no matter what angle you were looking.
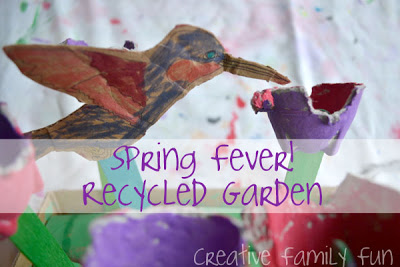
While the paint was drying, we worked on the hummingbird for our garden. This was Lizzie’s idea. She thought a hummingbird would be a great addition to our garden and she was right. We looked through our pile of bird books from the library and found a simple picture of a hummingbird. I drew the hummingbird on a scrap piece of cardboard and Lizzie colored it with her markers.
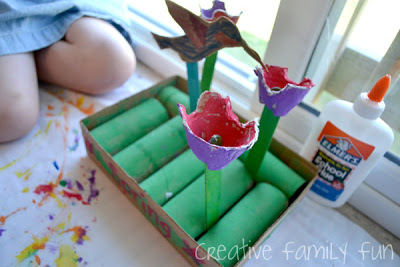
Once the paint was dry, we attached out tulips to our craft sticks. We already had a package of colored craft sticks in our art supplies, so we opted to used those instead of something from the recycle bin.
If you don’t have colored craft sticks, you could paint plain craft sticks, use strips of stiff cardboard, or anything else you can find to provide a stiff base for your flowers (and hummingbird). I cut a slit in the bottom of the egg cups, so we could slide the craft sticks in. We glued the craft stick on the back of the hummingbird.
Now it was time to arrange our garden. After we were satisfied with our arrangement, we put glue at the bottom of each craft stick for stability, stepped back, then let it dry.
I loved our collaboration and I love the way our project turned out! We now have a beautiful spring centerpiece for our table… at least when it isn’t being played with!
Latest posts by Terri Thompson (see all)
- Cardboard Tube Turkey Craft - October 30, 2023
- Simple and Fun Shape Crafts for Toddlers - October 25, 2023
- Thanksgiving Math Activities for Kids - November 10, 2022
