I’ve long admired sensory bottles and have been wanting to make a few of my own.
There are so many incredible versions, but this time, I opted for a simple glittery bottle.
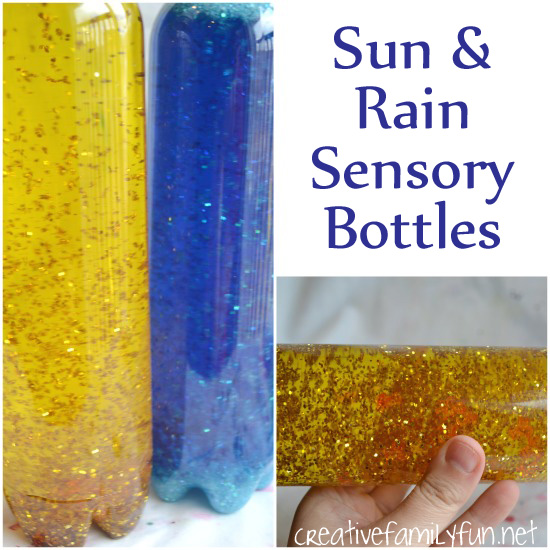
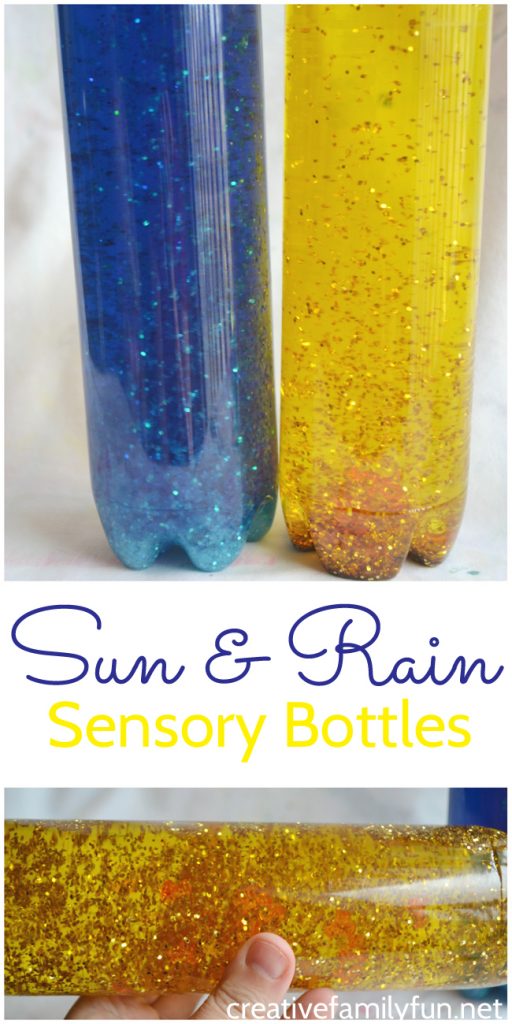
We used sunshine and rain as our inspirations to make these gorgeous Sun and Rain Sensory Bottles.
*Disclosure: CraftProjectIdeas.com provided some of the supplies used in this project. This post also contains Amazon Affiliate and other links. Please see my Disclosure Page for more details.
Supplies Needed
Empty plastic bottles (We used these.)
Water
Food Coloring
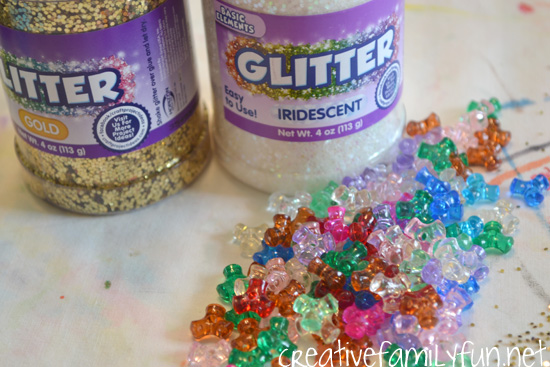
Glitter
Tri-beads
Super glue (adult use only!)
How to make your sun and rain sensory bottles
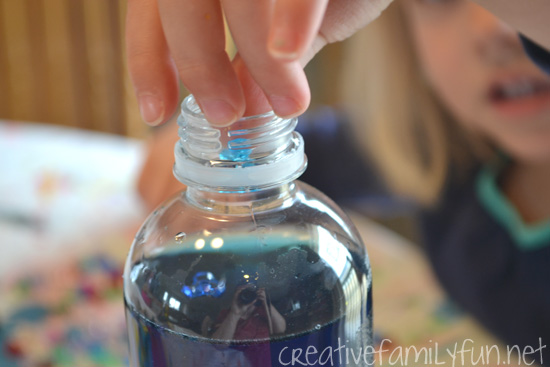
To make your bottles, fill an empty bottle with water. Leave some space at the top for your add-ins.
Next, add 5 to 6 drops of food coloring. My 4-year-old was in charge of the food coloring, so we ended up with more a lot more drops.
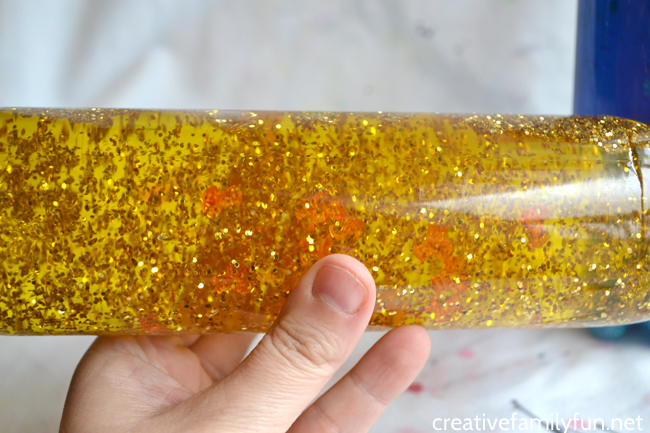
Now it’s time to add the glitter. We have an abundant supply of glitter, so we added quite a bit. The more glitter the better, I say!
Next, add your tri-beads. We picked out orange and yellow beads for our sunshine bottle and blue and clear beads for our rain bottle.
Previously, we experimented with a few different items until we hit on something that would work in our bottles. We tried foam shapes, but they only float to the top and we couldn’t get them to mix in with the water and glitter. After a lot of experimenting, we discovered that items that sink mix together nicely when you’re shaking the bottle.
Once you have everything in your bottle, add a little more water to fill your bottle to the top.
Finally, super glue the cap onto the bottle. Now you won’t have to worry about it opening and spilling water and glitter all over your floor!
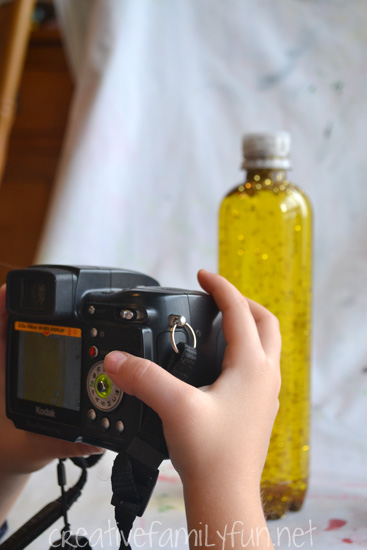
(Here’s a little behind the scene picture for you! My daughter was taking her own pics right beside me. We found ourselves racing against time to catch all the glitter before it settled!)
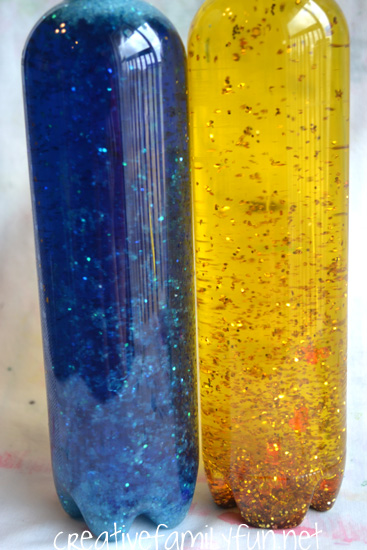
I just love the final result of these sun and rain sensory bottles. My 6-year-old can sit and watch them for a long time while rolling them around and around.
They’re quite beautiful!
Make this a family adventure!
This is a perfect craft to do together as a family.
Cost: Under $10. It all depends on what supplies you already have on hand.
Prep time: Under 10 minutes + a trip to the store for supplies, if needed.
Ages: 4 and up. Certain steps will need adult supervision.
Time needed: 20 minutes (plus drying time for the super glue)
More Great Sensory Bottle Ideas
Babbling Brook sensory bottle from House of Burke.
Spring flower sensory bottle from My Little 3 and Me.
Making waves sensory bottle from Hands On: As We Grow.
Magnetic sensory bottle from Munchkin and Bean.

You make also like one of these fun ideas:
10 Ways to Learn About the Weather