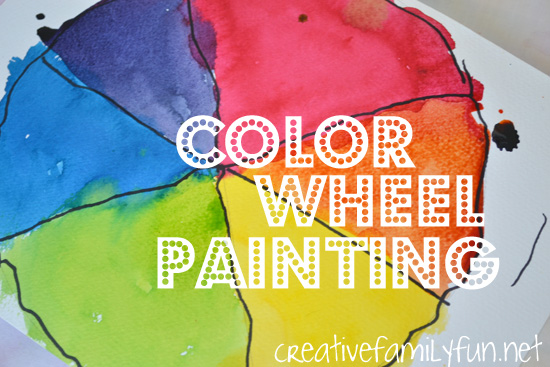
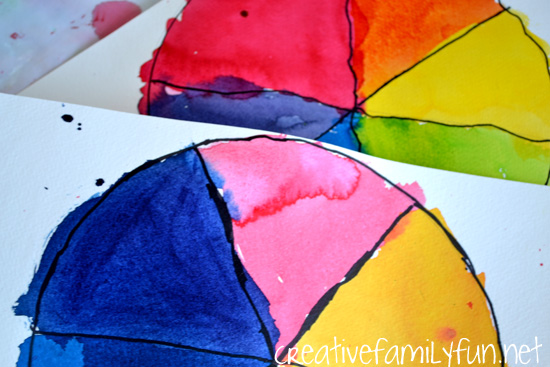
A simple and effective way to learn the basics of a color wheel is to make your own.
The girls and I recently did an easy art project while learning about primary and secondary colors.
Disclosure: There are Amazon Affiliate and other affiliate links in this article which means, at no additional cost to you, we could receive compensation for our recommendations. You can read our full disclosure policy on our Disclosure Page for more details.
Supplies Needed:
Water color paper
Black permanent marker
Liquid water color (or acrylic paint) in red, yellow, and blue
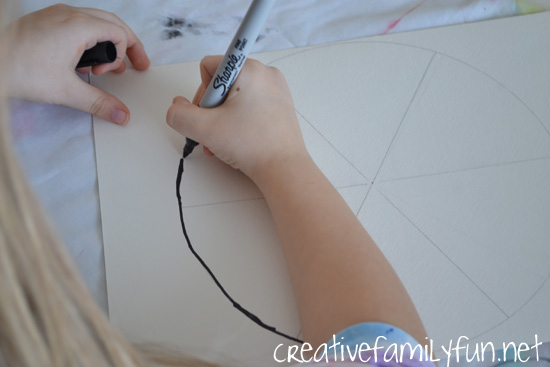
Before painting, draw a large circle on your paper. We just traced around the edge of a small plate.
Next draw the lines to divide your circle in six equal sections.
Trace all your lines with a black permanent marker.
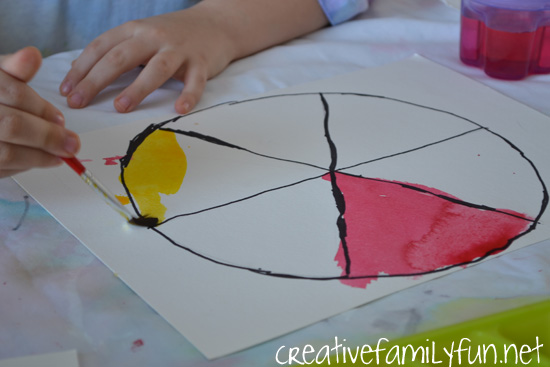
Now it’s time to paint.
We started with our primary colors (red, yellow, and blue), talking about each as we painted. You will be painting each wedge a different color. Each primary color will need a blank wedge next to it.
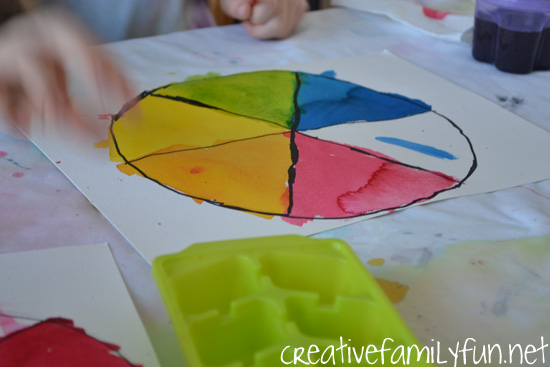
After painting our primary colors we moved on to our secondary colors.
I used an empty ice cube tray to hold our paint so we would have plenty of sections for mixing colors.
We looked at our blank wedges and decided what color they needed to be. The wedge in between red and yellow needed to be orange. The girls mixed up some orange paint for that wedge.
They did the same with purple and with green.
Soon, they had completed color wheels that we plan on hanging in our art room for inspiration and reference.
We’ve now spent several days talking about color.
We went on a COLORful scavenger hunt, read books about color, played in a color mixing lab, and now created beautiful color wheel artwork.
What is your favorite way to play with color?
Latest posts by Terri Thompson (see all)
- Cardboard Tube Turkey Craft - October 30, 2023
- Simple and Fun Shape Crafts for Toddlers - October 25, 2023
- Thanksgiving Math Activities for Kids - November 10, 2022
