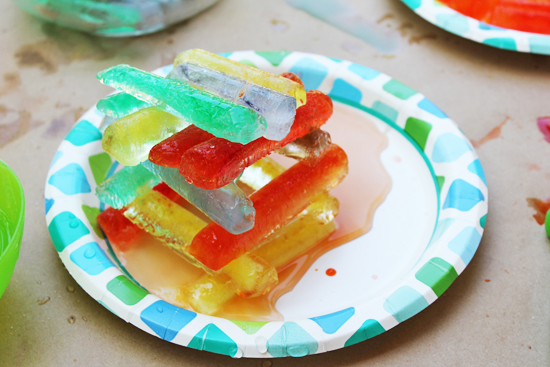
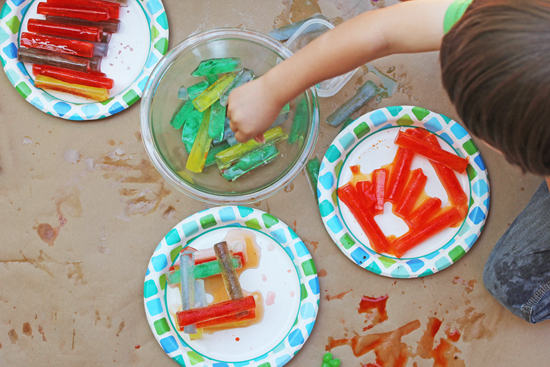
I can’t imagine anything more fun and refreshing on a hot summer’s day than playing with ice. So, grab some fun ice cube trays and create some colored ice cubes (or sticks) for some creative fun.
Disclosure: There are Amazon Affiliate and other affiliate links in this article which means, at no additional cost to you, we could receive compensation for our recommendations. You can read our full disclosure policy on our Disclosure Page for more details.
Today I’m happy to welcome Ana from Babble Dabble Do to this space with a fun ice play activity perfect for summer. While you guys are reading this, I’m going to head out to the store to buy some of these fun ice cube trays! Take it away Ana…
Hi there, I’m Ana from Babble Dabble Do and I’m excited to be guest posting on Creative Family Fun today!
With summer finally here I’ve been itching to play with ice as a “cool” outdoor activity for the kids. If you’ve been to my blog you know I’m obsessed with color, and food coloring is something I use on a regular basis in our projects. This week I thought it would be fun to experiment with colored ice and see what interesting activities we could come up with!
Table of Contents
Materials:
Water
Food Coloring
Cups/Bowls
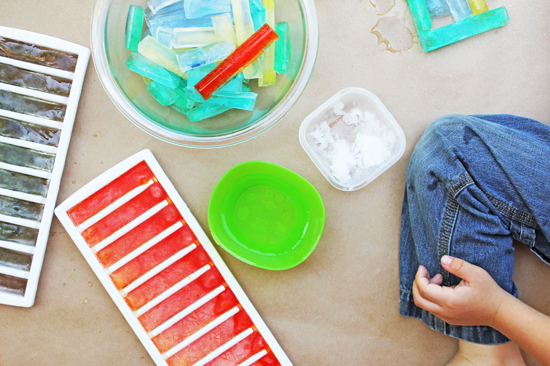
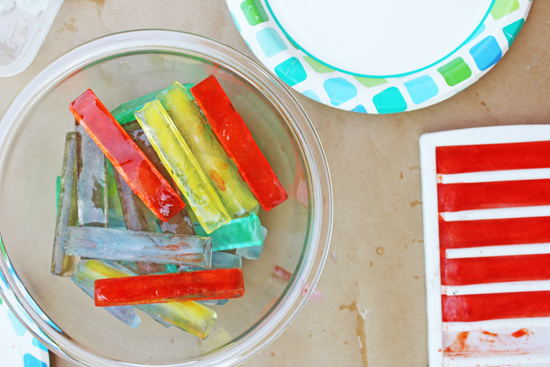
Ice cube trays and/or different molds- I used trays that make ice sticks for water bottles. The pieces of ice were like logs, perfect to build and draw with!
Salt and salt shaker
Shaved ice (optional)– use a snow cone maker to make it
Small plates
Spoons or eye droppers
Paper
You’ll need to factor in a little prep time for these activities because you have to freeze things in advance BUT a few minutes of freezing the day before is all you need. Using food coloring, tint several glasses of water with different colors and pour into ice
cube tray molds. Freeze overnight or for several hours.
Building:
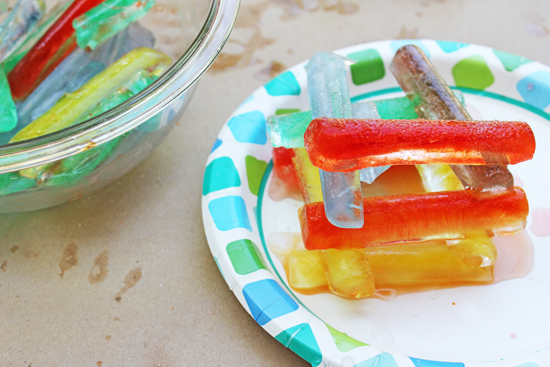
Stack your ice cubes on top of one another to try and make a structure. Using drops of water and shaved ice, “glue” the pieces of ice together. “Gluing” only worked for us about half the time. When finished, carefully move the sculpture back into the freezer to fuse it together! If you plan on refreezing, use a sturdy tray underneath the sculpture as too much movement will cause it to break apart.
Salt and Ice Experiment:
I don’t think the interaction of salt and ice ever gets old to watch. Give your child a salt shaker and let them sprinkle salt on the
ice to make holes and give it texture.
Color Mixing:
Using red, blue, and yellow ice sticks and three different bowls, encourage your child to experiment with color mixing. Let them melt two colored ice sticks in the same bowl to make a magical new color appear!
Water Table:
They might not last long in the blazing heat, but colored ice would make a fun addition to a water table.
Drawing with Ice:
You’ll need to use a strong concentration of color for this one to work well; use the ice sticks like crayons to color on paper.
Melting Artwork:
Place several ice sticks on a piece of white paper and let them melt to make a free form painting.
Open-ended Play:
I had originally planned to make only ice sculptures but when I gave my kids the ice sticks they had ideas of their own! They stacked and sorted them and just loved the sensory experience of playing with a cold material.
You may also like one of these activities:
Latest posts by Terri Thompson (see all)
- Cardboard Tube Turkey Craft - October 30, 2023
- Simple and Fun Shape Crafts for Toddlers - October 25, 2023
- Thanksgiving Math Activities for Kids - November 10, 2022
