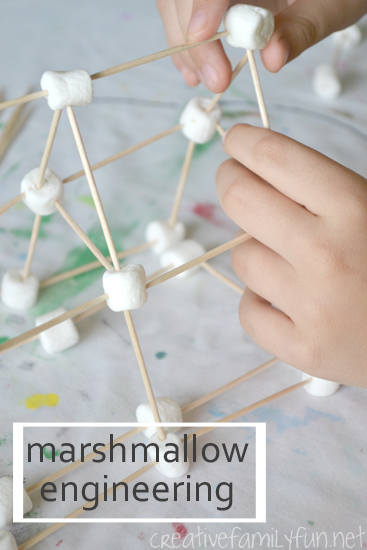
We got down to the basics recently with a STEM activity that is perfect for summer learning (or anytime), Marshmallow Engineering.
Why is it perfect?
It uses only a few supplies, it requires no prep time, it keep your kids’ brains working, and it doesn’t look at all like learning. (It’s also a perfect activity to use up that stale bag of mini marshmallows you found in the back of the cupboard!)
Disclosure: There are Amazon Affiliate and other affiliate links in this article which means, at no additional cost to you, we could receive compensation for our recommendations. You can read our full disclosure policy on our Disclosure Page for more details.
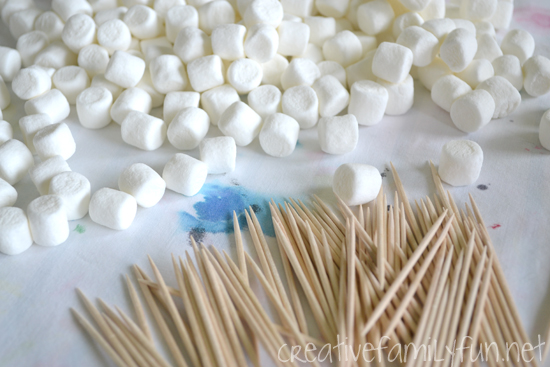
Supplies Needed
Mini Marshmallows (stale ones work the best)
Toothpicks
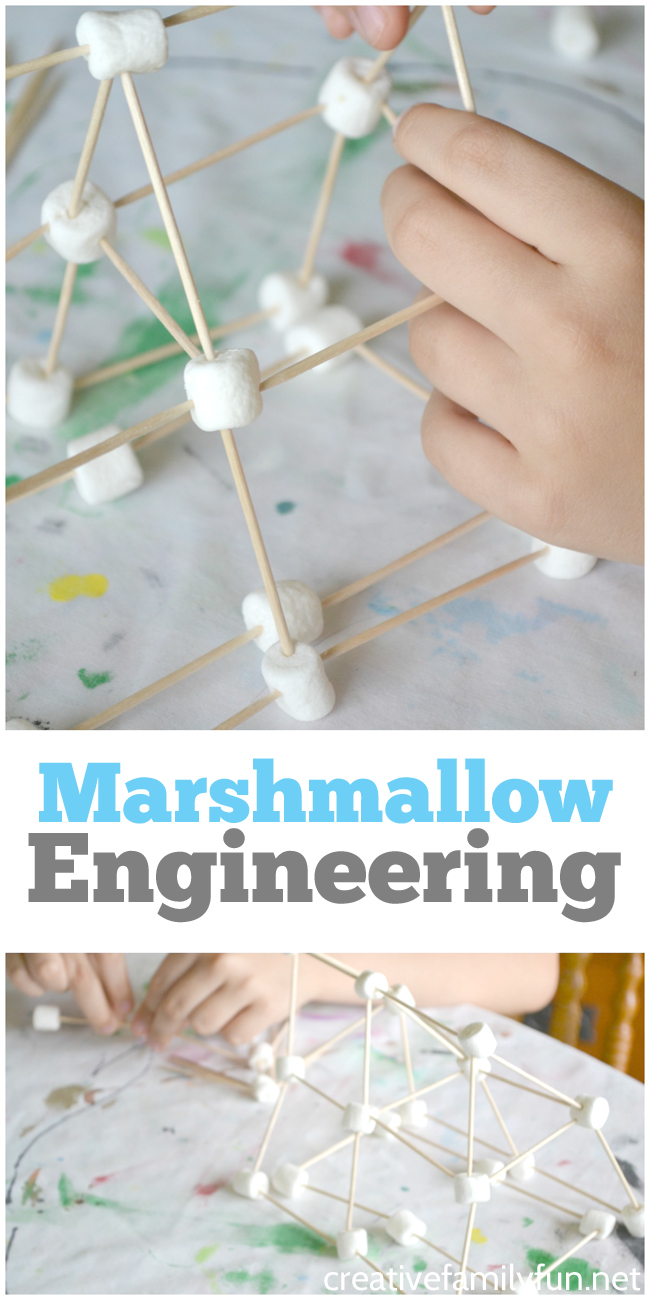
Building with marshmallows and toothpicks is not a new idea.
It would probably have a place in the kids activities hall-of-fame… if there was one.
In fact, this is a staple activity in my daughters’ STEM school.
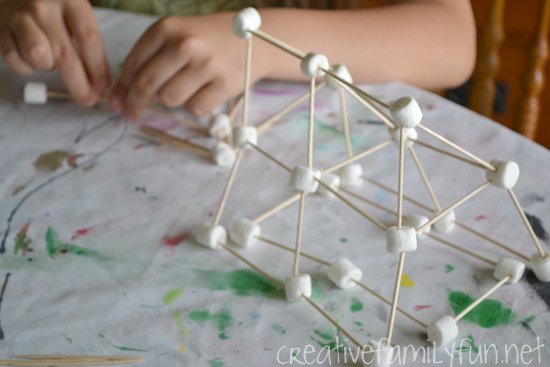
The concept couldn’t be simpler. Give the kids a pile of marshmallows and a pile of toothpicks and let them build. That’s it.
Building Challenges
If you wanted to add a little extra to the project, you could challenge your kids to build specific items such as building a bridge or building a chair.
But, I love this project best at it’s most basic. Just let them build.
I gave no instructions. I just dumped the stale bag of marshmallow on the table, gave my kids a box of toothpicks, and told them they could build.
My 2nd Grader took off immediately. This was a familiar activity for her. She got an idea in her head for what she wanted to build and got started. My Kindergartner was a little unsure at first, but soon got the hang of it.
The advantages of marshmallow engineering
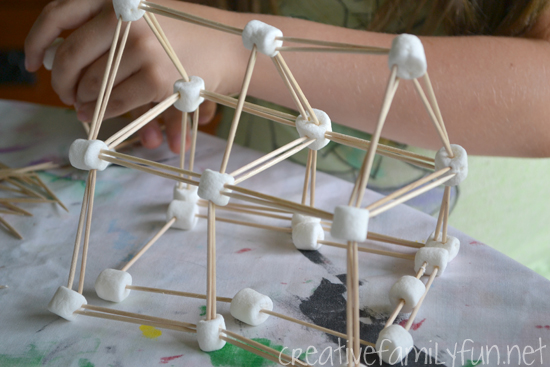
You know what’s so great about this? The critical thinking that’s involved.
My 2nd Grader tried to make a campsite, but her tent kept falling down. She kept working and working to stabilize the tent. Eventually, after doubling up the toothpicks and adding cross beams, she got it to work.
That’s why we do these projects. Not only is it fun, but the critical thinking skills they need to build continue to get exercised during summer break.
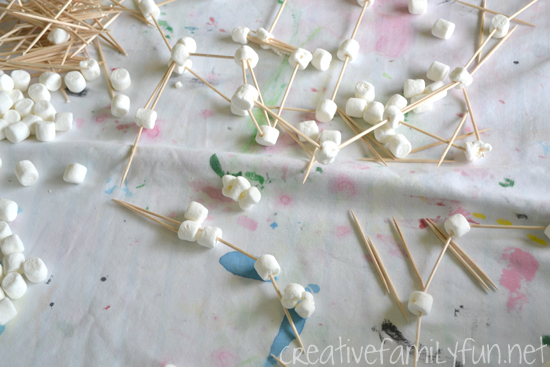
Can you see the aftermath above? Yes, that was the end of a long afternoon of building. This activity has been requested again and again. I’ll have to see if I have any more stale bags of marshmallows.
Have you ever built with toothpicks and marshmallows?
Make This a Family Adventure
Cost: A few dollars for toothpicks and marshmallows. Even less if you already have the supplies at home.
Planning time: None, once you have the supplies
Ages: 5 and up
Time Needed: 30 minutes or longer
Notes: Marshmallow engineering is a great STEM activity for the kids, but tweens, teens, and adults can have fun with it too. Gather all ages around the table and work together. Build a huge collaborative project or just enjoy each other’s company while you build your own projects.
You might enjoy one of these STEM projects:
Melting Crayons Science Experiment
Science + Art: Color Mixing Top
Building Structures with Candy Gumdrops at Lemon Lime Adventure