You can never have too many Thanksgiving craft ideas. Am I right?
But, maybe you want to do some fun Thanksgiving art. Why don’t you get creative this Thanksgiving with these fun turkey art projects for kids.
I love that these projects use so many fun materials to create art. They’re all inspired by turkeys but allow you to be creative and focus on the process.
Keep reading below to find all of these fun turkey art projects. I’ve done my best to divide them by age, but I do think most of these projects will be fun for a wide range of ages.
Which of these Thanksgiving art ideas are you going to try with your kids?
Disclosure: There are Amazon Affiliate and other affiliate links in this article which means, at no additional cost to you, we could receive compensation for our recommendations. You can read our full disclosure policy on our Disclosure Page for more details.
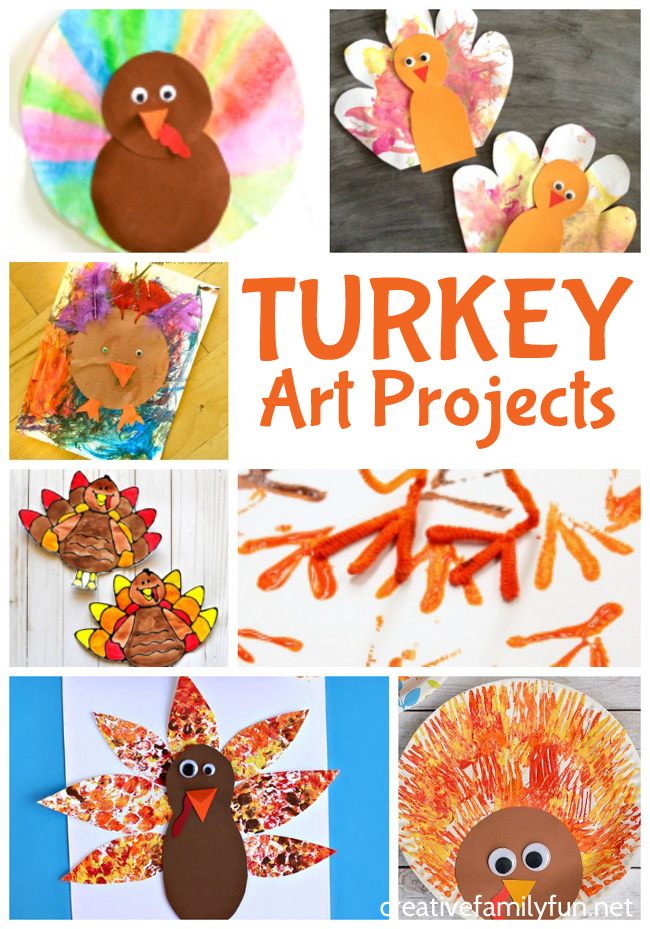
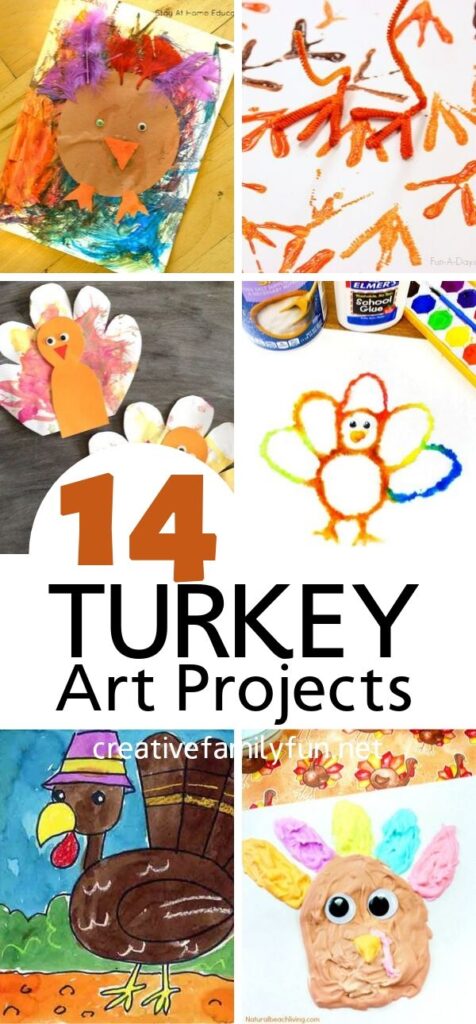
Turkey Art Projects
Create some amazing turkeys with this fun collection of Turkey art projects for kids of all ages.
Turkey Art Projects for Preschoolers
Turkey art projects suitable for kids under 5, but older kids will enjoy them too.
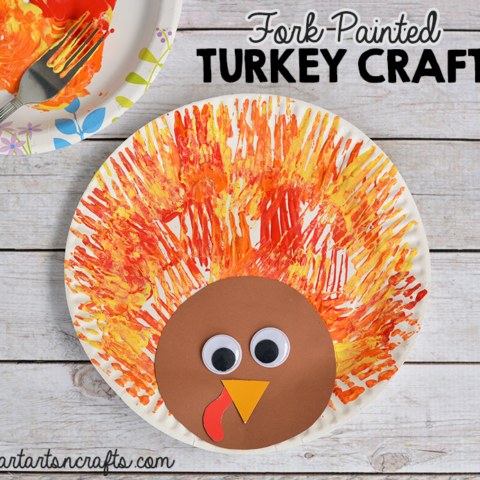
Fork Painted Turkey Craft For Kids
Use fork painting to create the tail of this paper plate turkey.
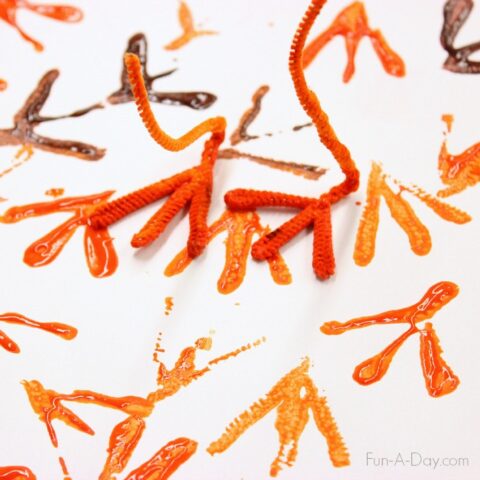
Turkey Tracks Turkey Art with Kids
Make turkey tracks art with this fun printmaking project.
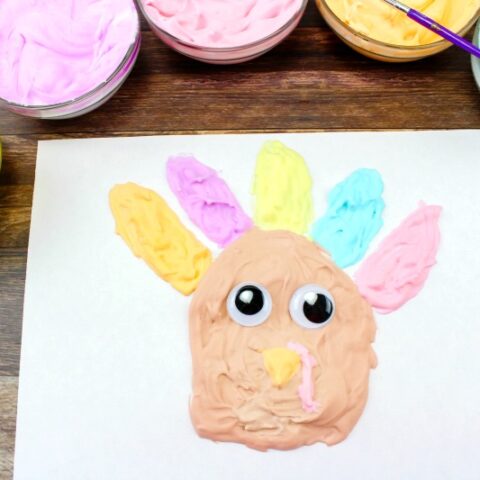
Puffy Paint Turkeys
Paint a turkey using this fun DIY puffy paint.
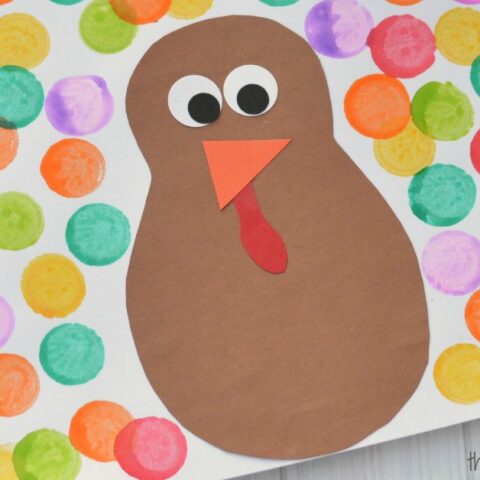
Do A Dot Thanksgiving Craft for Kids
Create your turkey's tail using Do-A-Dot Markers.

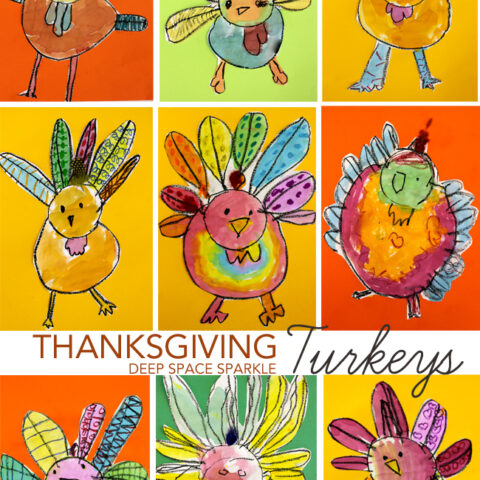
Colorful Turkey Art Activity That Focuses on the Process
Use feathers and paint to create this amazing and fun turkey.
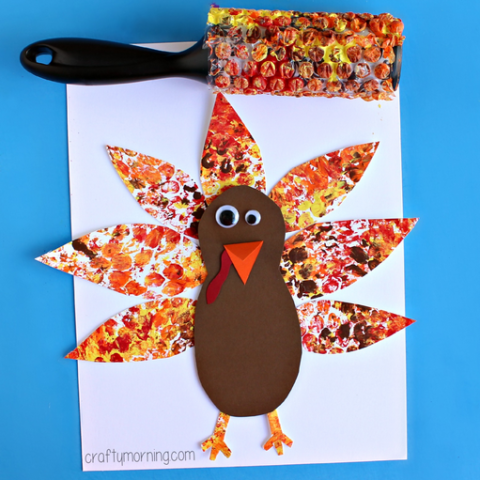
Bubble Wrap Printed Turkey Craft for Kids
Use bubble wrap printmaking to create this fun turkey.
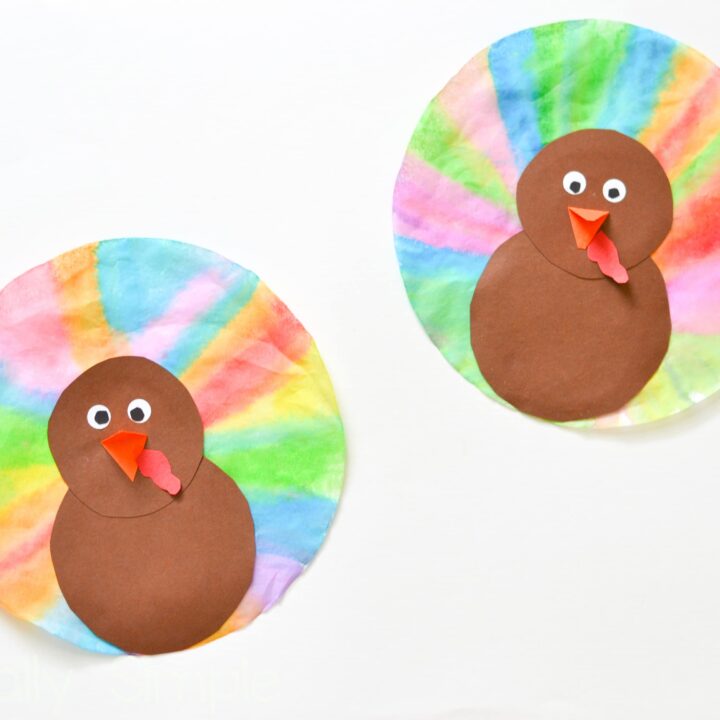
Watercolor Coffee Filter Turkeys
Use watercolors to paint coffee filters which make a colorful and pretty turkey tail.
Marble Painted Turkeys
Use a marble painting technique to make the feathers for this turkey.

Feather Painted Turkey Craft for Kids
Paint with feathers to create these pretty turkeys.
Turkey Art Projects for Older Kids
Thanksgiving art projects that are most suitable for elementary kids (or older).
How to Draw & Paint a Thanksgiving Turkey
Learn how to draw and paint a pretty Thanksgiving turkey.

Draw a Cartoon Turkey
Learn to draw a cartoon turkey with this simple art lesson.

Easy to Draw Turkey
Make a lovely watercolor turkey with this fun drawing lesson.
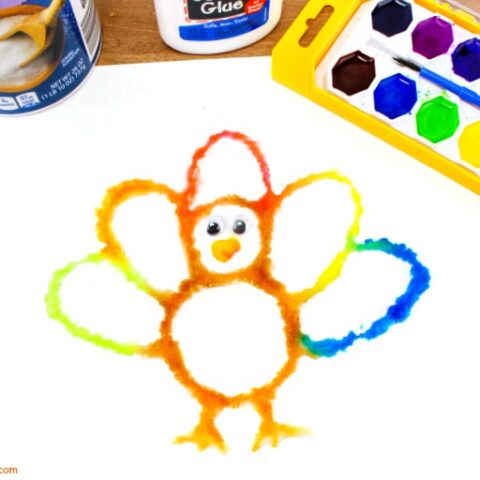
Thanksgiving Turkey Salt Painting
Use a salt painting technique to create this fun turkey.
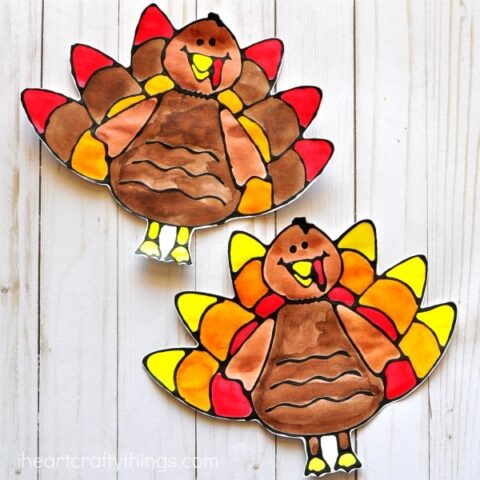
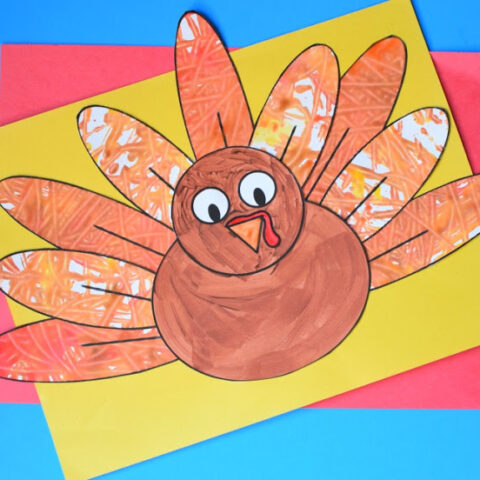
Black Glue Turkey Art Project
Create with black glue to create these vibrant turkeys.
More Fun Thanksgiving Activities
Gratitude Conversation Starters
Fun Cranberry Activities for Kids
Printable Thanksgiving Word Searches for Kids
12 Turkey Crafts for Thanksgiving
Recommended Resources for Thanksgiving Crafts
If you’re looking for easy crafts, I love the limited addition Thanksgiving Box from Green Kid Crafts. It comes with all the supplies and instructions you need to make some cute Thanksgiving Crafts. We’re big fans of Green Kid Crafts boxes. They’re fun, easy, and contain only natural and sustainable materials. And, if you’re not interested in their Thanksgiving Box, there are plenty of other art and STEM boxes (including a monthly subscription) to choose from.
Find the Thanksgiving Box here.
Check out all the other boxes here.

Do you want to do more activities with your family?
Join our fun Facebook community, Creative Family Fun for Busy Families, for daily activities that are great for kids and families. We’ll chat, share, and have fun. It’s a safe and private place to share ideas for family and kids activities.
I’d love for you to join me! Just click the link below, request to join, and answer the questions (they’re easy, I promise). Come join the fun! Join the Creative Family Fun for Busy Families community here.