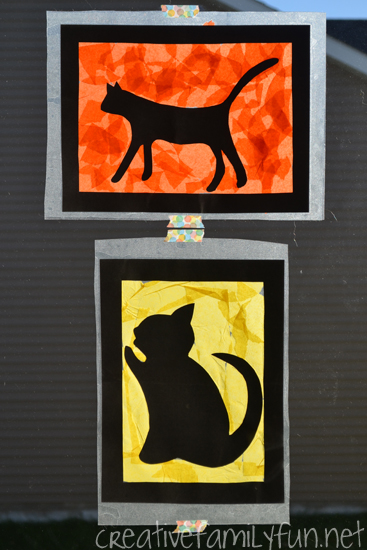
We love to make suncatchers.
We’ve made them for all sorts of holidays from Thanksgiving to Easter. So, of course we definitely needed to make a Halloween suncatcher.
They’re bright, fun, and the perfect Halloween decoration.
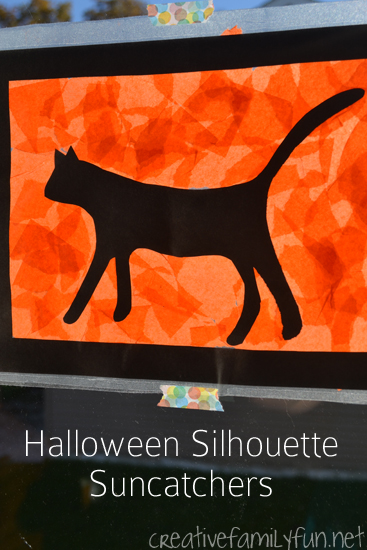
This simple and low-mess silhouette Halloween suncatcher can make such a dramatic statement.
Plus, this project can be adapted to suit all ages of kids. Use simple shapes for the younger kids and let your older kids get as artistic as they want.
Disclosure: There are Amazon Affiliate and other affiliate links in this article which means, at no additional cost to you, we could receive compensation for our recommendations. You can read our full disclosure policy on our Disclosure Page for more details.
Table of Contents
Supplies Needed
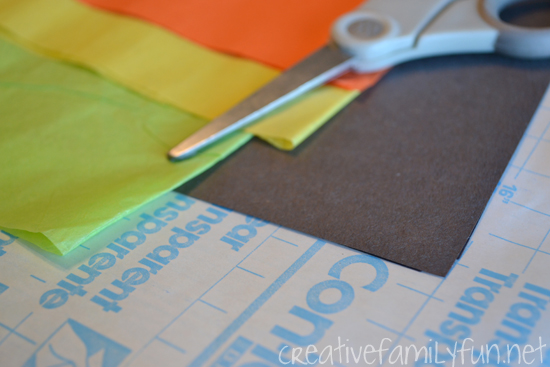
Clear contact paper
Scissors
Black construction paper
Colored tissue paper (we used orange, yellow, and green)
How to make your Silhouette Halloween Suncatcher
Cut pieces of contact paper so that it is 1/4-inch to 1/2-inch bigger on all sides than your piece of construction paper. You will need two pieces of contact paper for each silhouette.
Take the backing off of one of your pieces of contact paper and lay it sticky side up on your table. I usually tape it down to the table so it doesn’t go all over the place while the girls are working.
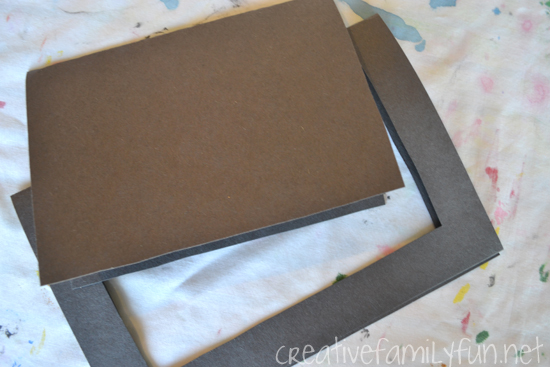
Next, make a frame by folding your black paper in half and cutting a 1-inch border off the edges in one continuous line.
Once you unfold it, you will have a nice black frame for your picture. You can use the middle section to make your silhouette.
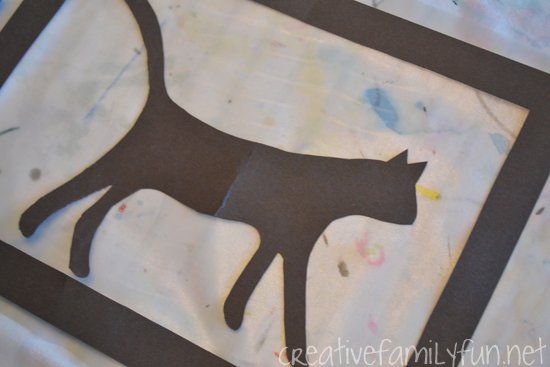
Now, use the extra black paper to make your silhouette.
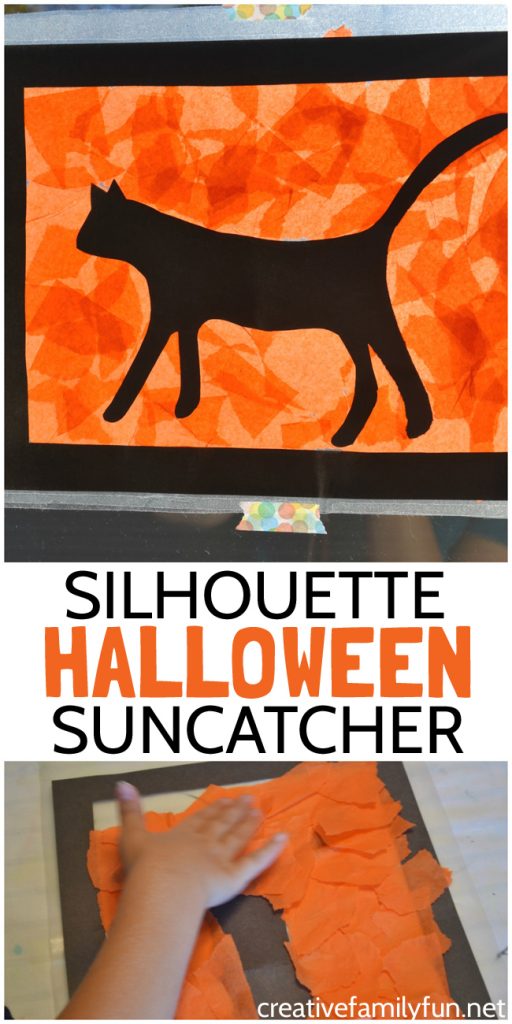
This would look perfectly lovely with a simple shape, like a pumpkin, witch’s hat, or a ghost. But, the girls got their hearts set on a more difficult shape… ahem – black cats.
This involved a bit of googling, searching. and printing so we could trace our shapes. There is no need to get so difficult!
Cut out your silhouette and place it inside your frame.
Next, tear your tissue paper up into small pieces and layer it over the clear spaces within your frame.
Don’t worry about covering up your silhouette. You’re working on the backside and once you flip it over, you’ll be able to see the entire shape.
Once you’re finished, add your second piece of contact paper on top of your silhouette so your picture is sandwiched between two pieces of contact paper.
Flip your pictures over, trim the edges, and hang in a sunny window.
I absolutely love the way these turned out!
You may also like one of these fun Halloween Activities:
Halloween Puppets from Craft Sticks
The Best Halloween Suncatchers for Kids
No-Sew Ghost Hand Puppet from Mama Smiles
Latest posts by Terri Thompson (see all)
- Cardboard Tube Turkey Craft - October 30, 2023
- Simple and Fun Shape Crafts for Toddlers - October 25, 2023
- Thanksgiving Math Activities for Kids - November 10, 2022
