I had a completely different plan when we began this project.
Yes, I had planned life-size, but the original plan was to make scarecrows.
The girls had a different idea!
Disclosure: There are Amazon Affiliate and other affiliate links in this article which means, at no additional cost to you, we could receive compensation for our recommendations. You can read our full disclosure policy on our Disclosure Page for more details.
We began with a roll of brown wrapping paper. You can find this paper easily, and it’s usually inexpensive. I found ours at our local dollar store.
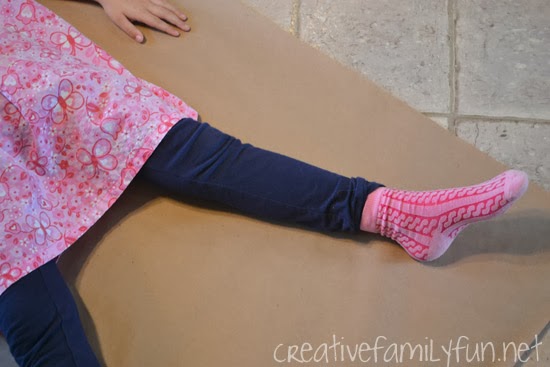
We rolled out the paper and had the girls take turns lying down on it. We used painter’s tape on each end to keep the paper from rolling back up.
I then traced around each girl in pencil. (Warning: this part of the process can cause intense giggling and has been known to tickle!)
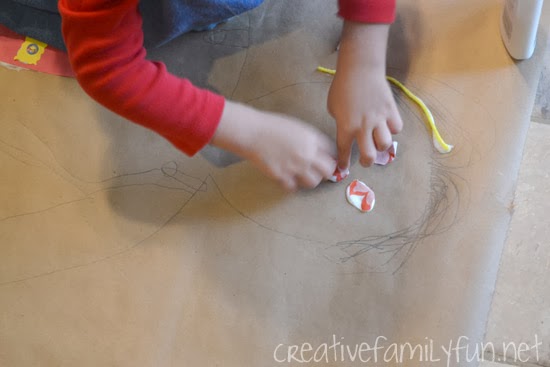
We rummaged through our craft closet and found bits of scrap fabric, scrap paper, yarn, and tissue paper. We also grabbed our markers and crayons.
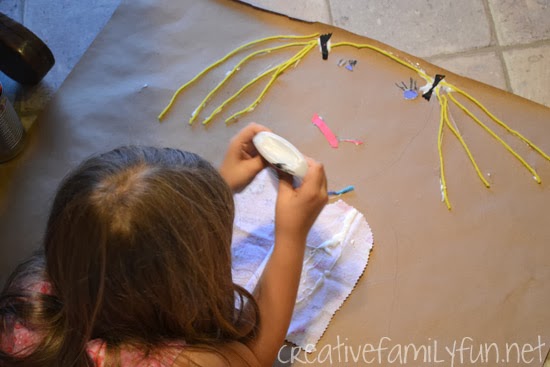
After we had everything set up, I stepped back and let the girls create on their own. I can’t begin to tell you how hard that was for me to do, but I did it and I’m so glad I did.
They considered the idea of scarecrows for about 2 minutes, then completely dismissed that idea.
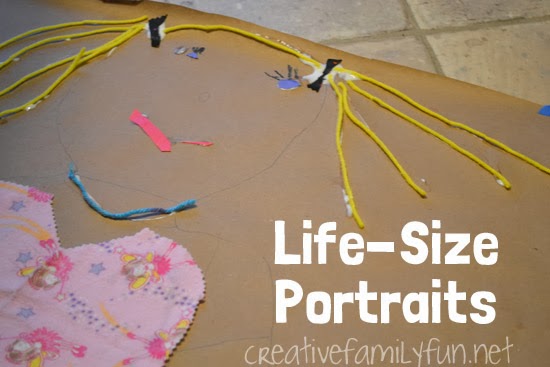
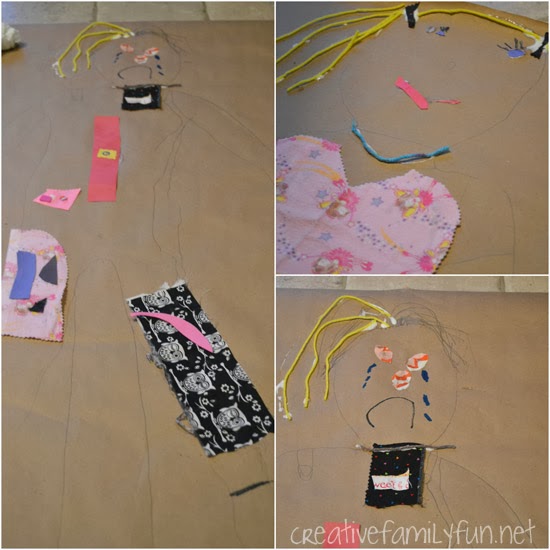
They started adding long hair with bows. They added necklaces and dresses.
It wasn’t long before a couple of pretty princesses appeared. One was happy and dressed for a ball. The other was sad and crying huge tears because she couldn’t go to the ball. Oh, how I love their creativity.
We do a lot of art & craft projects in our house.
I found our life-size portraits especially valuable because we focused on the process. I let the girls take full control of the project and the outcome was even better than I could imagine.
Have you ever created life-size art with your kids?
