*Disclosure: I was offered an extended free trial of K5 Learning
in exchange for my fair review.
This post also contains affiliate links.
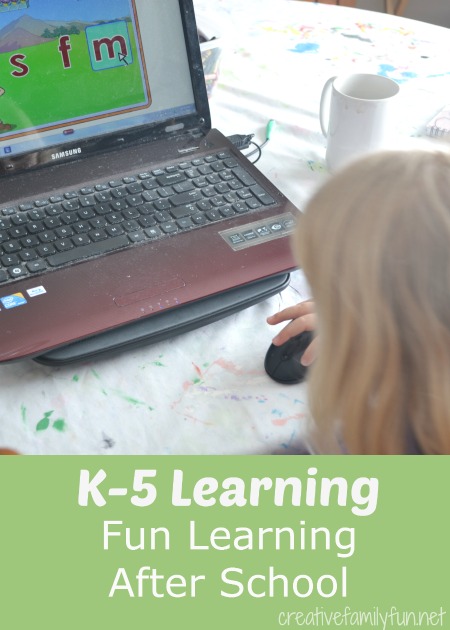
My girls love using the computer and they’re always asking for computer time. So, when K5 Learning contacted me to see if we wanted to try their service, I jumped at the chance.
K5 Learning was designed for after school (and home school) use to help kids in grades K – 5 with reading and math. The lessons are short and fun. They recommend beginning with an assessment, which we did. In doing so, we ended up with lessons that were just right for my 1st grader. She wasn’t bored with lessons that were too easy, nor was she intimidated by stuff that was too hard. I also appreciated the chance to see exactly how she was doing in math and reading. She was a bit ahead of the game and enjoyed having the extra challenge after school.
K5 Learning is entirely online, but it is safe. The lessons open up in a new window and the kids can’t navigate out. There are no ads, chat functions, or external links. It’s easy to navigate. My 4-year-old had no problem navigating her way around the program.
What did I like about it?
I loved that it was customized to my girls’ abilities and not their grade level. My 4-year old worked on her ABCs while my 1st grader worked on reading comprehension and vocabulary.
I loved that parents have access to assessment reports. You can find out where your child excels and where they need extra help. You can even assign specific lessons for those things that they need extra help with.
I loved that my girls enjoyed it. They had fun. It was educational, but they didn’t care. They giggled. They learned.
I loved that my girls learned A LOT. I was amazed at every thing they learned during our 6-week trial.
Do you want to learn more?
Check out the K5 Learning informational page at this link.
So, how much does it cost?
You pay $25 a month for the first child and $15 a month for each additional child. You can also pay a year at a time $199 for the first child and $129 for each additional child. You do get to try it out before entering in a credit card number. K5 Learning offers a 14-day free trial with no obligations. Try it and see if you like it.
Is it worth it?
I think so.
If you’re interested in trying K5 Learning, click on the banner below to learn more and sign-up for the free trial.