If you were a superhero, what would your super powers be? Would it be invisibility? The ability to fly? Or super strength? I recently asked the girls that very question and had them come up with their own super-secret super hero identity.
It was an easy writing prompt and one that they took to quite eagerly. Because, honestly, who hasn’t daydreamed about being a super hero?
Are you ready? Grab the markers or crayons and send your imagination soaring.
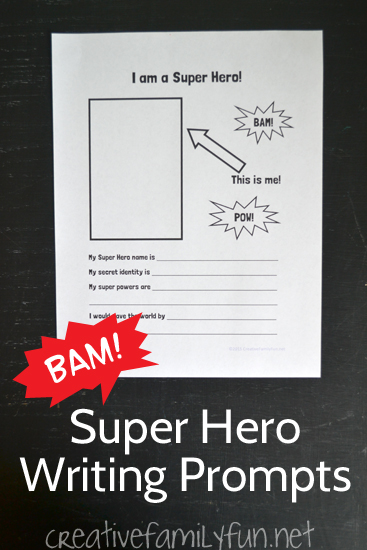
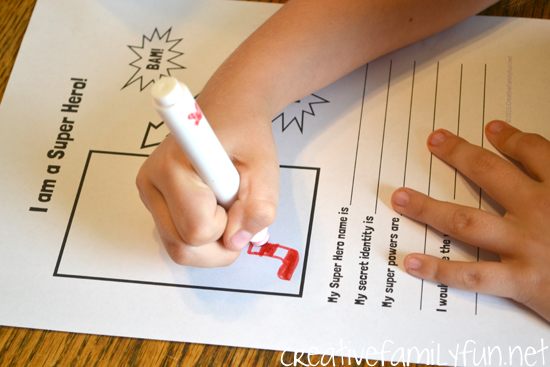
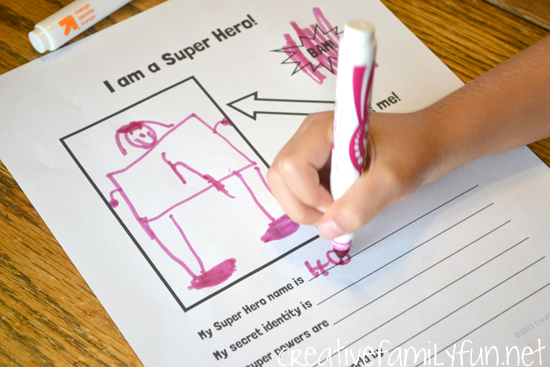
All you need is the “I am a Super Hero!” printable and your imagination. What is your super hero name? Your secret identity? And your super powers? Draw a picture of yourself as a super hero.
It’s so wild to see what your kids create!
Disclosure: There are Amazon Affiliate and other affiliate links in this article which means, at no additional cost to you, we could receive compensation for our recommendations. You can read our full disclosure policy on our Disclosure Page for more details.
We had Horse Girl with the powers of galloping and super-strong kicks. We also had Garnet Girl who dresses all in red. Her super powers are flash speed (i.e. she’s as fast as the Flash!) and super strength. Our house is safe with these two watching out for us.
What are you waiting for? Download the printable and have fun!

Check out the rest of the 2nd Grade Blogging Team for even more super hero themed activities:
Super Hero States of Matter from Look! We’re Learning!
Super Math Skip Counting from Sugar Aunts
Free Math Printable for Inequalities with Addition from Life Over C’s
Superhero Pattern Stones from Rainy Day Mum
Super Hero Reading Logs from 123 Homeschool 4 Me
Superhero Contractions Memory Game from School Time Snippets
Superhero Cityscape Art Project with Van Gogh from Preschool Powol Packets
Create your own Superhero Comic-Photo-Strip from Crafty Kids at Home
Super Hero Self Portrait from Still Playing School