I don’t know about you, but I can’t go to the library without a bag to hold all my books. It’s crucial, especially when you like to check out piles of books!
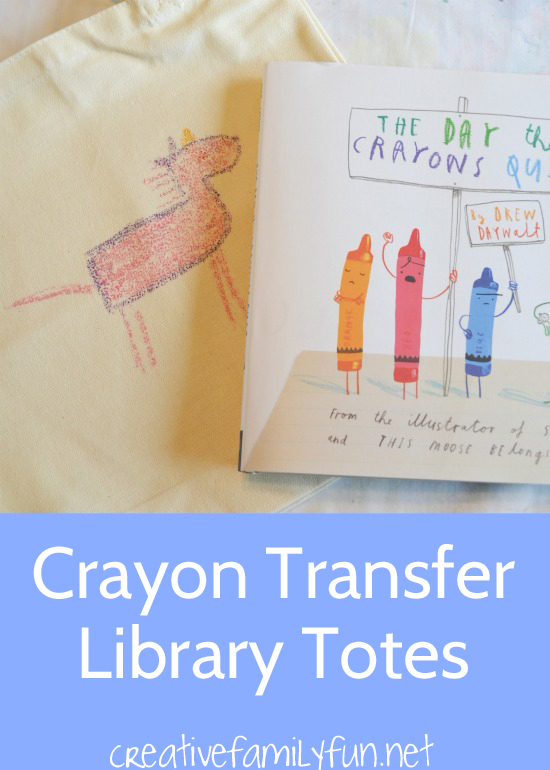
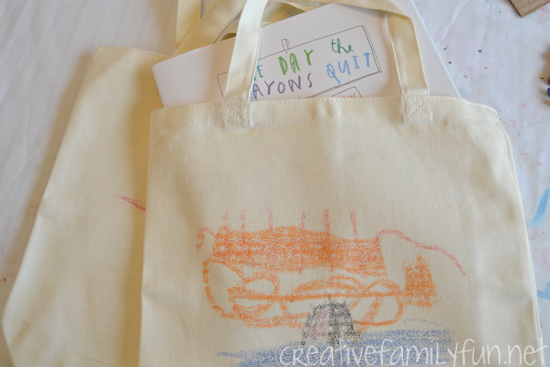
We some fun personalized bags inspired by a new favorite children’s book. Read along to find out how we made our crayon transfer library totes.
*This post is written in partnership with Penguin Kids in celebration of the book The Day the Crayons Quit. They provided us with copies of the books for inspiration. This post contains Amazon Affiliate and other affiliate links. Please see my disclosure for more details.
Have you ever read The Day the Crayons Quit by Drew Daywalt and illustrated by Oliver Jeffers?
It’s a delightful book that consists of letters from all of Duncan’s crayons who are ready to do something different. We love it!
Penguin Kids invited us to join them in their month-long celebration of this book. The crayons have gone on strike! And, we’ve given them reason to come back and have fun with our crayon transfer library totes.
Table of Contents
Supplies Needed for Your Crayon Transfer Library Totes
Fine sandpaper
Tote bag
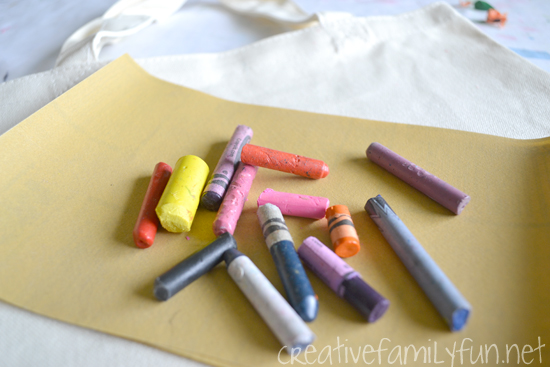
Crayons (use your broken pieces for this project)
Newspaper
Iron
Create Your Drawings
Before beginning the process, decide what you wanted to draw.
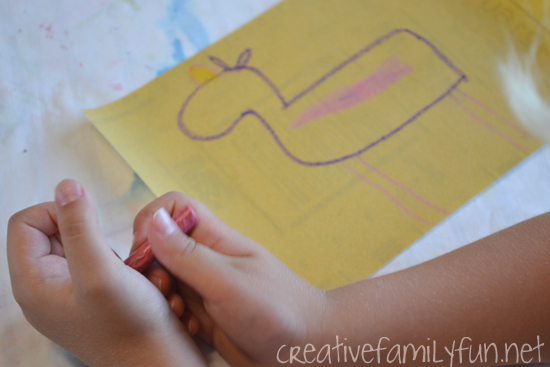
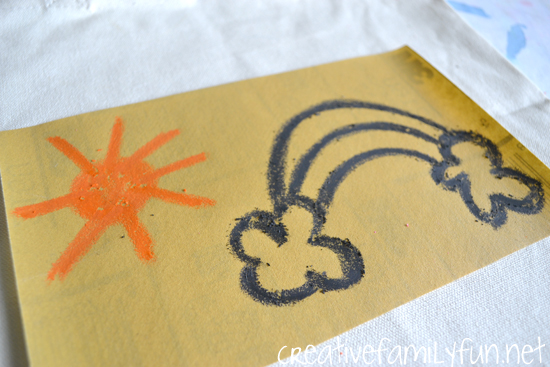
We made drawings inspired by all the things the crayons wanted to draw in the book, such as black rainbows and pink dinosaurs and horses.
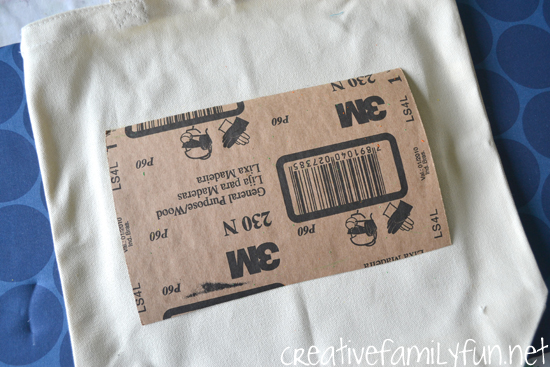
Use your crayons to draw your picture on your sandpaper. I tested a couple of different types of sandpaper and found that the fine grit worked the best for this project. The coarse grit did not transfer our designs onto the tote bag well at all, so pick up the finest grit you can find.
Color your pictures as heavy as possible.
This is a great project to use up some of your broken pieces of crayon. The sandpaper will eat away at the crayons, so you won’t want to use your brand new box.
Also, note that because of the iron-on transfer process, if you want to write any words, you will need to write everything backwards!
Transfer Your Design
Once you’re finished with your drawing, slide a piece of cardboard inside of your tote bag.
Then turn your sandpaper upside down and center it onto your tote bag.
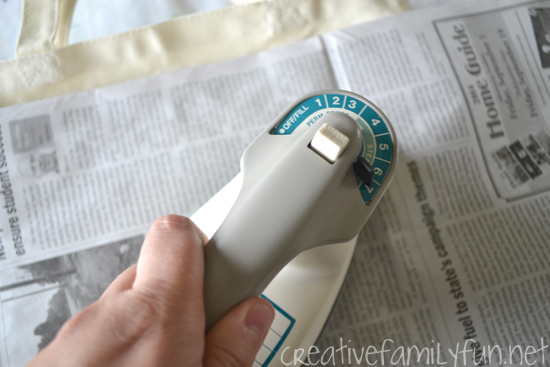
Place a sheet of newspaper over top. We had scattered bits of crayon on the back of our sandpaper and I did not want that on my iron. The newspaper will protect your iron.
Heat your iron to it’s highest setting and start ironing over the newspaper. Move back and forth over your newspaper to transfer your drawing. You’ll need to iron for a good five minutes.
If you lift up your newspaper, you’ll see wax coming through to the back. This is a good way to see if you’re close. Avoid lifting the sandpaper until your design is transferred.
Beware, the sand paper is very hot after ironing and will need to cool a bit before you can safely lift it. My girls helped with this process, but it does require close adult supervision.
After your design is transferred, throw your crayon transfer tote bag in the dryer for about 20 minutes to set your design.
I hope our crayon transfer library bags convince the crayons to come back to work!
Do you want to join in the fun? There are two things you can do.
First, Penguin Kids is sponsoring a Pinterest sweepstakes where you can win a $100 AmEx gift card. You can find the details here at this link. The sweepstakes runs through Sept. 30, 2014. You can also click on the blue crayon below to go to the official Pinterest board for the contest.
You may also enjoy one of these fun projects:
School Spirit Washer Necklaces
Hole-Punched Bookmark Craft for Kids
Cardboard Tube Yeti Craft for Kids
Simple Ribbon Bookmarks at My Joy-Filled Life
Latest posts by Terri Thompson (see all)
- Cardboard Tube Turkey Craft - October 30, 2023
- Simple and Fun Shape Crafts for Toddlers - October 25, 2023
- Thanksgiving Math Activities for Kids - November 10, 2022
