There are so many examples of symmetry in nature, from the perfectly matched halves of a leaf down to the tiny perfectly symmetrical snowflake.
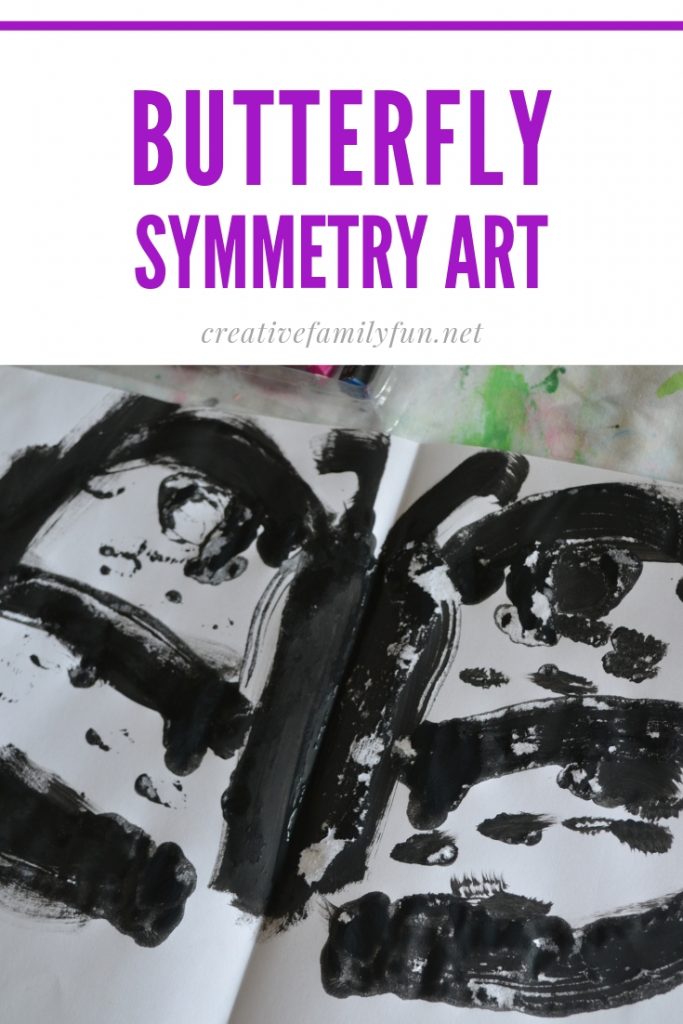
One example that I find most beautiful is the butterfly. It was the perfect subject to use in this simple art project.
Not only did we explore symmetry, but we also explored the concept of warm and cool colors.
Keep reading to find out how we made our Butterfly Symmetry Art with Warm and Cool Colors.
Disclosure: There are Amazon Affiliate and other affiliate links in this article which means, at no additional cost to you, we could receive compensation for our recommendations. You can read our full disclosure policy on our Disclosure Page for more details.
Table of Contents
Supplies Needed:
White paper
Black paint
Paintbrush (a wide paint brush works best for this project)
Oil pastels
To prep this project, all you need to do is fold your white piece of paper in half.
Make your symmetry butterfly art
The first part of this project is all about symmetry.
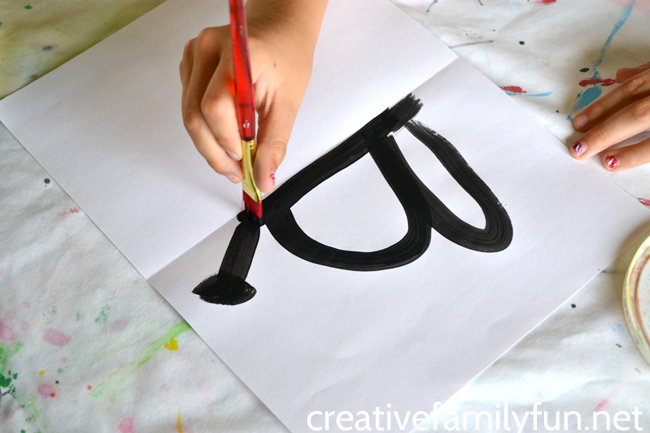
Using only one half of your paper, paint half of a butterfly.
Do it quickly and don’t get too fancy. You don’t want your paint to start drying.
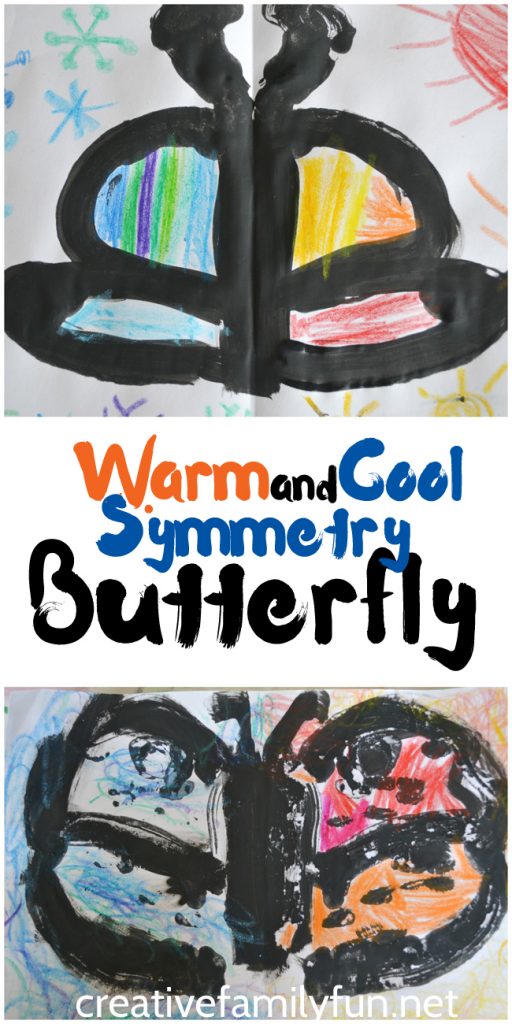
A simple way to start is to paint a thick black line next to your folded crease. Add one antennae coming from the top and then your wings. You don’t need to add too much detail at this point. You just want a simple butterfly shape.
Keep your paint thick – thicker than you normally would paint.
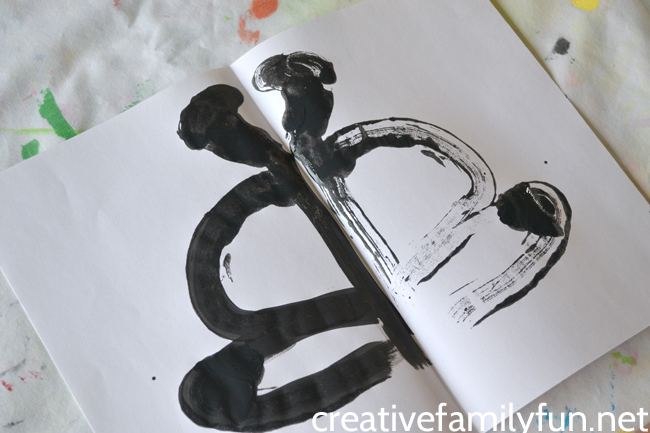
As soon as your butterfly half is done, refold your paper. Press the two sides together for at least a minute.
Unfold your paper and you’ll have a full butterfly!
My girls used the black paint to trace over some of their lines. They wanted thick black lines on each side.
You can do as they did or leave one side lighter than the other.
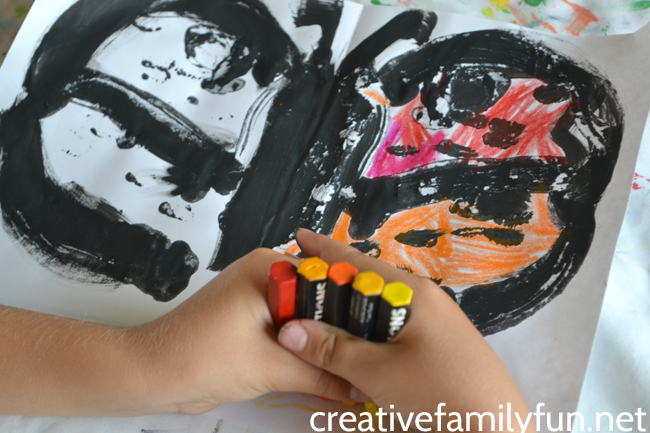
The next part of this butterfly symmetry art is all about warm and cool colors.
Have your kids learned the concept of warm and cool colors yet? Basically, you split your color wheel in half. The hemisphere with orange, yellow, and red are your warm colors and the hemisphere with purple, blue, and green are your cool colors.
For this project, we’re going to color half of our butterfly symmetry art with warm colors and the other half with cool colors.

There’s no right or wrong way to do this part of the project. You can get detailed like my oldest daughter who included snowflakes in the background of the cool half and suns in the background of the warm half.
Or, you can do like my youngest daughter who took a handful of each grouping of colors and combined all the colors together.
Add details to the butterfly wings. Use solid colors, stripes, or checks. Don’t forget, you can always color the back ground!
This butterfly symmetry art is a fun and easy art project to do at home to reinforce a couple of different concepts: symmetry and warm/cool colors.
You may also like one of these art projects for kids:
Black and White Apple Prints: A Lesson in Contrast
Beautiful Spring Art Projects for Kids
Stained Glass Butterfly Art at Rainy Day Mum
My must-have kids art supplies
It’s easy to do fun art projects with you kids if you keep some simple art supplies on hand. Here are some that I recommend (and all you need for this simple butterfly painting):
Do you want to do more activities with your kids?
Join our fun Facebook community, Creative Family Fun for Busy Families, for daily activities that are great for kids and families. We’ll chat, share, and have fun. It’s a safe and private place to share ideas for family and kids activities.
I’d love for you to join me! Just click the link below, request to join, and answer the questions (they’re easy, I promise). Come join the fun! Join the Creative Family Fun for Busy Families community here.
Latest posts by Terri Thompson (see all)
- Winter STEM Projects for Kids - January 20, 2026
- Melting Snow Science Experiment - January 18, 2026
- Cardboard Tube Turkey Craft - October 30, 2023