Out of the dozens of cardboard tube crafts we’ve made over the years, we’ve never made a turkey. Go figure.
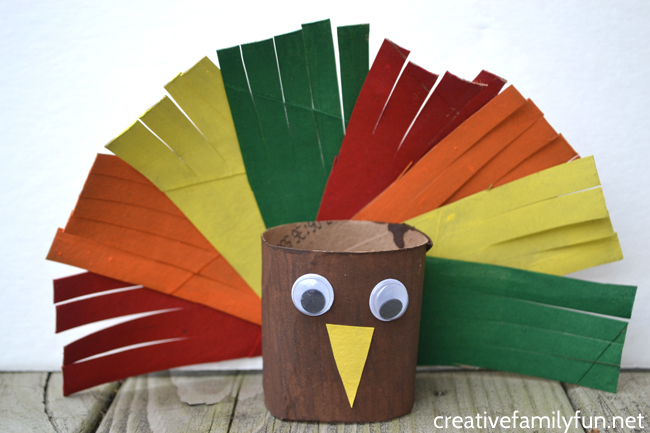
So, this was the year to correct things (and use of that supply of cardboard tubes we’ve accumulated) and make a cute and very colorful Cardboard Tube Turkey Craft.
Let’s grab some supplies and get crafting! And, once you’re done with your turkey, check out all of our Thanksgiving Crafts for Kids for more holiday fun with your kids.
Disclosure: There are Amazon Affiliate and other affiliate links in this article which means, at no additional cost to you, we could receive compensation for our recommendations. You can read our full disclosure policy on our Disclosure Page for more details.
Table of Contents
Supplies Needed:
2 empty cardboard tubes
Scissors
Red, orange, green, yellow, and brown craft paint
Glue
Googly Eyes
Scrap of yellow paper
How to make your Cardboard Tube Turkey Craft
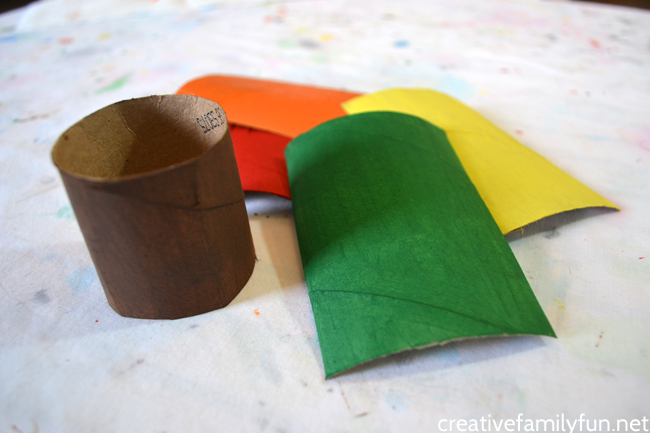
To start, we need to cut up our cardboard tubes. Cut one tube in half. We’ll only use one of the halves for our turkey, so set the extra half aside. If you’re making this craft with a group, precut the tubes in half to eliminate waste.
Cut the second cardboard tube lengthwise into four different sections.
Paint your half tube brown and your lengthwise sections in red, orange, yellow, and green.
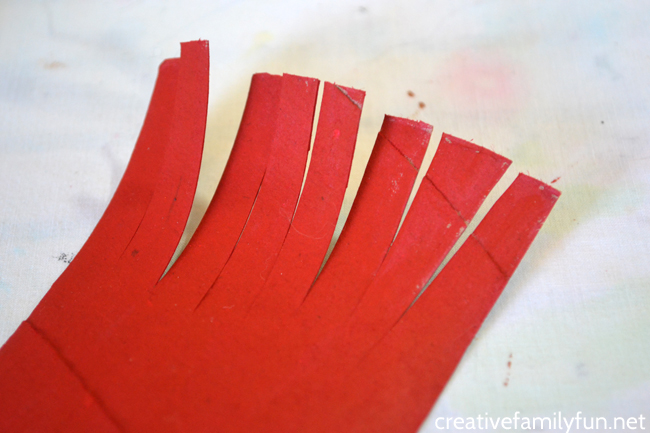
After your paint is dry, cut fringes in the top of each color section.
Then, cut each of the tail sections in half lengthwise. You’ll have eight different fringed pieces for your tail.
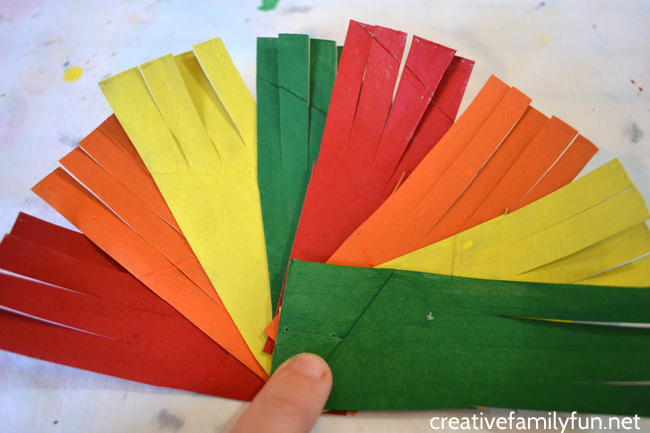
Alternate the colors of your tail pieces and arrange your fringed section into a fan-shape just like in the photo above.
You’ll want it to be in the shape of a half circle.
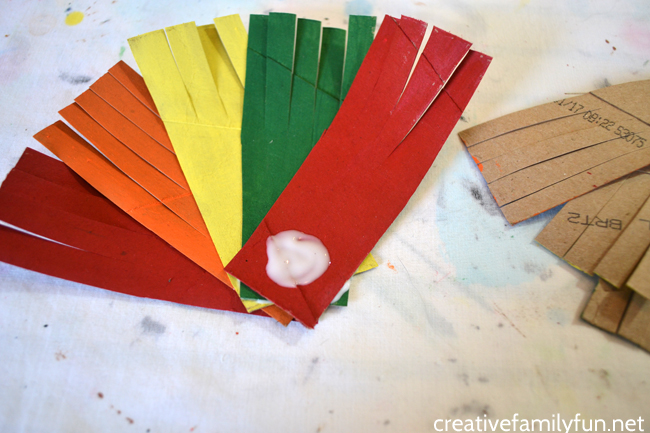
Glue your tail pieces together. Start with the first piece, and use a quarter-size spot of glue to glue each piece down.
Glue piece by piece until you have your fan shape complete.
Hold tight for awhile to let the glue dry. Then, take a clothespin (or any type of clip) and clip the glued section to hold it tight while the glue dries. It can take awhile for the glue to dry since this is such a thick piece.
Note: If you would like to avoid the drying time, you can use a hot-glue gun for this project. It will dry a lot faster and you won’t need to use the clothespin as a clamp. If your kids are old enough to use a hot-glue gun, I would use this instead of the white glue to cut back on waiting times.
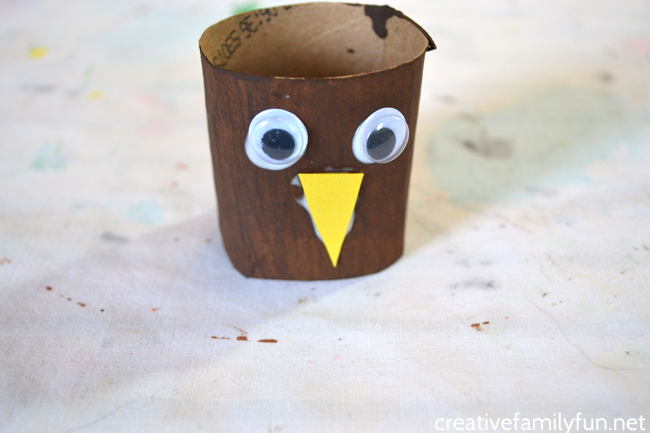
While you’re waiting for your tail to dry, complete the turkey’s face.
Glue two googly eyes to your brown painted cardboard tube. Then add a small triangle of yellow for the beak.
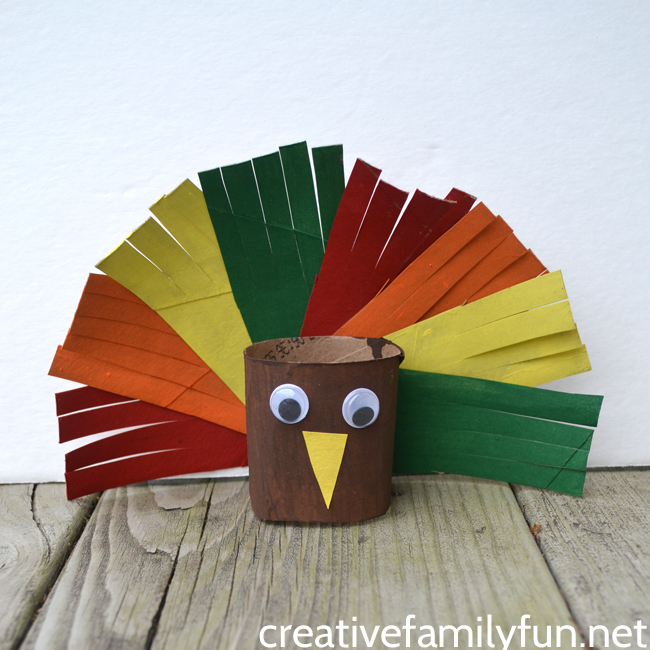
Finally, take your tail (which will be a bit heavy) and glue it to the back of your turkey. Use your clothespin to help hold the two pieces together until they dry. (Again, use your hot glue gun for this step to cut back on drying time.)
Once everything is dry, your super-cute and colorful turkey craft is ready for display.
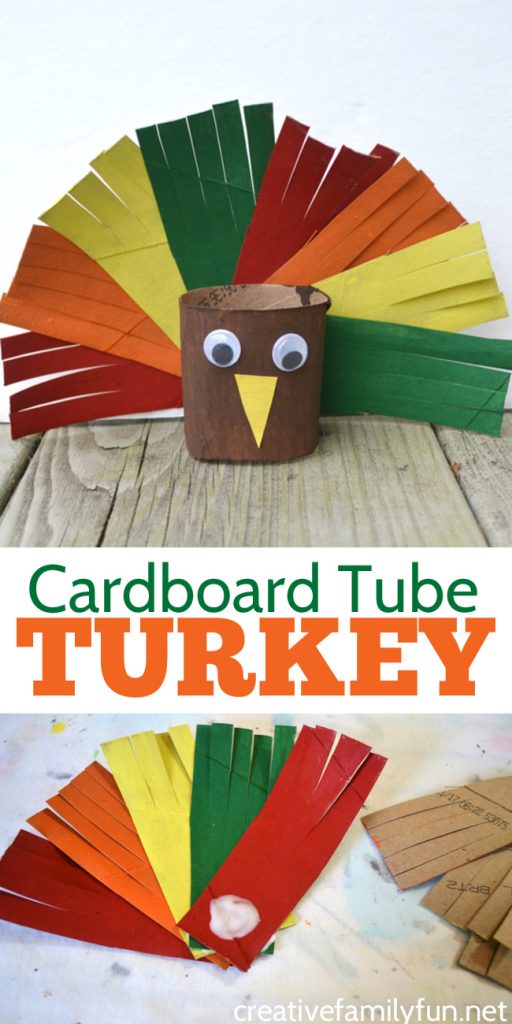
If you enjoyed this Cardboard Tube Turkey Craft, the above photo is perfect for sharing on Facebook or you can save the photo below on Pinterest.
You may also like one of these Thanksgiving activities for kids:
Cardboard Tube Pilgrim Hat Craft
Fun Cranberry Activities for Kids
Sensory Bottle Turkeys at Fun-A-Day
Fun Thanksgiving Books To Read With Your Craft
The Night Before Thanksgiving by Natasha Wing
Bear Says Thanks by Karma Wilson
A Turkey for Thanksgiving by Eve Bunting
Cranberry Thanksgiving by Wende and Harry Devlin
How to Catch a Turkey by Adam Wallace
Recommended Resources for Thanksgiving Crafts
If you’re looking for easy crafts, I love the limited addition Thanksgiving Box from Green Kid Crafts. It comes with all the supplies and instructions you need to make some cute Thanksgiving Crafts. We’re big fans of Green Kid Crafts boxes. They’re fun, easy, and contain only natural and sustainable materials. And, if you’re not interested in their Thanksgiving Box, there are plenty of other art and STEM boxes (including a monthly subscription) to choose from.
Find the Thanksgiving Box here.
Check out all the other boxes here.

Latest posts by Terri Thompson (see all)
- Winter STEM Projects for Kids - January 20, 2026
- Melting Snow Science Experiment - January 18, 2026
- Cardboard Tube Turkey Craft - October 30, 2023