Now that Thanksgiving is over, we’ve officially started Christmas crafting.
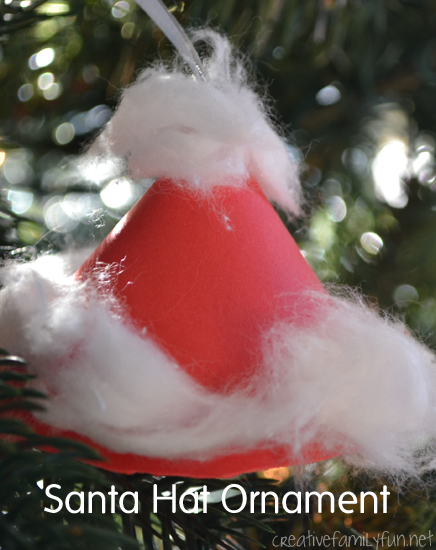
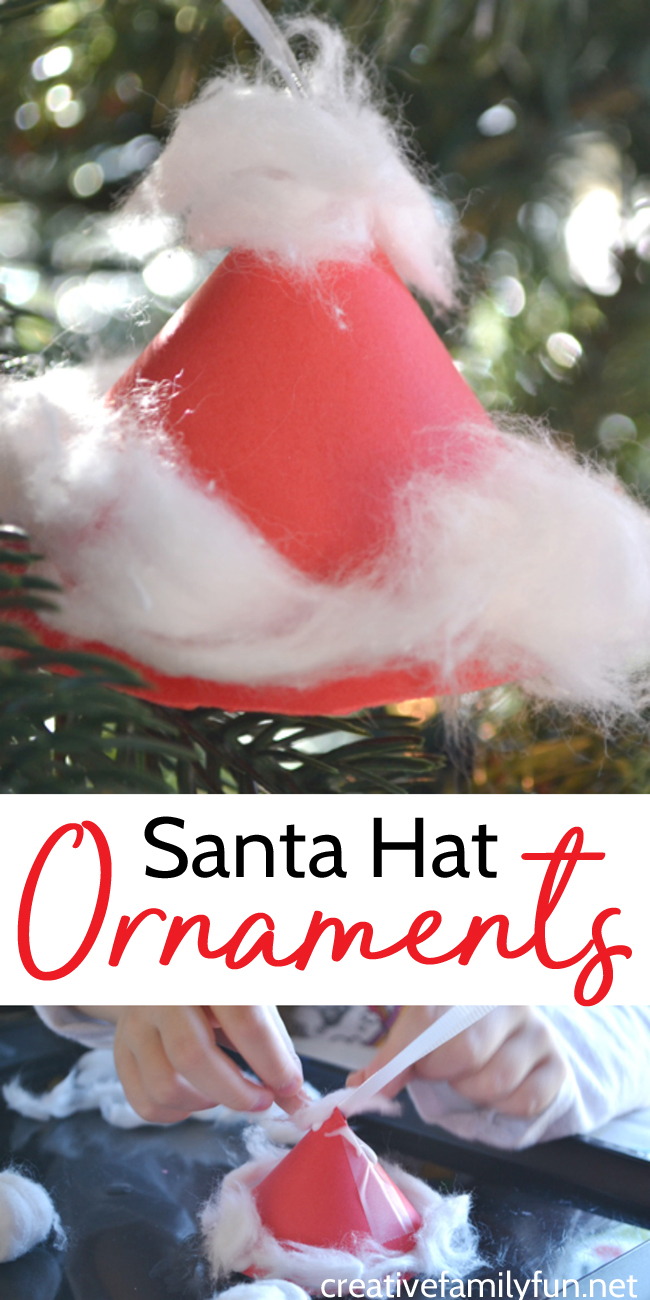
Our first project was a Santa Hat Ornament.
They were easy to make and you probably already have all the supplies on hand.
Disclosure: This post contains Amazon Affiliate and other affiliate links. Please see my Disclosure Page for more details.
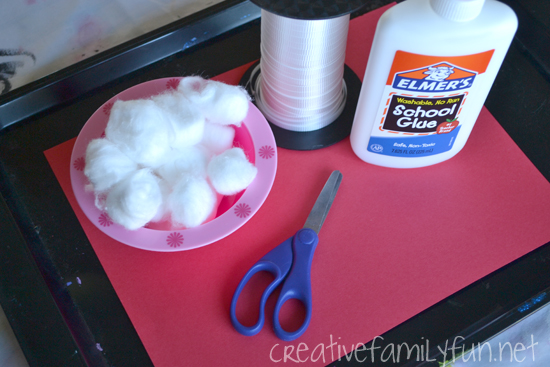
Table of Contents
Supplies Needed:
Red card stock or construction paper
Circle template
Tape (not pictured)
How to make a Santa Hat Ornament
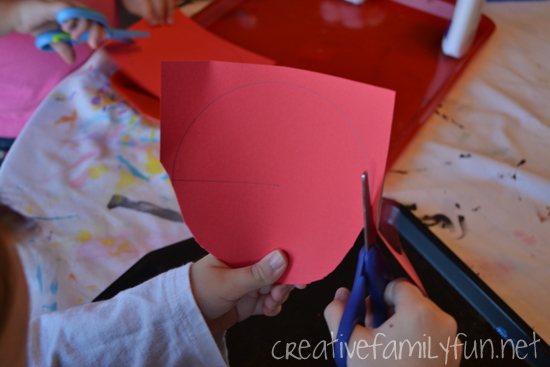
To prep this project, trace a circle on the red card stock. I used a bowl from our play kitchen as my template. Search around your house for a circle the size that you want. It shouldn’t be hard to find.
After tracing your circle, draw a line from the center to the outside edge.
Then you will need to cut out your circle and cut the line from the edge to the center.
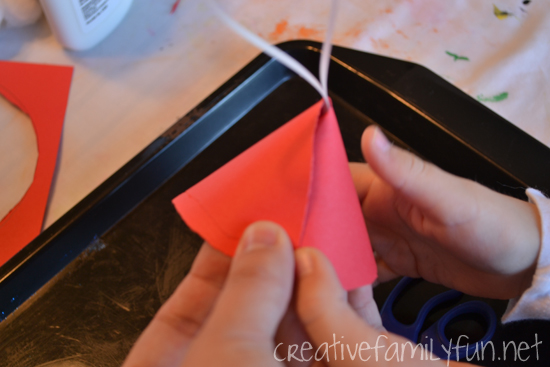
Once your circle is cut out, you will want to form it into a cone.
Before forming into the cone, tape the ends of your ribbon inside the hat so that the loop will stick out the top.
Tape the edges of the paper securely to hold the cone shape.
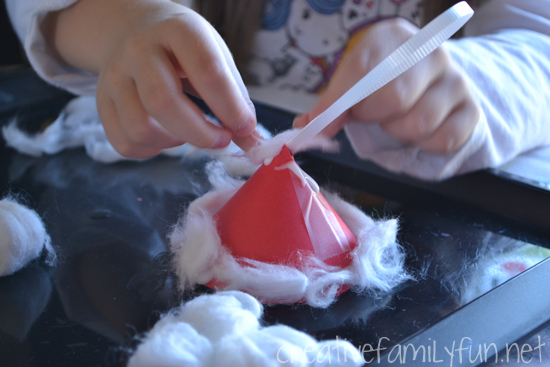
Pull your cotton balls apart so they are nice and fluffy.
Apply a line of glue around the bottom of your hat and also around the tip. Apply your cotton fluff to the glue.

Ta-da! Now, you’re done with your ornament. Once the glue is dry, you can hang your Santa Hat Ornament on your Christmas tree.
What Christmas crafts are you planning on doing this year?
You may also like one of these Christmas crafts:
DIY Scratch Art Christmas Ornaments
Salt Dough Candy Cane Ornament
Mini Wreath Photo Frame Ornaments from Teach-Me Mommy
Latest posts by Terri Thompson (see all)
- Winter STEM Projects for Kids - January 20, 2026
- Melting Snow Science Experiment - January 18, 2026
- Cardboard Tube Turkey Craft - October 30, 2023