Every year, we make tons of homemade ornaments for our Christmas tree.
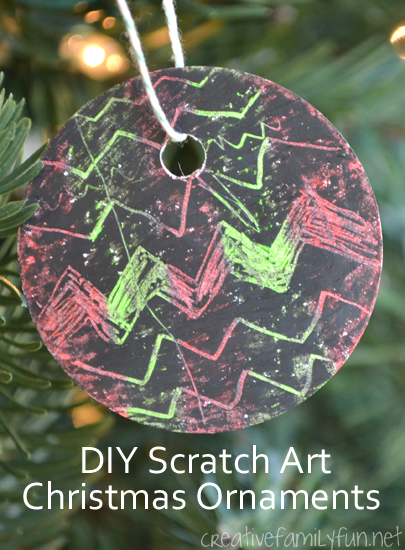
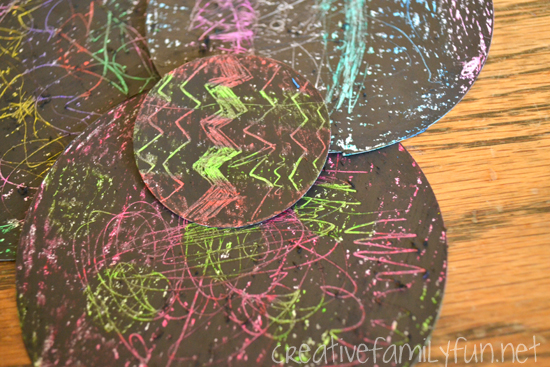
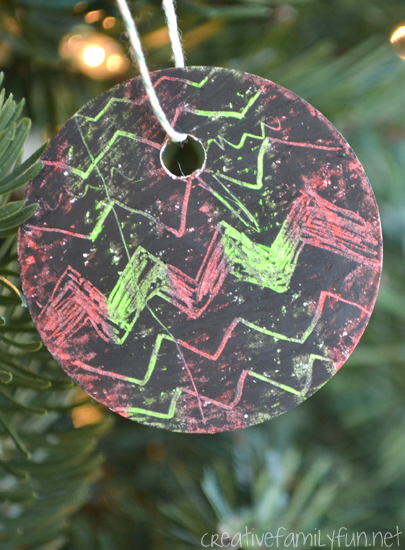
One of the projects we made this year were these fun scratch art ornaments.
I had to do a lot more prep ahead of time for this project, but the results were worthwhile.
The girls loved making their own designs to hang on the tree.
Disclosure: There are Amazon Affiliate and other affiliate links in this article which means, at no additional cost to you, we could receive compensation for our recommendations. You can read our full disclosure policy on our Disclosure Page for more details.
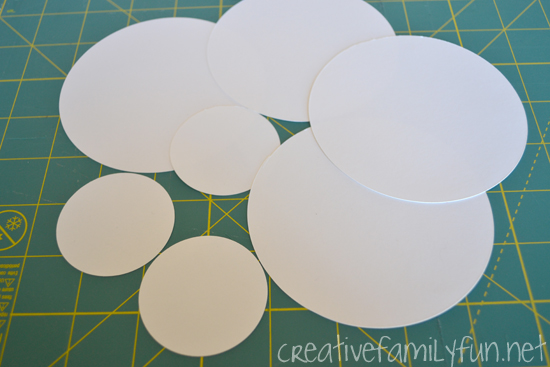
To begin, I cut a selection of circles from white card stock.
I used a couple of different sized circle punches to make life easier on me. (This is one of the circle punches I used)
If you don’t have punches, just use some drinking glasses as a stencil.
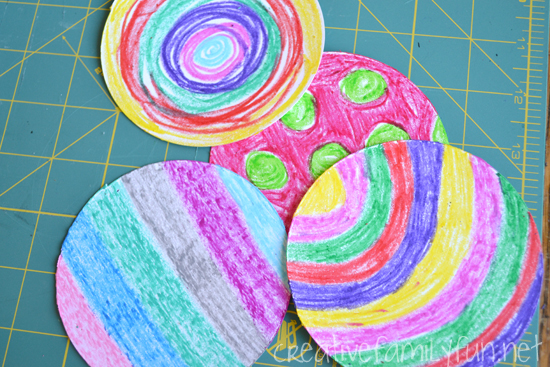
Next, I used our oil pastels to make colorful designs on the circles.
You can also use crayons, though you will want to color darkly.
I prefer using the oil pastels because they go on so much thicker than crayons.
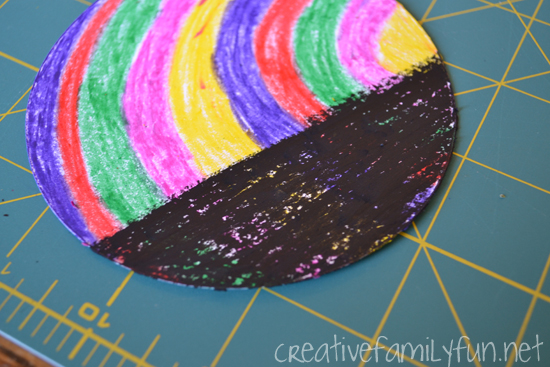
Finally, you’ll want to color over your designs with a thick coat of black.
When you’re done, it’s time to scratch!
We used a toothpick to gently scratch our designs on the ornaments.
Some were well planned out and others were random and fun.
When all were done, we punched a hole in the top, strung some string through the hole and hung them on our tree.
Scratch art is fun and you don’t have to buy a specialized kit to experience it.
Not only were these a fun afternoon project, but they would also be an easy and inexpensive stocking stuffer. Just bundle a few pre-made ornaments with a couple of toothpicks for scratching in a pretty package.
What a fun thing to find in a Christmas stocking!
If you’re looking for more kids Christmas crafts, please follow my Kid’s Christmas Ideas Pinterest board:
Latest posts by Terri Thompson (see all)
- Cardboard Tube Turkey Craft - October 30, 2023
- Simple and Fun Shape Crafts for Toddlers - October 25, 2023
- Thanksgiving Math Activities for Kids - November 10, 2022
