We’re trying to bring some fun spring colors into our house, so to decorate our windows, we made these fun and pretty painted suncatchers.
We’ve made suncatchers before using clear Contact paper, like these simple tissue paper ones or this flower garden.
But, this time, instead of tissue paper, we decided to paint our Contact paper.
Disclosure: There are Amazon Affiliate and other affiliate links in this article which means, at no additional cost to you, we could receive compensation for our recommendations. You can read our full disclosure policy on our Disclosure Page for more details.

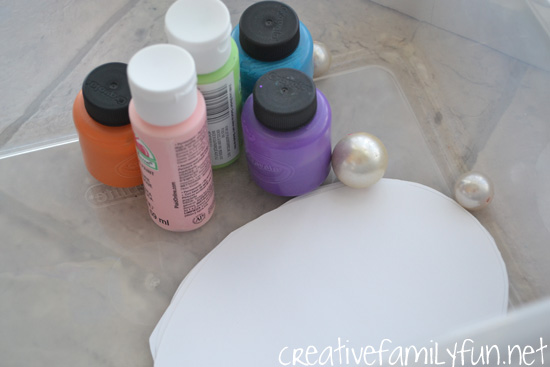
Supplies Needed:
Clear Contact paper
Acrylic paint
Yes, it just take two supplies to make these pretty suncatchers.
I prepped the project by cutting squares of Contact paper. I peeled the backing off and taped them to our table, sticky side up.
I used painter’s tape to tape the Contact paper down just so it would not move around while the girls tried to paint.
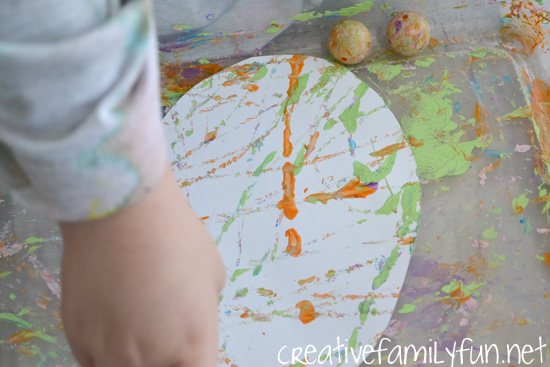
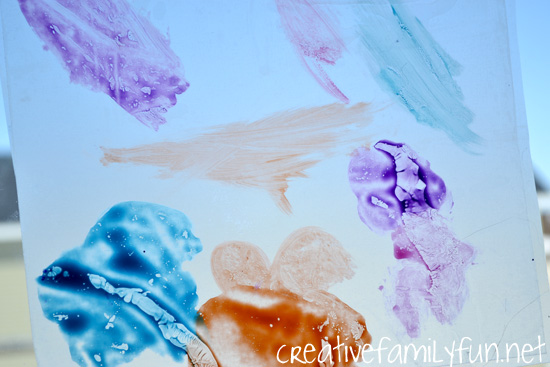
I gave each girl a selection of paints and brushes. I asked them to think about spring while they were working. Both started painting their own interpretation of a flower garden.

My original plan was to cut flower shapes out of their painted sticky paper, but the girls did not want me to cut up their masterpieces.
So, when they were finished painting, we sealed up their paintings with a second sheet of Contact paper.
I did not wait until the paintings were dry to add the second square of Contact paper. Once it’s sealed, the paint won’t get on anything.

We hung our suncatchers up on our patio window so that they could get plenty of sunshine, plus we can admire their beauty every time we eat.
It was fun to paint on a new and different surface and I love the look that we ended up with.
Have you ever painted on sticky paper?
P.S. Apparently great minds think alike. Soon after we finished this project, I read this post on Picklebums about See-Through Paintings. You should check out their twist of this same project!