Sometimes I find that we are doing a lot of “flat” projects – cards, paintings, etc.
And while there are plenty of amazing and fun projects that are flat, it’s can be fun to take things up a notch.
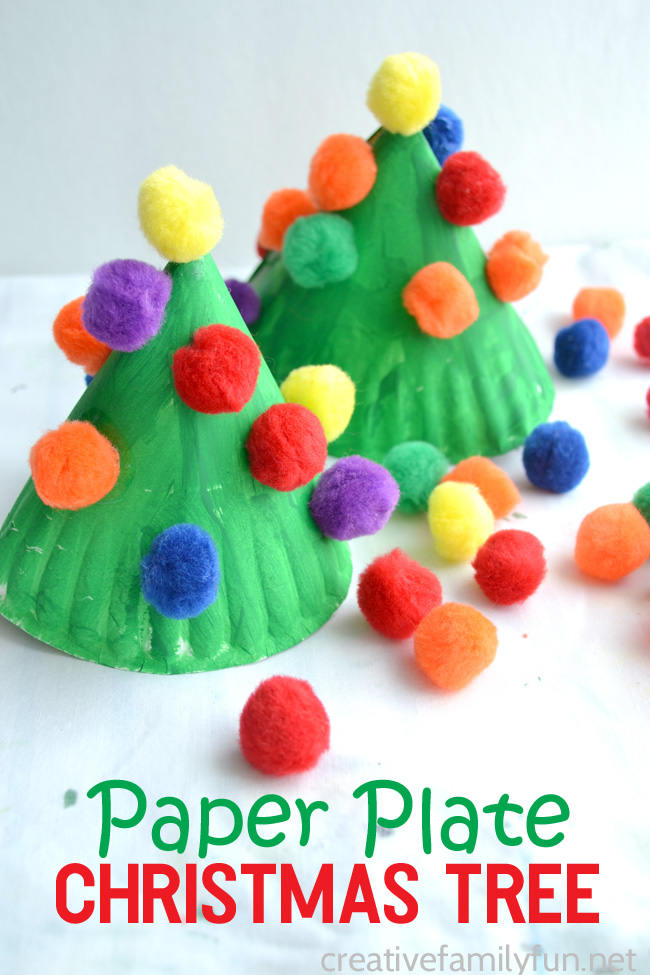
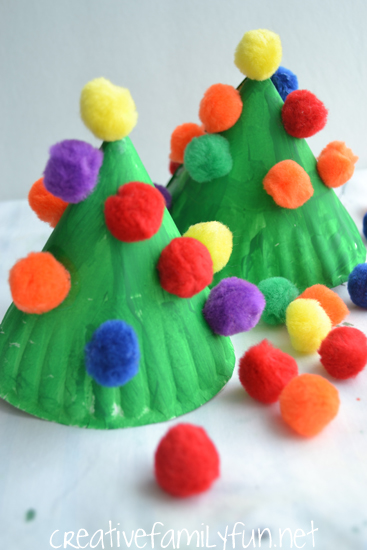
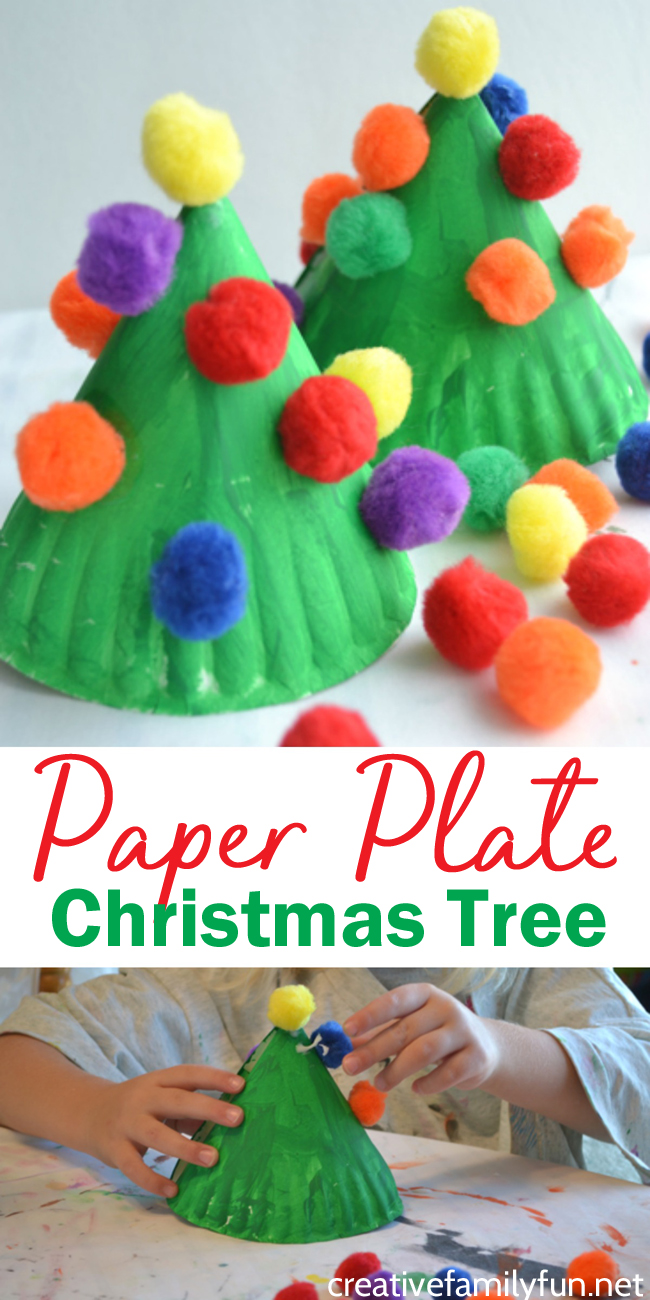
Enter this 3-D paper plate Christmas tree. This Christmas craft is easy to make and you probably already have all the supplies you need.
Disclosure: There are Amazon Affiliate and other affiliate links in this article which means, at no additional cost to you, we could receive compensation for our recommendations. You can read our full disclosure policy on our Disclosure Page for more details.
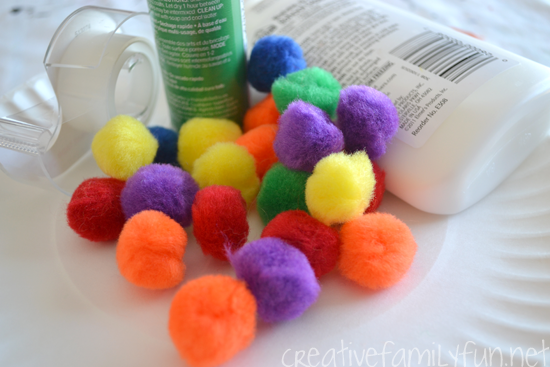
Supplies Needed
Paper plate (1 per tree)
Clear tape
Green paint
Glue (either school glue, pva glue, or Tacky Glue)
Multicolored pom poms*
*Note: While I love the look of the pom poms, don’t let a lack of these stop you from doing this project. Stickers, beads, gems, buttons, or sequins also work. Use what you have on hand.
How to Make a Paper Plate Christmas Tree
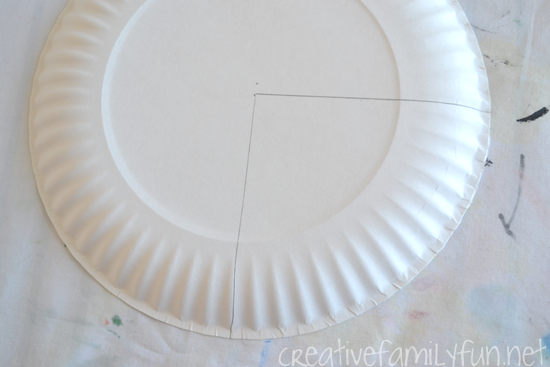
In order to make the cone shape, you will need to cut a chunk out of your paper plate.
Find the center and cut out a wedge. We cut out an entire quarter of our plate.
Roll the plate into a cone shape and seal with tape.
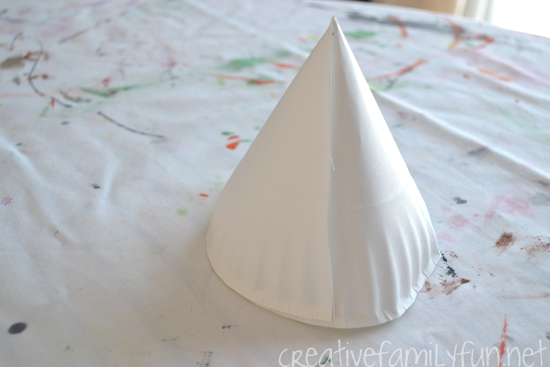
Since you will be painting the cones, keep all the tape on the inside. I made little rolls of tape and used that to hold down the outer flap down.
If you find you need tape on the outside, wait until your paint is dry before taping it down.
Paint your cone green. While it will work to paint your plate before making the cone, I’ve always found that my girls loved the idea of painting on the cone shape. Sometimes it’s fun to mix things up and paint on a different shaped object.
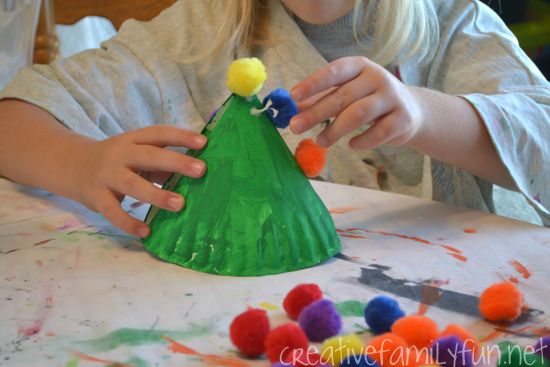
After the paint dries, glue on all your pom poms. We had a bag full of pom poms and thought they were a fun addition. We also thought our trees looked a lot like party hats!
Special note about the glue: We had great success with regular school glue (pva glue), but if it doesn’t work for you, use Tacky Glue or a low-heat glue gun.
Have fun decorating and don’t hold tight to the pom pom suggestion. If your kids have another suggestion, let them go for it. It’s all in the process and not the finished product.
When you’re done, find a fun place to display your cute mini paper plate Christmas tree. Our kid-made decorations are some of my favorites.

If you enjoyed this Paper Plate Christmas Tree craft, the above photo is perfect for sharing on Facebook or you can save the photo below on Pinterest.
You May Also Like One of These Christmas Activities

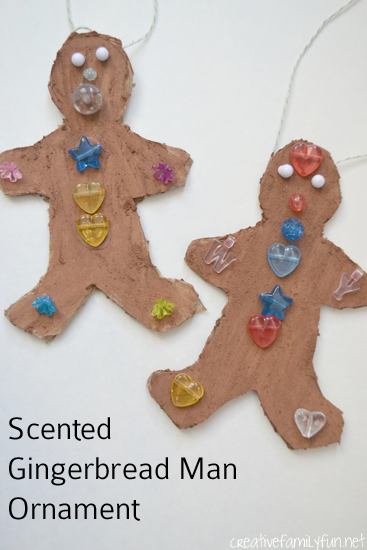
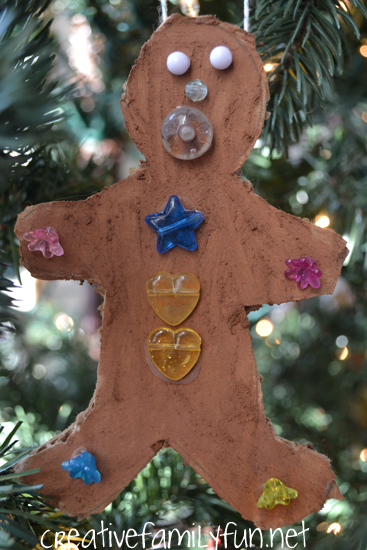
Use cinnamon scented paint to make fun Scented Gingerbread Man Ornaments.
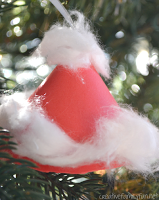
Nothing is cuter than these Santa Hat Ornaments hanging on the tree.
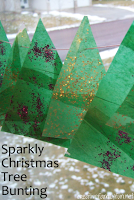
String a whole row of sparkly Christmas trees in your window with this Sparkly Christmas Tree Banner.
Try one of these Christmas Paper Plate Crafts over at Crafty Morning.
Or one of these Paper Plate Christmas Crafts for Kids at Growing a Jeweled Rose.