Why are flashcards always the default method for learning math facts?
I get that flashcards are easy. The problem is that they are B-O-R-I-N-G.
My daughter has been working on brushing up on her math facts and brought home some flashcards from school. After a couple of days of dragging ourselves through them, she asked for more interesting way to practice.
Well, being the good blogger that I am, I told her I’d come up with something. That’s when this Halloween addition game was born.
Awhile back, I found some fun ways to practice math facts and any of these ideas would have worked.
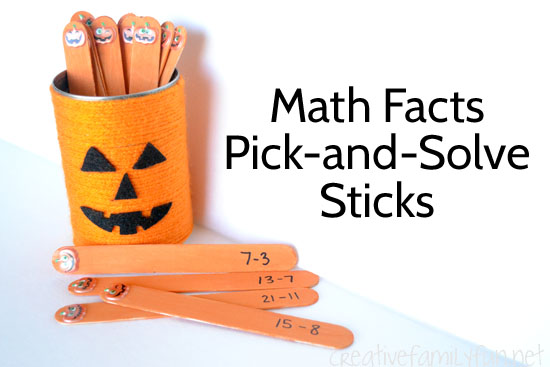
But this time I wanted something a little different. So, I got out some paint and some craft sticks and got to work on these Halloween Math Facts Pick-and-Solve Sticks.
Disclaimer: This post contains Amazon Affiliate links. Please see my Disclosure Page for more details.
Supplies needed
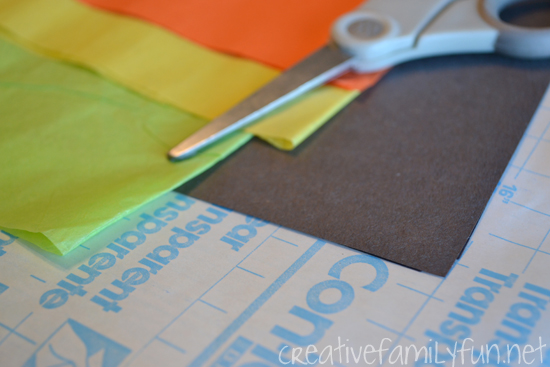
Large craft sticks
Orange paint
Black Sharpie
Pumpkin Stickers
Can (or any sort of container to hold the sticks)
How to make this Halloween addition game
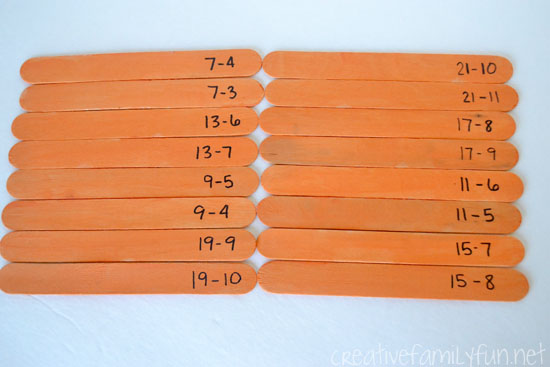
To create the pick-and-solve sticks, I painted 16 large crafts stick with orange paint.
I only needed 16 for our set of math facts. Just make what you need for the set of math facts you’re working on.
After the paint dried, I wrote a math fact at the bottom of each stick.
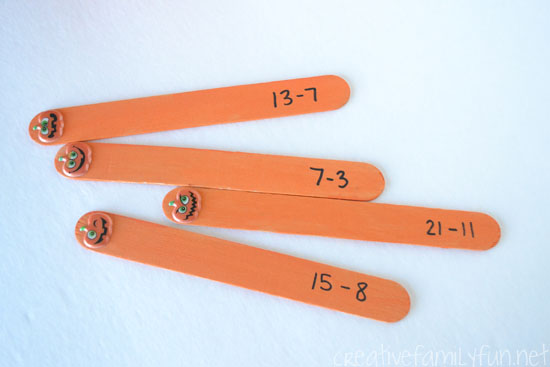
Finally, I put a small jack-o-lantern sticker at the opposite end of the sticks.
I placed all the sticks, math fact side down, in a can. (You can find the instructions for our jack-o-lantern can here.) Try not to use a see-through container to keep the math problems a mystery until someone pulls one out of the can. Your Halloween addition game is ready to go!
You can use these pick-and-solve sticks in a couple of different ways:
Have your child pull a stick out one-by-one and try to solve the problem.
Let two or more kids take turns pulling out sticks to work on math facts together.
Practice with a timer. How many addition problems can you solve in 30 seconds?
Let your child come up with their own game! The possibilities are endless.


The 2nd grade blogging squad has been hard at work this week with plenty of fun pumpkin ideas. Check out the rest of the posts:
Pumpkin Patch Arrays to Learn Multiplication by School Time Snippets
Free Pumpkin Shape Matching Game by Life Over C’s
Second Grade Noun and Predicate Pumpkin Activity by Sugar Aunts
How to Carve a Pumpkin Writing Prompts by Still Playing School
How to Set Up a Pumpkin Engineering Task Your Second Graders Will Love by Thriving STEM
Pumpkin Seed Place Value – Subtraction Math Fact by Rainy Day Mum