• Skip to secondary menu
  • Skip to main content
  • Skip to primary sidebar
  • Skip to footer
  • Home
  • About
    • Email Me
    • Disclosure & Copyright
  • Start Here
  • Subscribe
  • Privacy Policy
  • Books for Moms

Creative Family Fun

Your one-stop shop for kids activities and family fun

  • Facebook
  • Instagram
  • Pinterest
  • Twitter
  • Spelling Activities
  • Family Fun
  • STEM
  • Movie Night
  • Toddler Activities

Crafts

Making Monsters…

October 20, 2011 By Terri Thompson

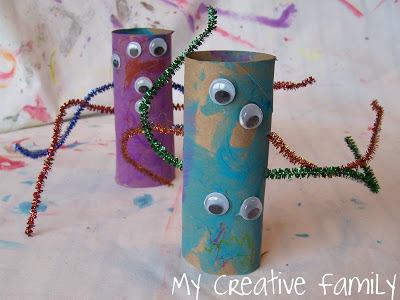
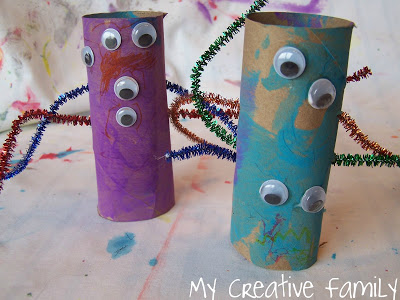
They’re googly-eyed, wiggly-armed and just about the cutest monsters I’ve ever seen! After seeing these Purple People Eaters on Toddler Approved, I knew Lizzie and AJ would have fun making their own monsters.

Disclosure: There are Amazon Affiliate and other affiliate links in this article which means, at no additional cost to you, we could receive compensation for our recommendations. You can read our full disclosure policy on our Disclosure Page for more details.

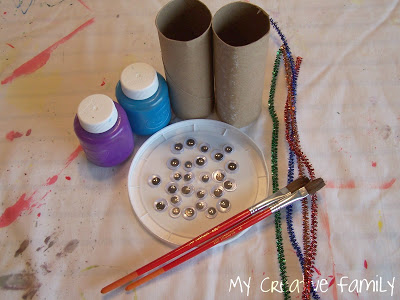
Materials Needed:

Empty cardboard rolls
Craft paint
Google eyes
Pipe Cleaners
Your imagination!

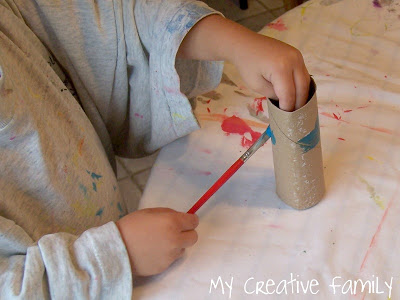
First we painted.I had set out two colors of paint, so they could use both on their monsters, but both girls decided to go with just one color.

After painting came the tough step of letting them dry. We decided it was the perfect time for a bath.

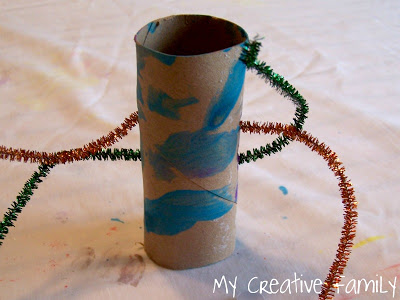
Next, I took a sharp pair of scissors and poked two holes in each side of the tube.The girls laced pipe cleaners through the holes so their monsters looked like they had two long, wiggly arms on both sides.

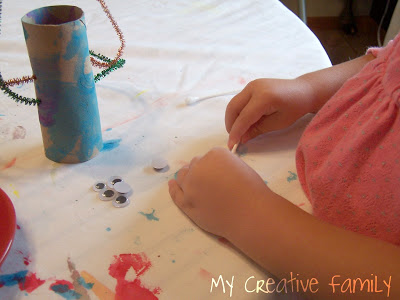
The last step was gluing on the googly eyes. The more googly eyes, the better!At this point, Lizzie decided her monster needed a little something extra, so she got out the markers.

So there you have it, a couple of googly-eyed, wiggly-armed monsters! Don’t they make you smile?
Leaf Garland…

October 19, 2011 By Terri Thompson

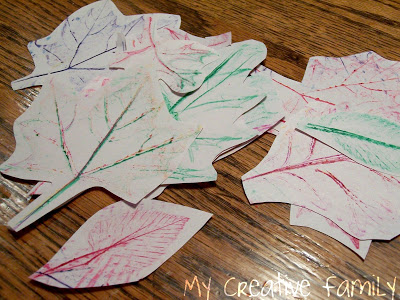
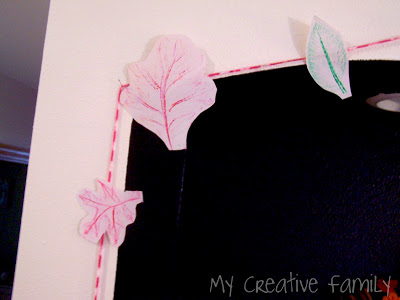
Remember the leaves we gathered on our leaf collecting trip? After being pressed under heavy books for a few days, we got them out to do rubbings and turn them into a pretty fall garland.

Disclosure: There are Amazon Affiliate and other affiliate links in this article which means, at no additional cost to you, we could receive compensation for our recommendations. You can read our full disclosure policy on our Disclosure Page for more details.

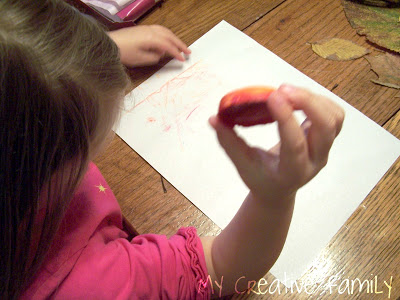
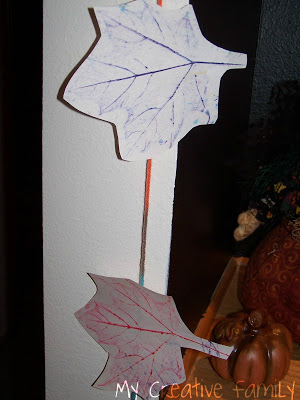
I gathered the leaves, several sheets of our drawing paper, yarn and our recycled muffin tin crayons. (Crayons turned on their side with the wrappings off will also work well.)We laid out the leaves, put the paper on top and started rubbing.

There’s something so magical about seeing the shape and texture of the leaf appear, that I had to join in myself! Once we used up all our paper, it was time to cut out all the leaf shapes.

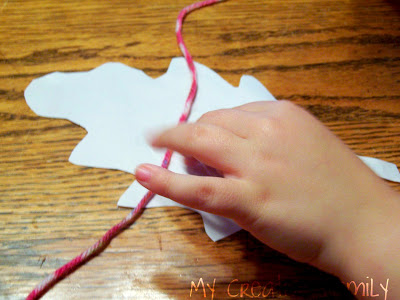
Once they were cut, we made the garland.It was a simple process. We just taped each leaf to the yarn. We turned the leaf to the backside, laid the yarn across the middle and applied a couple of pieces of tape. We left a spacing of a couple of inches between each leaf.

In the end we had a beautiful fall garland to display with all of our Halloween decorations. It was simple and Lizzie enjoyed making something that turned out so beautiful.

Simple Peacock Feathers…

October 12, 2011 By Terri Thompson

Disclosure: There are Amazon Affiliate and other affiliate links in this article which means, at no additional cost to you, we could receive compensation for our recommendations. You can read our full disclosure policy on our Disclosure Page for more details.

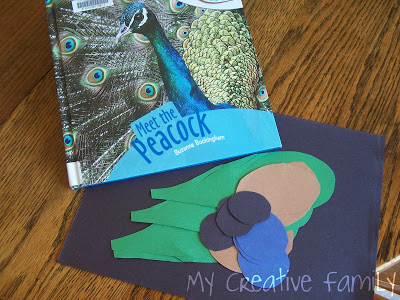
We finished up our exploration of India by learning about their national bird, the peacock.We began by reading the book Meet the Peacock by Suzanne Buckingham. We learned all sorts of fun facts about the peacock. One of our favorite facts was learning that only the male bird is called the peacock, the females are peahens.

After reading the book, we did a simple craft – making peacock feathers.

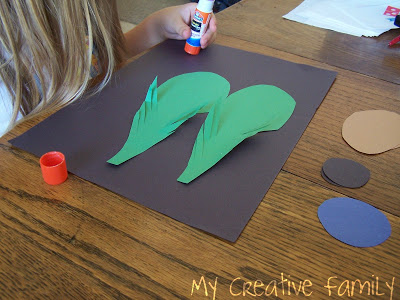
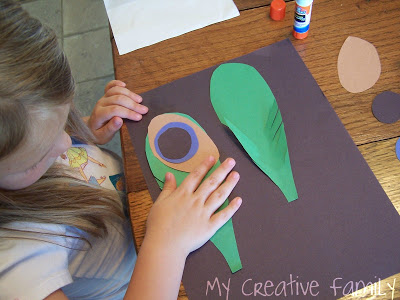
I had already prepped the craft by cutting out the various bits and pieces we would glue together.My plan was to demonstrate how the feathers went together and then let Lizzie work on the project independently.

After she sorted and arranged all the parts (her idea), she was ready to go. Armed with a glue stick, she got to work.

The project was simple, but pretty.It was also a good way for Lizzie to work on following directions. She did a great job and we had a lot of fun discussing the peacock while we worked.

This is one reason why I love to pair a book with a project. Working on the project often leads to conversation about the book, reinforcing what you read in a natural manner.

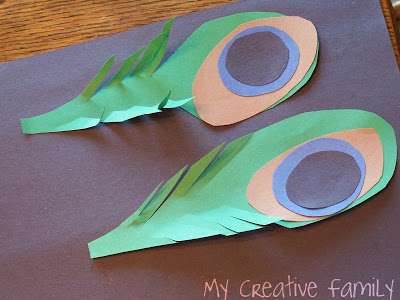
In the end, we had a couple of vibrant feathers, a little learning and a lot of fun!

Owl Craft Roundup…

October 11, 2011 By Terri Thompson

One of the items on our Fall Bucket List is to make an owl craft. I went searching for some fun ideas and came away with so many good ones that I can’t keep them to myself.

Disclosure: There are Amazon Affiliate and other affiliate links in this article which means, at no additional cost to you, we could receive compensation for our recommendations. You can read our full disclosure policy on our Disclosure Page for more details.

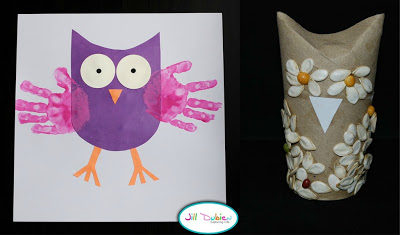
Meet the Dubiens made adorable hand print owls

These cardboard roll and pumpkin seed owls from Red Ted Art are a lot of fun

I found some more cute cardboard roll owls at Happy Hooligans

The paper plate owls from Crafts by Amanda would be fun too!

I love the Owl Babies craft from I Heart Crafty Things and it’s a great reminder of a favorite book

If you’re looking for more owl craft ideas, I’ve started a Pinterest board full of owls.

With so much inspiration, how will we ever choose which craft to do? So, what do you think, which one should we do?

Mini Notebooks

October 2, 2011 By Terri Thompson

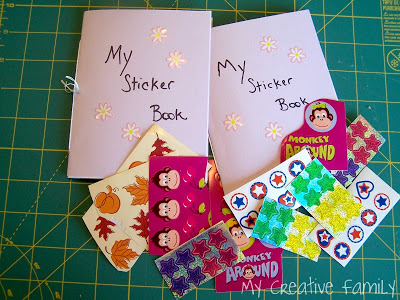
Remember the mini notebooks I made the girls for our long car trip?They were definitely a hit and now that we’re home, I’m going to show you how I made them.

It’s an easy process and doesn’t require any special supplies. In fact, I had everything I needed already in my craft supply stash.

Disclosure: There are Amazon Affiliate and other affiliate links in this article which means, at no additional cost to you, we could receive compensation for our recommendations. You can read our full disclosure policy on our Disclosure Page for more details.

Supply List

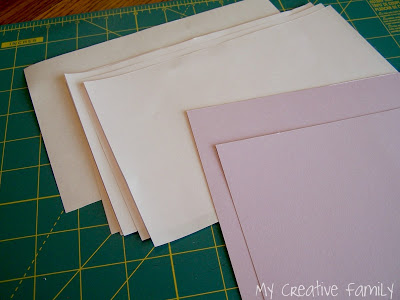
Card stock
Copy paper (for the interior pages -You can play around with this part. I’ve used colored paper, lined paper, graph paper)
Embroidery thread
Needle (you will need one with a sharp point)

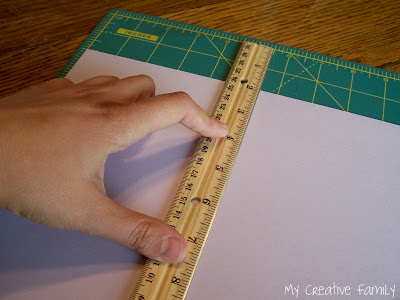
Step 1: Cut your card stock and interior paper to size. I kept things simple and cut all of my paper in half. This made a great size notebook for little hands

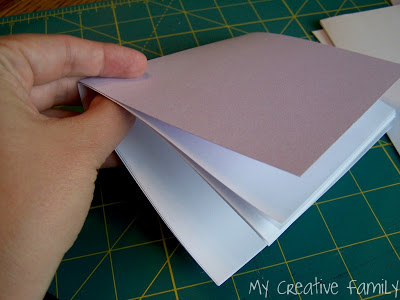
Step 2: Fold all of your pages in half. Once they are folded, fit your selected amount of pages inside the cover. I used three folded sheets inside each, which gave me six front and back pages.

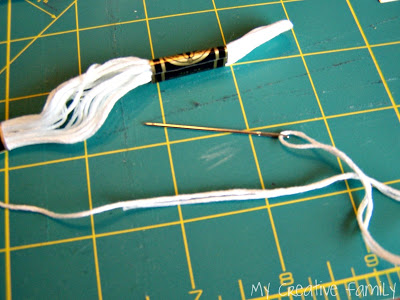
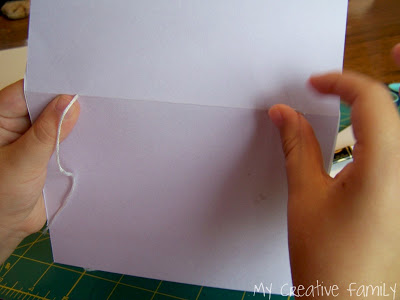
Step 3: Make sure all the pages are evenly stacked. Thread your needle with embroidery thread. Embroidery thread really is the best for this project. You need something that will be thick and sturdy as this will be your binding. Regular sewing thread would break too easily.

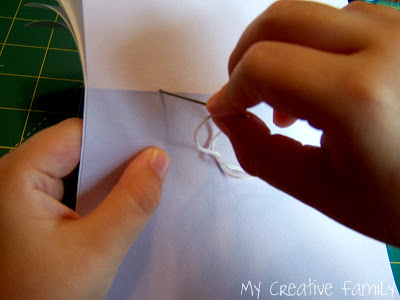
Step 4: Hold your notebook open. Starting about an inch from the top edge, insert your needle through the card stock and all interior pages. Pull the needle through, but don’t pull the thread through completely. You will need a lengthy bit at the end to tie your binding together.

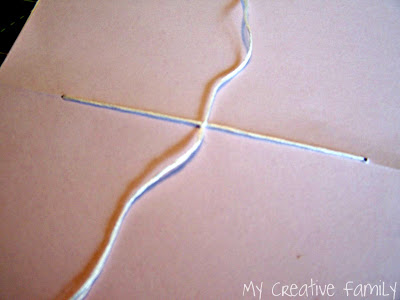
Step 5: Pull your needle up through the inside, back through all interior pages and the cover. You will will want to insert the needle about an inch from the opposite edge of the notebook. Pull the needle and thread all the way through, so that the stitching inside the notebook is tight and lays flat.

Step 6: Bring your two ends of thread together across the fold on the cover and tie a knot. You want the thread to be tight, but not too tight. Trim the ends of the thread to the length you desire. If you have trouble with the know coming untied, add a drop of glue to the knot.

That’s it. You know have a fun mini notebook. Decorate it as much or as little as you want. This simple binding will hold up nicely over time and keep all your pages together. The project is simple enough that an older child would have no problem making themselves.

These notebooks are perfect for traveling, waiting in restaurants or doctor’s offices. They also make wonderful (and inexpensive) party favors when paired with stickers or crayons. Kids love the small size and the “fancy” binding! So, get creative and make a few mini notebooks!

  • « Go to Previous Page
  • Go to page 1
  • Interim pages omitted …
  • Go to page 27
  • Go to page 28
  • Go to page 29
  • Go to page 30
  • Go to page 31
  • Go to Next Page »

Primary Sidebar

Footer

Categories

Archives

Copyright © 2022 ยท Designed by The Blog Surgery

Creative Family Fun uses cookies to improve your experience. These cookies provide feedback to our analytics and advertisers. We use the information to track views of the site, where you go and to know if you are a regular visitor or brand new as well as provide a personalized experience where possible. We'll assume you're ok with this, but you can opt-out if you wish.Accept Reject Read More
Privacy & Cookies Policy

Privacy Overview

This website uses cookies to improve your experience while you navigate through the website. Out of these, the cookies that are categorized as necessary are stored on your browser as they are essential for the working of basic functionalities of the website. We also use third-party cookies that help us analyze and understand how you use this website. These cookies will be stored in your browser only with your consent. You also have the option to opt-out of these cookies. But opting out of some of these cookies may affect your browsing experience.
Necessary
Always Enabled
Necessary cookies are absolutely essential for the website to function properly. This category only includes cookies that ensures basic functionalities and security features of the website. These cookies do not store any personal information.
Non-necessary
Any cookies that may not be particularly necessary for the website to function and is used specifically to collect user personal data via analytics, ads, other embedded contents are termed as non-necessary cookies. It is mandatory to procure user consent prior to running these cookies on your website.
SAVE & ACCEPT