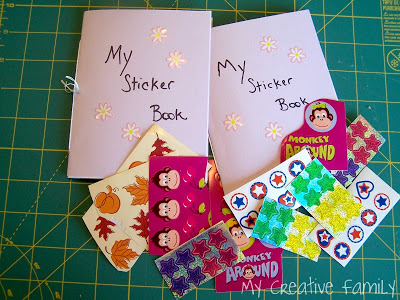
Remember the mini notebooks I made the girls for our long car trip?They were definitely a hit and now that we’re home, I’m going to show you how I made them.
It’s an easy process and doesn’t require any special supplies. In fact, I had everything I needed already in my craft supply stash.
Disclosure: There are Amazon Affiliate and other affiliate links in this article which means, at no additional cost to you, we could receive compensation for our recommendations. You can read our full disclosure policy on our Disclosure Page for more details.
Supply List
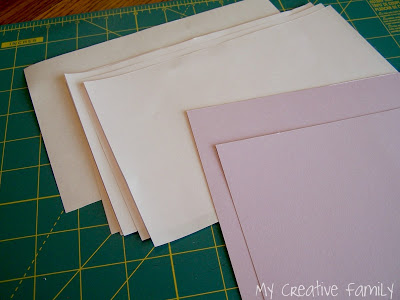
Card stock
Copy paper (for the interior pages -You can play around with this part. I’ve used colored paper, lined paper, graph paper)
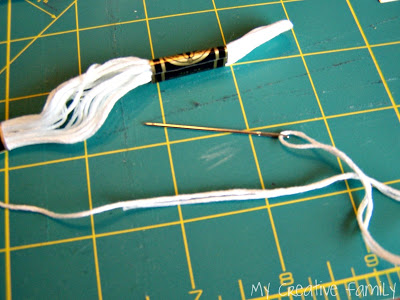
Embroidery thread
Needle (you will need one with a sharp point)
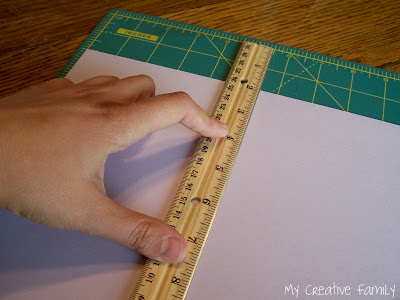
Step 1: Cut your card stock and interior paper to size. I kept things simple and cut all of my paper in half. This made a great size notebook for little hands
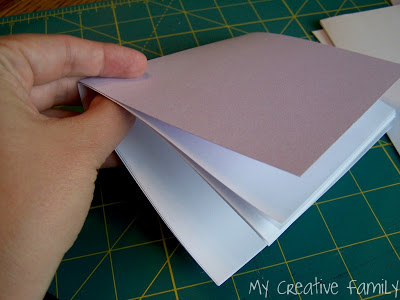
Step 2: Fold all of your pages in half. Once they are folded, fit your selected amount of pages inside the cover. I used three folded sheets inside each, which gave me six front and back pages.
Step 3: Make sure all the pages are evenly stacked. Thread your needle with embroidery thread. Embroidery thread really is the best for this project. You need something that will be thick and sturdy as this will be your binding. Regular sewing thread would break too easily.
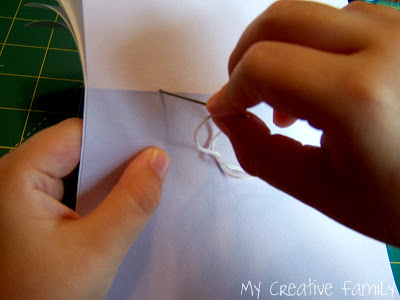
Step 4: Hold your notebook open. Starting about an inch from the top edge, insert your needle through the card stock and all interior pages. Pull the needle through, but don’t pull the thread through completely. You will need a lengthy bit at the end to tie your binding together.
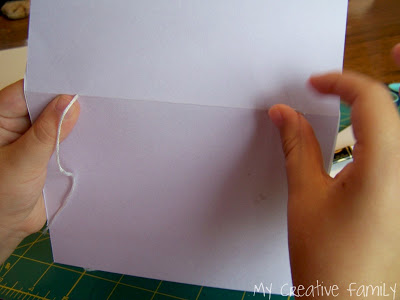
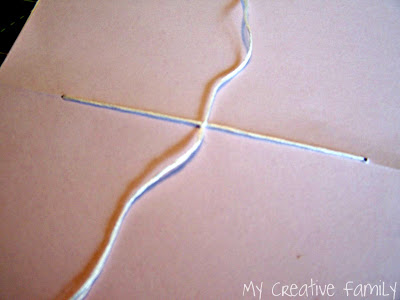
Step 5: Pull your needle up through the inside, back through all interior pages and the cover. You will will want to insert the needle about an inch from the opposite edge of the notebook. Pull the needle and thread all the way through, so that the stitching inside the notebook is tight and lays flat.
Step 6: Bring your two ends of thread together across the fold on the cover and tie a knot. You want the thread to be tight, but not too tight. Trim the ends of the thread to the length you desire. If you have trouble with the know coming untied, add a drop of glue to the knot.
That’s it. You know have a fun mini notebook. Decorate it as much or as little as you want. This simple binding will hold up nicely over time and keep all your pages together. The project is simple enough that an older child would have no problem making themselves.
These notebooks are perfect for traveling, waiting in restaurants or doctor’s offices. They also make wonderful (and inexpensive) party favors when paired with stickers or crayons. Kids love the small size and the “fancy” binding! So, get creative and make a few mini notebooks!
Latest posts by Terri Thompson (see all)
- Cardboard Tube Turkey Craft - October 30, 2023
- Simple and Fun Shape Crafts for Toddlers - October 25, 2023
- Thanksgiving Math Activities for Kids - November 10, 2022
