• Skip to secondary menu
  • Skip to main content
  • Skip to primary sidebar
  • Skip to footer
  • Home
  • About
    • Email Me
    • Disclosure & Copyright
  • Start Here
  • Subscribe
  • Privacy Policy
  • Books for Moms

Creative Family Fun

Your one-stop shop for kids activities and family fun

  • Facebook
  • Instagram
  • Pinterest
  • Twitter
  • Spelling Activities
  • Family Fun
  • STEM
  • Movie Night
  • Toddler Activities

Terri Thompson

Panda Bear Masks

January 18, 2012 By Terri Thompson

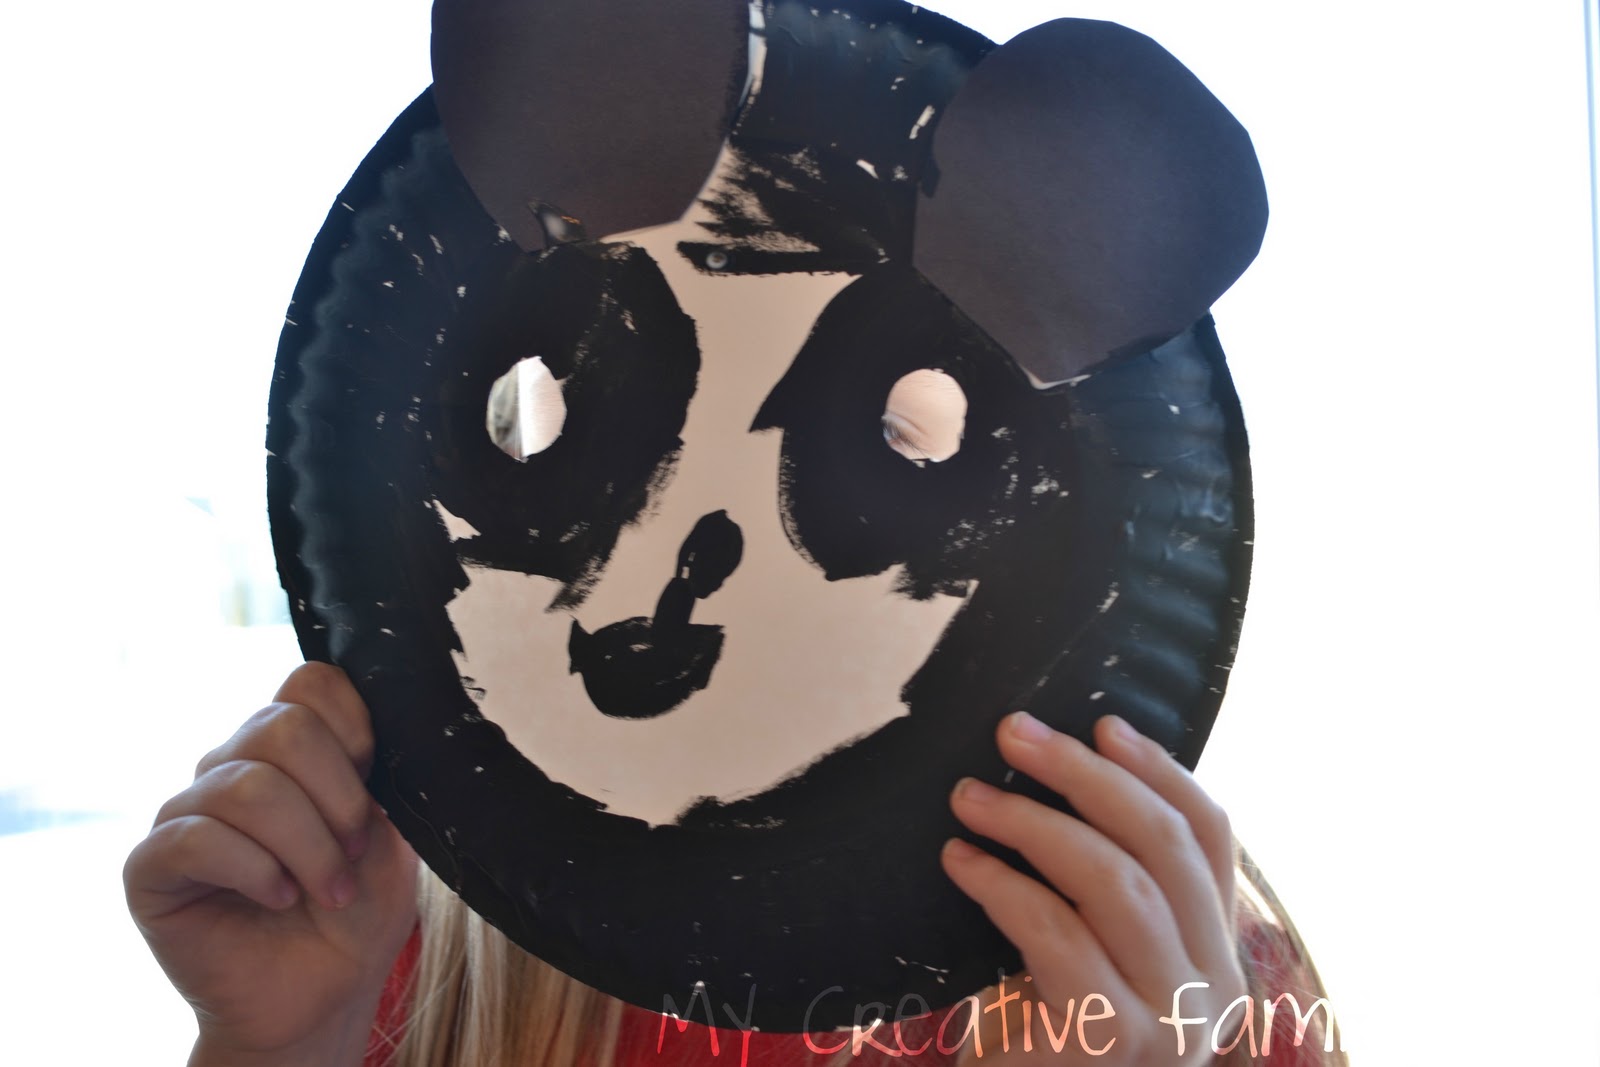
Can you guess what she is?

A panda bear, of course!

When we learn about other countries, we always include animals.

And, since we are talking about China this week, learning about pandas was the obvious choice.

While we were learning all sorts of fun facts, we also made panda masks so we could pretend to be panda bears.

Disclosure: There are Amazon Affiliate and other affiliate links in this article which means, at no additional cost to you, we could receive compensation for our recommendations. You can read our full disclosure policy on our Disclosure Page for more details.

Supplies Needed:

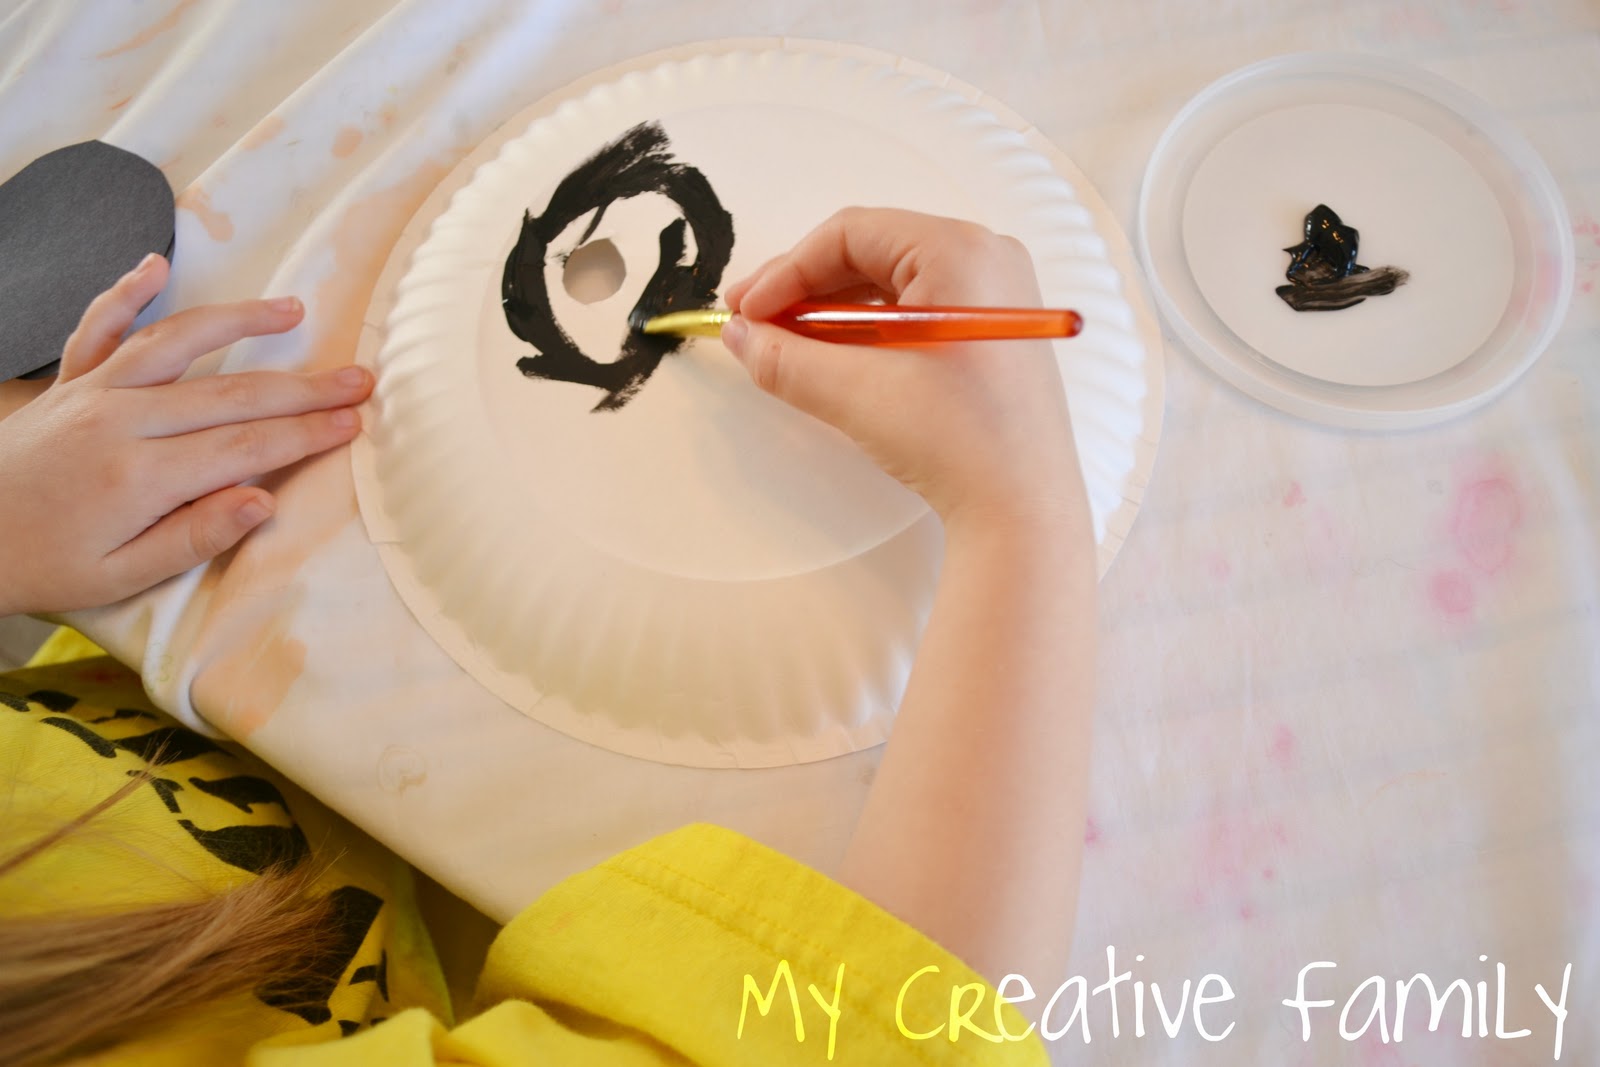
Paper plates (I pre-cut the eye holes in the plates)
Scissors
Black paint
Black construction paper
Glue

We had a wonderful book, Giant Pandas by Gail Gibbons, to use as inspiration.

After talking a bit about the different features of a panda, the girls got to work painting around the eyes and adding a nose and mouth.

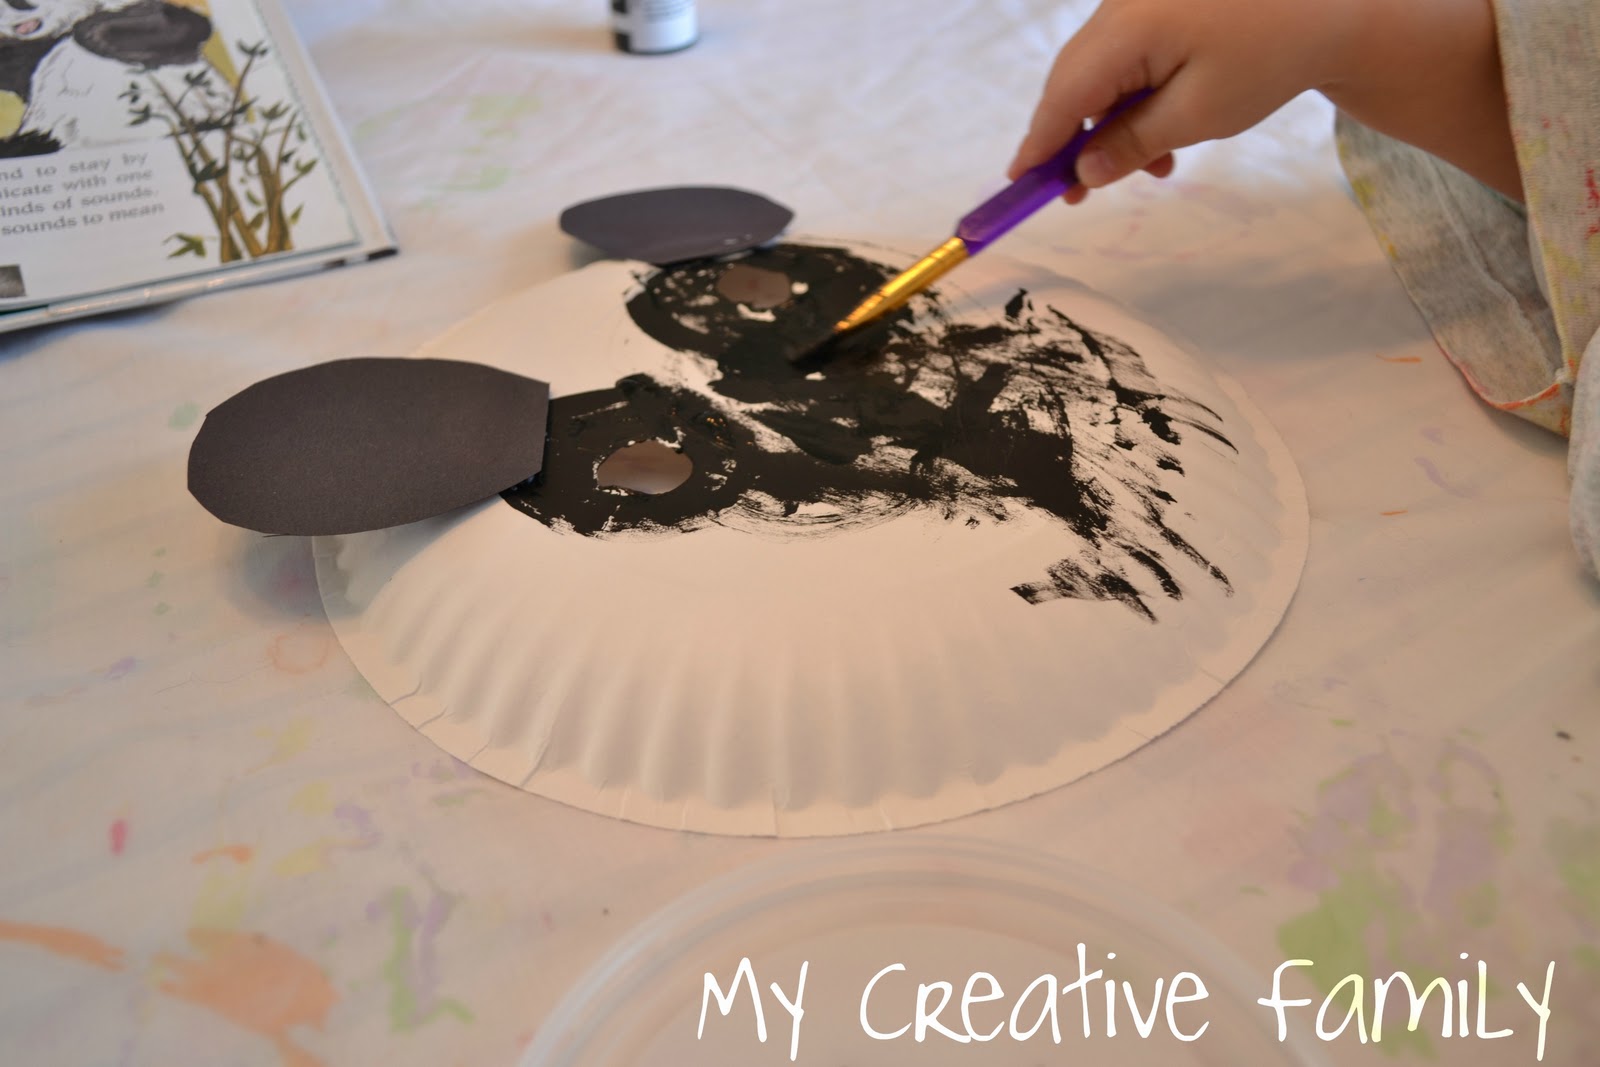
I had also pre-cut some ears out of black construction paper that the girls glued on their masks.

Here are the finished masks!

Lizzie added black all around the edge of the plate because the panda pictures we were looking at had black necks and shoulders.

They turned out great and Lizzie has been telling everyone that pandas eat a lot of bamboo!

What have you and your kids been crafting lately?

Kites

January 17, 2012 By Terri Thompson

Did you know that kites were invented in China thousands of years ago?

That fact stopped Lizzie in her tracks. She was ready to stop doing that “very important thing” she was doing and make a kite!

Disclosure: There are Amazon Affiliate and other affiliate links in this article which means, at no additional cost to you, we could receive compensation for our recommendations. You can read our full disclosure policy on our Disclosure Page for more details.

We started out by reading Kite Flying by Grace Lin for a little bit of inspiration. It’s a short and lyrical book about the process of making a kite. My favorite part was at the end, when the author provided a history of kites and kite flying. Lots of fun facts!

Supplies Needed

Craft sticks (1 large and 1 small for each kite)
Glue
Construction paper
Ruler
Scissors
Yarn
Tape

We started out by hot-gluing two craft sticks together. We used a large craft stick for the length and a small craft stick for the width.

Glue the small craft stick about a third of the way down the larger stick. Hot glue is not a necessity.

We used it so we didn’t have to wait long for the sticks to dry. Any craft glue or school glue would work fine.

We then took the ruler and drew straight lines in the shape of the kite using our craft sticks as a guide.

The next step was cutting out the kite.

Once the kites were cut out, it was time to decorate!

We used markers because that’s been a favorite art supply around here lately.

But, really, anything goes. Get out the paint, the crayons, or even stickers.

After the girls were satisfied with their decorations, we attached the kite to the sticks. We also attached a piece of yarn for the kite string.

As you can see, we opted for tape. And we used a lot of tape! After all, there were a 4- and 2-year-old involved!

This is Lizzie’s finished kite. She decided to make a dragon face on her kite.

AJ wouldn’t let me take a picture of hers!

After making their kites, the girls spent the rest of the afternoon at a kite festival of their own design. They had signs, giant imaginary kites, their little kites, and a picnic of felt food. What a glorious way to spend an afternoon!

Straw-Printed Paper Lantern Craft

January 16, 2012 By Terri Thompson

We love to learn about other countries and cultures.Since Chinese New Year always falls at the beginning of the year, I thought it would be the perfect time to learn a bit about China.

Our first craft was making a paper lantern craft. To make this project a little more special, I combined two different techniques: straw printing and making paper lanterns.

This fun Straw-Printed Paper Lantern craft is a fun activity for Chinese New Year or anytime you're learning about China and Chinese culture.
 

Disclosure: There are Amazon Affiliate and other affiliate links in this article which means, at no additional cost to you, we could receive compensation for our recommendations. You can read our full disclosure policy on our Disclosure Page for more details.

Supplies Needed:

Red construction paper
Drinking straws
White paint
Scissors
Stapler

This fun Straw-Printed Paper Lantern craft is a fun activity for Chinese New Year or anytime you're learning about China and Chinese culture.

How to make your Straw-Printed Paper Lantern Craft

I stumbled across the idea of straw painting awhile ago and I thought it would be the perfect way to decorate our lanterns.

I cut a couple of straws in half, then cut strips at one of the ends (like the picture above). You’ll need to squish the cut end up a bit before giving it to the kids. This will make it easier for them to print with the straws.

This fun Straw-Printed Paper Lantern craft is a fun activity for Chinese New Year or anytime you're learning about China and Chinese culture.

Printing is easy, just dip the cut ends of the straw in paint and splat them on your paper.

We printed all over our paper. Then we had to let it dry before we could make the paper lantern craft. I love how it looks a bit like fireworks!

This fun Straw-Printed Paper Lantern craft is a fun activity for Chinese New Year or anytime you're learning about China and Chinese culture.

To make the lanterns, you’ll want to fold the paper in half lengthwise. Make sure the painted side is facing out.

This fun Straw-Printed Paper Lantern craft is a fun activity for Chinese New Year or anytime you're learning about China and Chinese culture.

Draw lines about an inch apart all the way down the paper.

You’ll start cutting on the folded side, then stop about an inch away from the outer edge. Do not cut all the way through!

This fun Straw-Printed Paper Lantern craft is a fun activity for Chinese New Year or anytime you're learning about China and Chinese culture.

After the lines are cut, unfold the paper. Roll the paper into a circle from short end to short end.

Staple at the top and bottom where both sides meet. Use a strip of construction paper for the handle. Just staple each end to the side of the lantern.

We originally used string for our handle, but found that the string kept slipping our of the staple. The construction paper handle works much better.

This fun Straw-Printed Paper Lantern craft is a fun activity for Chinese New Year or anytime you're learning about China and Chinese culture.

We now have beautiful paper lanterns ready for Chinese New Year! And apparently I also have a budding photographer/blogger on my hands!This fun Straw-Printed Paper Lantern craft is a fun activity for Chinese New Year or anytime you're learning about China and Chinese culture.

You may also like one of these China Activities and Crafts:

Chinese Rattle Drum Craft

Panda Bear Masks

35+ Ways to Learn About China

Joseph Had a Little Overcoat Book & Craft

January 13, 2012 By Terri Thompson

The first time I looked through the book Joseph Had a Little Overcoat by Simms Taback, I knew I wanted to do a craft project based on the illustrations.

If you’ve never read the book, you should. It’s a delightful book about a man who keeps turning his overcoat into something new, until it gets too tiny to transform anymore.

The book uses die-cut pages to show the transformation of the coat.

Well, die-cut is a bit too complicated for preschoolers and toddlers to tackle, so I thought and thought about what we could do. As I was flipping through the book, I landed on the inside cover and voila!

Disclosure: There are Amazon Affiliate and other affiliate links in this article which means, at no additional cost to you, we could receive compensation for our recommendations. You can read our full disclosure policy on our Disclosure Page for more details.

We were going to make a collage!

Supplies Used:
Black construction paper (background)
Various colors of card stock and scrapbooking paper (any sort of paper would work)
Scissors
Marker
Glue

We started working on cutting our paper and card stock. I have a supply of fun scissors, so I got those out.

We cut and cut.

I also got out the markers so we could draw patterns on our paper. I don’t have a lot of patterned paper, but I didn’t let that stop us. It’s easy and more fun to draw your own patterns.

We had fun and worked hard, as you can tell by our wonderfully messy table.

My goal was to step back and let the girls do as they please. I didn’t want to try and control the project. Of course, that meant I had to do my own!

Here are our finished projects:

Lizzie, age 4, had a lot of fun making patterns!

AJ, age 2, cut for a while. Then she had me cut. She glued a few pieces down, which she pulled up again so she could draw on them with the markers. She ended up with a pile of paper scraps and one slightly used piece of black construction paper. I loved watching this process!

Oh, and here’s mine. Just in case you were curious…

Have you read any good books lately?

10 Things To Do When You’re Stuck Indoors

January 12, 2012 By Terri Thompson

I don’t know about your winters, but where I live it’s very likely that we’ll be stuck indoors on many winter days due to dangerously cold temperatures and blizzard like conditions. (No, I don’t live in the frozen tundra, just the upper-Midwest part of the US.)

Or maybe you’re in the middle of summer and it’s hot and muggy outside. You can’t send the kids outside, so what are you going to do?

Disclosure: There are Amazon Affiliate and other affiliate links in this article which means, at no additional cost to you, we could receive compensation for our recommendations. You can read our full disclosure policy on our Disclosure Page for more details.

In case you’re stuck indoors and your kids are getting a little stir crazy, here are 10 ideas for some indoor fun:

1. Find a big piece of cardboard and let your little artists get creative like we did with our Mary, Mary Quite Contrary mural.

2. Put on your pajamas, pop in a good movie, and drink hot cocoa.

3. Make masking tape roads and get out all the toy cars. Here’s a great example of a masking tape town from Creatively Content.

4. Make your own play dough.


5. Have a very bubbly bubble bath or create with bath tub paint. Growing a Jeweled Rose has a fun collection of bath paints you can try.

6. Set up a pretend play invitation like our pet shop. If you don’t want a pet shop, you can set up a grocery store, doctor’s office, or even a zoo.

7. Get cozy under a pile of blankets and read aloud a classic book like Charlotte’s Web or Little House on the Prairie.

8. Have fun with simple science experiments using everyday household items. Mom to 2 Posh Lil Divas recently had a Mad Science Week with several fun ideas to try


9. Have a competition to see who can build the tallest block tower or who can build a tower the fastest. Challenge each other with building activities.

10. Raid your recycling bin and use cardboard rolls as stamps like we did with our cardboard roll stamping.

*Bonus Activity* Gather the whole family and put together a jigsaw puzzle. It’s fun, challenging, and a great way to spend time together!

What is your favorite thing to do when you’re stuck indoors?

  • « Go to Previous Page
  • Page 1
  • Interim pages omitted …
  • Page 167
  • Page 168
  • Page 169
  • Page 170
  • Page 171
  • Interim pages omitted …
  • Page 190
  • Go to Next Page »

Primary Sidebar

Footer

Categories

Archives

Copyright © 2026 ยท Designed by The Blog Surgery

Creative Family Fun uses cookies to improve your experience. These cookies provide feedback to our analytics and advertisers. We use the information to track views of the site, where you go and to know if you are a regular visitor or brand new as well as provide a personalized experience where possible. We'll assume you're ok with this, but you can opt-out if you wish.Accept Reject Read More
Privacy & Cookies Policy

Privacy Overview

This website uses cookies to improve your experience while you navigate through the website. Out of these, the cookies that are categorized as necessary are stored on your browser as they are essential for the working of basic functionalities of the website. We also use third-party cookies that help us analyze and understand how you use this website. These cookies will be stored in your browser only with your consent. You also have the option to opt-out of these cookies. But opting out of some of these cookies may affect your browsing experience.
Necessary
Always Enabled
Necessary cookies are absolutely essential for the website to function properly. This category only includes cookies that ensures basic functionalities and security features of the website. These cookies do not store any personal information.
Non-necessary
Any cookies that may not be particularly necessary for the website to function and is used specifically to collect user personal data via analytics, ads, other embedded contents are termed as non-necessary cookies. It is mandatory to procure user consent prior to running these cookies on your website.
SAVE & ACCEPT