I love playing around with salt dough. It’s a great sensory experience, plus you can create and keep your masterpieces.
With this project, we tried two new things. We colored the salt dough before creating and added pony beads to decorate our designs. The resulting pony bead and salt dough ornaments were so pretty!
Disclosure: This post contains Amazon Affiliate and other affiliate links. Please see my Disclosure Page for more details. The pony beads were provided to us by CraftProjectIdeas.com. All ideas are my own.
The first step in the process is making your salt dough.
We use a very simple recipe that your kids can make themselves.
Table of Contents
Colored Salt Dough
1 c flour
1 c salt
1/2 c water
Several drops of food coloring
Mix the flour and salt together.
Add your food coloring to your water until your have your desired hue. Then, add the water to the flour and salt mixture.
Mix together until combined. Dig in with your fingers to help mix.
Once it’s thoroughly mixed, remove your dough from the bowl and start kneading until it’s pliable and no longer sticky.
You can knead in additional flour, one teaspoon full at a time, if your dough is too sticky. Just be careful and don’t add too much. Your dough can get crumbly very quickly if you add too much!
This makes about 2 cups worth of salt dough, which is enough for several children.
I cut the original recipe in half and made two batches of the half recipe, equivalent to one whole batch. I did two half recipes so each girl could have a different color of dough. Luckily, this recipe cuts in half very easily.
Make your salt dough ornaments
Once your dough is ready to work with (and your kids are through playing with it), grab some cookie cutters and a rolling pin.
Roll the dough out to about a 1/4-inch thick and cut designs with your cookie cutters.
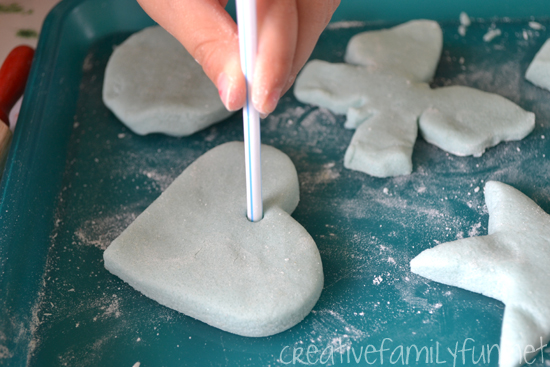
Use a drinking straw to make a hole in the top so that you can string a ribbon through later. I’ve tried several methods for making a hole and have found that a drinking straw works best.
Add your pony beads
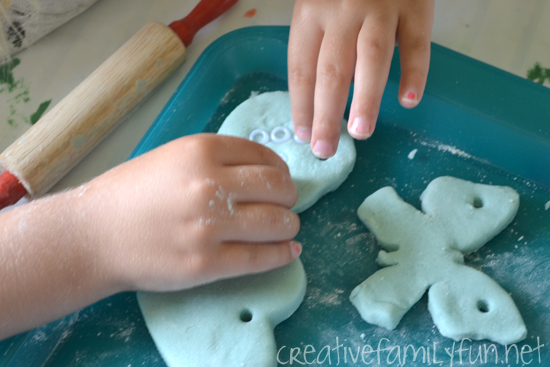
Next, get creative with your pony beads.
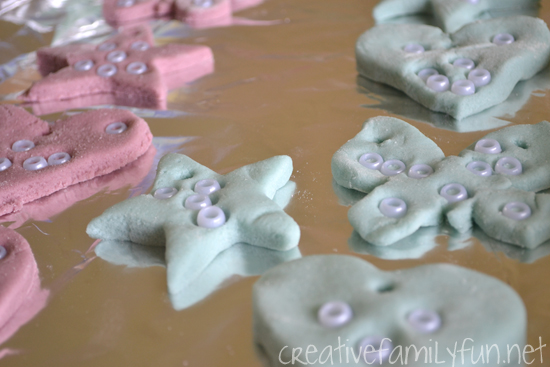
Squish the beads into the dough, but be careful not to push them all the way through.
Use as many or as few as you like.
We only had a package of white beads, but multi-colored beads would also be pretty.
Harden and dry your ornaments
Once your ornaments are complete, place them on a foil-lined baking sheet.
You can leave them sitting on the baking sheet to dry (which can take a couple of days). So, to speed up the drying process, you can put them in the oven at the lowest setting for awhile. I baked ours for 1 and 1/2 hours at 250 degrees.
After baking, your ornaments may still not be completely dry. I always have to flip our ornaments over after they are done baking and let the bottom side dry. I usually leave them out overnight to finish drying.
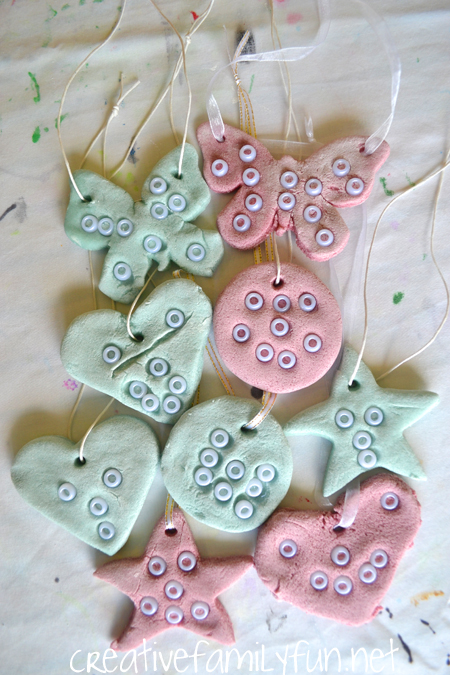
Once they are dry, add some ribbon and hang them up! You can string several on one length of ribbon to create a bunting, or you can hang them on a few bare branches to create a decorative tree. Or, make ornaments to hang on your Christmas tree.
These pony bead and salt dough ornaments are so pretty no matter what you do with them. Have fun and get crafting with salt dough!
You may also like on of these kids crafts:
Craft Stick Frames: Classic Craft for Kids
Colored Salt Dough Leaf Impressions at The Imagination Tree
Are you looking for more art projects?
Check out Three to Five: Playful Preschool. Get over 25 activities, 10 printables, and links to even more play-based preschool activities in this fantastic e-book. Purchase it here.
Latest posts by Terri Thompson (see all)
- Cardboard Tube Turkey Craft - October 30, 2023
- Simple and Fun Shape Crafts for Toddlers - October 25, 2023
- Thanksgiving Math Activities for Kids - November 10, 2022


