Disclosure: This post contains Amazon Affiliate links. Please see my disclosure for more details.
Quick geography pop quiz: who can tell me, without looking at a map, where Andorra is located? I’ve got a passion for geography, so I knew a bit about where it was located. But, once I started researching, I could find very little information about Andorra beyond a map. No books, no other projects, only information from travel sites. And that, my friends, is one reason why we are doing this project. We want to learn about all corners of the world and not just the most popular countries. I’ll admit that I struggled with the planning for Andorra for awhile. I didn’t have a book to read to the kids and I had a very hard time coming up iwth an idea for an art project?
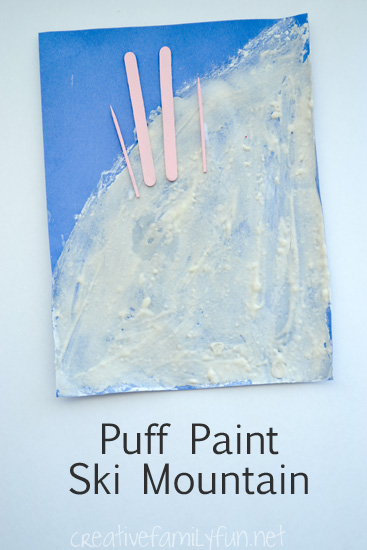
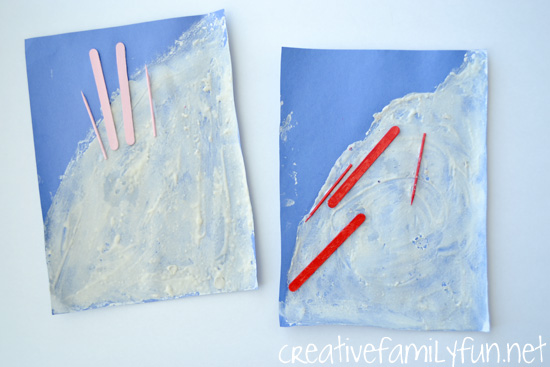
Andorra is a tiny European country located in the Pyrenees Mountains between France and Spain. See Andorra on a map here. It’s size is only 181 squares miles and completely mountainous. Most citizens live in the few valley areas. Tourism is the biggest industry in Andorra, especially mountain sports. (Source: Oxford Atlas of the World) Since winter sports are so important to Andorra’s economy, we decided to focus on that for our art project. We made our own puff paint to create a simple ski mountain.
Supplies Needed:
Microwave puff paint (see recipe below)
Blue paper
2 craft sticks
2 toothpicks
Paint
Glue
Special note on this project: This project is more focused on the process and the experience and doesn’t necessarily produce a piece of art that you can keep. I’ll be creating a digital scrapbook of our journey with Project: Around the World, because I know I won’t have room to keep every project. So, it’s not important to me to be able to preserve each project. I will give you tips to help you preserve this project if you desire. But, despite this, the project is fun and it helped us learn about the country of Andorra.
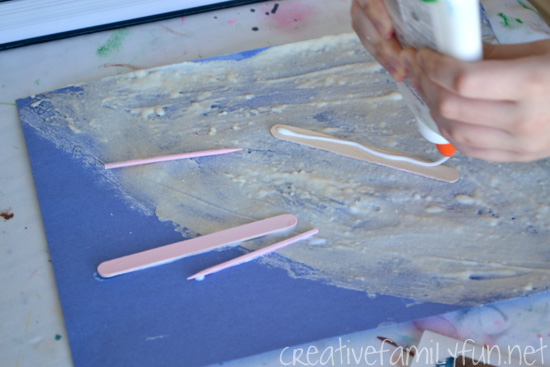
Before we started using our puff paint, we painted our skis and poles. The girls used regular craft paint in some of their favorite colors. You only need to paint one side of each since you will be gluing them down. We found that painting these first gave them plenty of time to dry before it was time to glue to our snowy mountains.
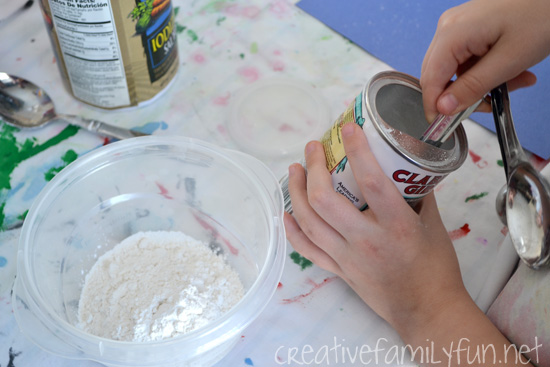
Next, it was time to make the puff paint. It’s a simple recipe to follow and the girls loved being able to make their own paint. Our recipe made enough for both projects with just a little bit left over.
Microwave Puff Paint:
1/3 c flour
1 tsp baking powder
1 tsp salt
1/3 cup of water
Mix all of the dry ingredients in a bowl. Add water slowly, stirring after every couple of tablespoons, until your paint is the consistency of paste (thick, but spreadable). We used just shy of the 1/3 cup of water.
You need to use the paint soon after you make it, so don’t try to make it too far ahead of time!
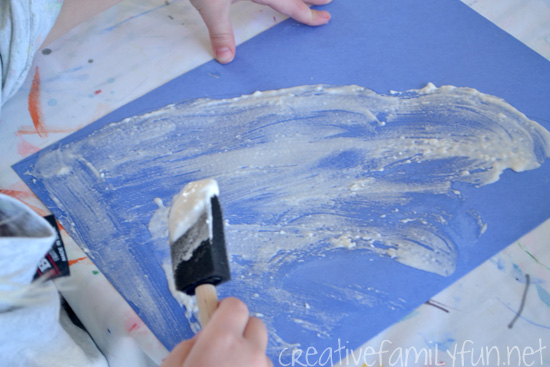
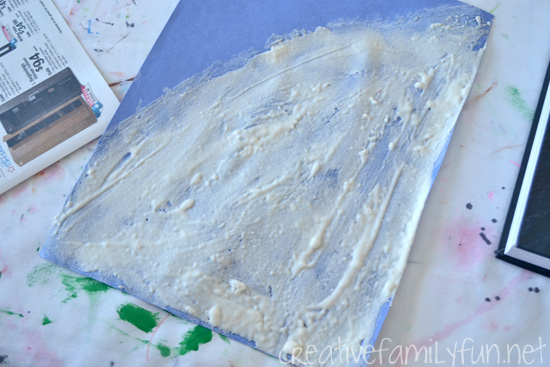
We used our paint to make the side of a snowy mountain. We found that a small sponge brush works better than a regular paintbrush with this paint. If you don’t have a sponge brush, cut up a regular sponge into smaller pieces or you can even use your fingers.
Once we were satisfied with our mountains, it was time to pop it into the microwave to dry. I microwaved each in 10 second increments until the paint started getting hard. Our pieces were not fully dry when I felt the paper getting hot (after about 30 seconds). This did give us enough to work with because the paint was hard on the surface. It will continue to dry in the air. Once we microwaved our pictures, we glued our skis and ski poles to the mountain.
I’ll admit that I’ve never found this puff paint to keep well. Nonetheless, we love using it! The paper will curl up on the sides once it’s fully dry and it will crack and flake after awhile. There are a couple of options if you would like to keep these projects. First, you can make the pictures on thick cardboard, like the side of a packing box. Paint the sky blue after microwaving. This will prevent the curling of the edges, but not the cracking and flaking. You can also recreate this project with regular white paint. You won’t have the puffy effect, but you will be able to keep the project if that is what is important to you.
Even though we’ve just barely started our artistic journey around the world, we’ve already found such great value in it. We’re learning about countries that aren’t often introduced to kids until they’re much older and we’re doing it in a way that will help us remember a bit about them. This approach is also helping us find the beauty and the positive aspects of each location. I want to teach my girls to see the value in each and every corner of the world. I can’t wait to do more projects!
If you’d like to follow along with Project: Around the World, you can find the introduction post here. Or click here or on the image below to see all the projects we’ve done so far.
The following two tabs change content below.
Terri is a writer and mom of two elementary-aged girls. She has a passion for learning and is always looking for ways to make learning fun. You can find her here writing about fun learning activities, art, craft, and family fun ideas.
Latest posts by Terri Thompson (see all)
- Cardboard Tube Turkey Craft - October 30, 2023
- Simple and Fun Shape Crafts for Toddlers - October 25, 2023
- Thanksgiving Math Activities for Kids - November 10, 2022
