You may have notice that we’ve been crafting a lot lately with tissue paper and our latest creation is this sparkly Christmas tree bunting.
I’m sure we’ll eventually move on to a different medium, but until then we’ve been having fun and making beautiful artwork with our tissue paper.
Now, on to this easy kids craft!
Disclosure: There are Amazon Affiliate and other affiliate links in this article which means, at no additional cost to you, we could receive compensation for our recommendations. You can read our full disclosure policy on our Disclosure Page for more details.
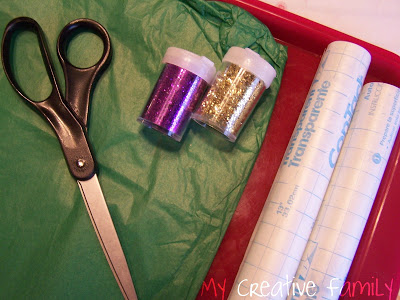
Supplies Needed:
Green tissue paper
Clear contact paper
Glitter
Scissors
Needle and thread
I cut small squares of contact paper and laid it down sticky side up on our trays. I was using the trays in an attempt to contain some of the glitter.
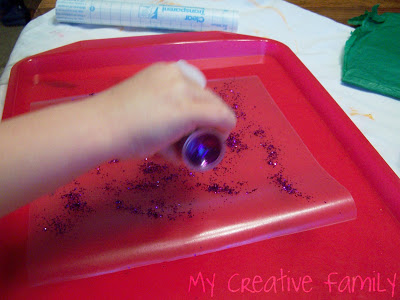
We then started sprinkling the glitter. The mess is actually minimal this way, since the contact paper catches most of it (unless, of course, your 2-yr-old manages to pull the top of the glitter bottle off).
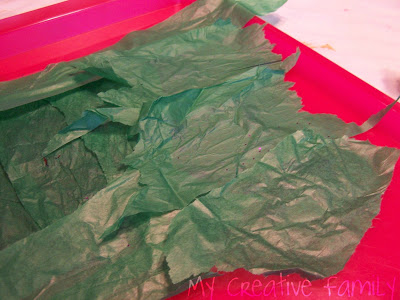
After you’re satisfied with the amount of glitter, it’s time to cover the entire piece of Contact Paper with tissue paper. I had originally intended the girls to tear the tissue paper into small bits, but they wanted to go with large pieces instead.
After all the contact paper is covered, put another piece of contact paper on top so that your glitter and tissue paper is sandwiched in between.
Now, you need to cut it into tree-shaped triangles. We were able to get several tree shapes out of each girl’s glittery contact paper.
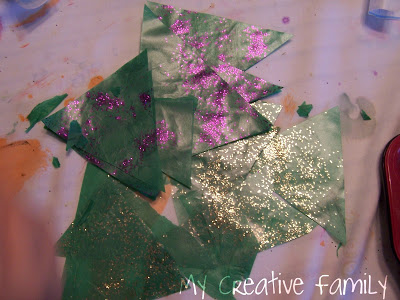
Just look at that pile!
Next, I took the needle and some strong thread and started threading the trees. I just ran the needle once through a spot near the top of each tree.
It was surprisingly easy to pierce the needle through the contact paper, so much so that I know Lizzie would have been able to have handled this part on her own.
We alternated the trees, one purple then one gold on the string. Once we were done, it was time to hang in the window.
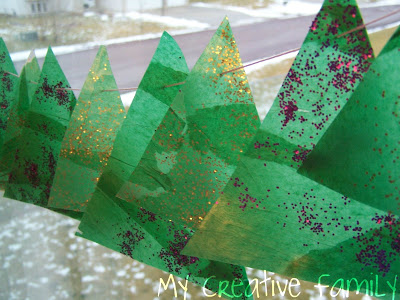
The result was beautiful and I’m glad we went with the large pieces of tissue paper instead of the small. I just love the look of it!
Now, what should we do next with our stockpile of tissue paper?