Everyone in my family loves cats.
We think they’re silly and they’re definitely fun.
We love to cuddle with them and pet them until they purr. Don’t you just love the sound of a cat purring?
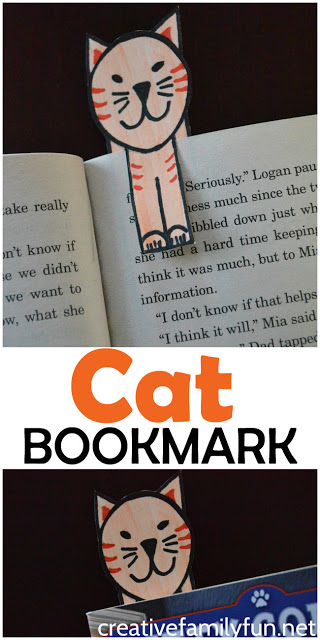
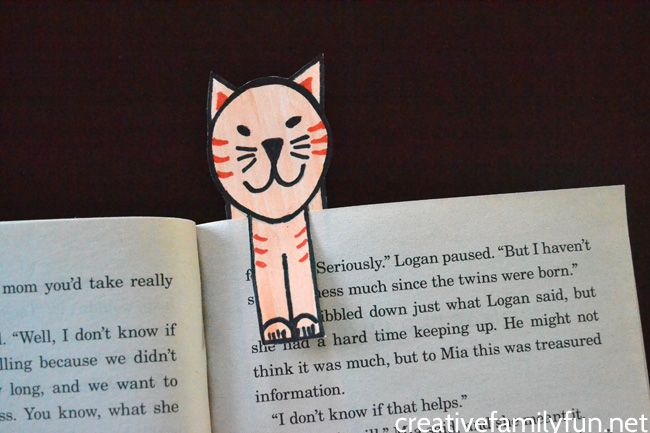
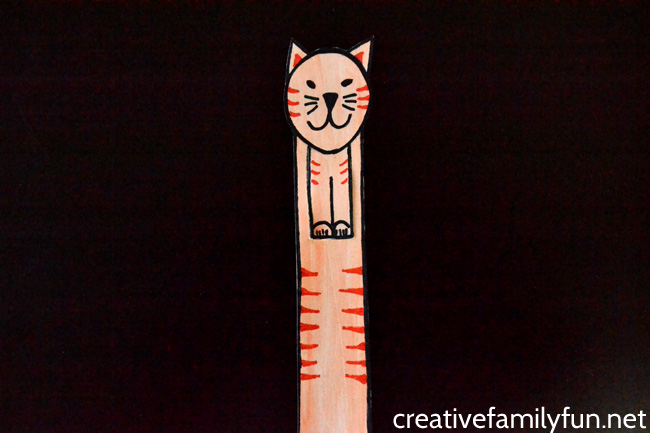
So, of course, we had to add a pretty orange tabby cat bookmark to our growing pile of animal bookmarks.
Disclosure: There are Amazon Affiliate and other affiliate links in this article which means, at no additional cost to you, we could receive compensation for our recommendations. You can read our full disclosure policy on our Disclosure Page for more details.
This cat bookmark is very simple to draw, just follow the step-by-step tutorial.
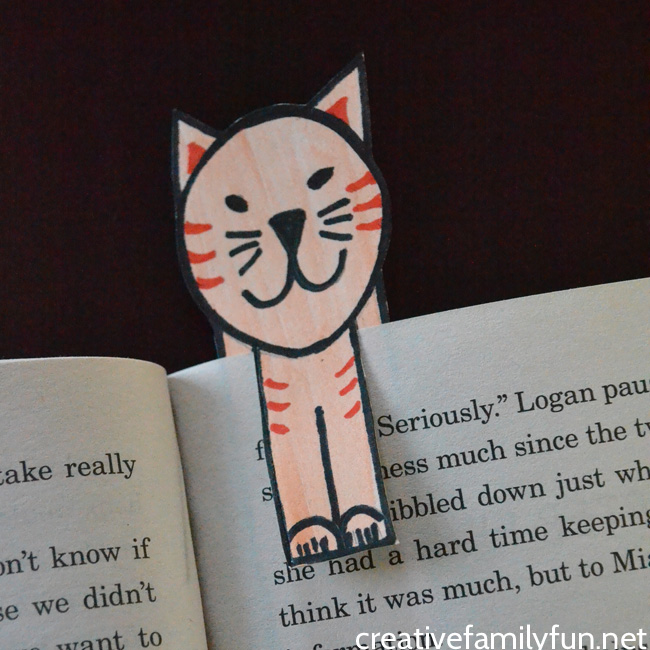
In no time, you’ll have a super-cute cat peeking over the top of your current book.
Table of Contents
Supplies Needed for Your Cat Bookmark:
Milk cap
White Cardstock
Pencil
Ruler
Watercolors
Black marker
Orange marker
Scissors
Craft Knife
How to Make Your Cat Bookmark
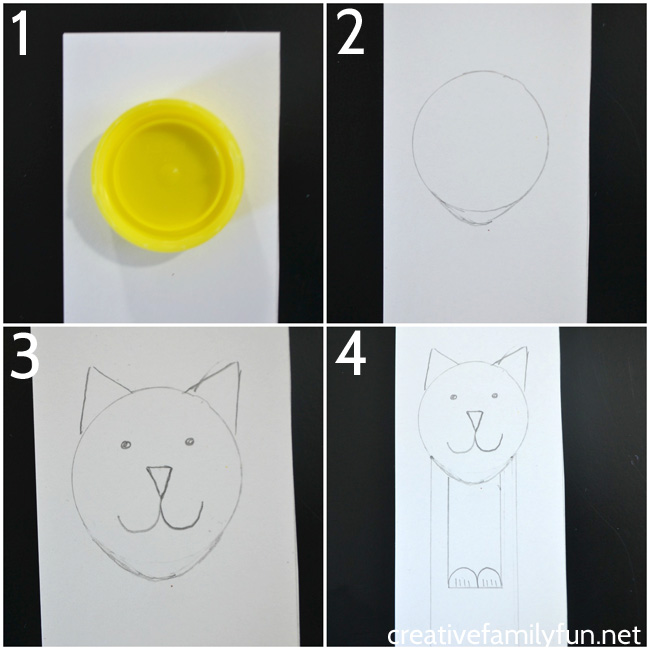
Step 1: Start by tracing your milk cap. This will be your cat’s head.
Step 2: Next, make your cat’s chin, just a little bit pointier. I drew a pointy chin and erased the original pencil line.
Next, use the ruler to make two straight lines down from the head, about 6 inches in length and 1-1/4 inches apart. Connect the two lines with another straight line at the bottom.
Step 3: Now, go back to your head. Add two small triangles for the ears. Also add a small triangle, point side down, in the middle of the head for the cat’s nose.
Draw a wide, rounded “w” shape coming down from the nose for the mouth. Add two small eyes and whiskers if you desire.
Step 4: Finally, draw your paws. Start from your head and draw a rectangle. Draw two half circles on the bottom of this rectangle and add some claw marks in each.
Add your color and finish your cat bookmark
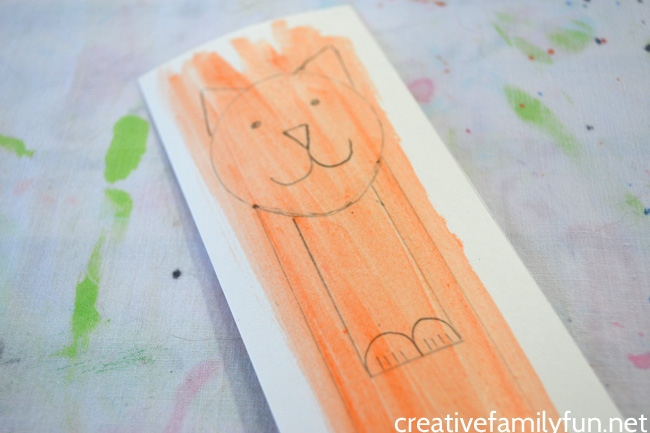
Once you’ve finished drawing, get out your watercolors to add color. I wanted an orange tabby cat, so I painted a light coat of orange watercolor over the entire bookmark.
Feel free to make your cat any color. Make a grey cat, a black cat, a multicolored cat, or even leave your bookmark unpainted for a white cat.
Once the paint dries, use your black marker to trace all your pencil lines. Use your orange marker to add your stripes and the details in the ears.
Carefully out your bookmark along your black lines.
Finally, use the craft knife to cut around the two sides and the bottom of the smaller rectangle for your paws. You do not want to cut the top edge under the chin.
I have this ceramic craft knife that I love to use. It’s easier to hold, stays sharper, and is much safer than a retractable craft knife. If you are ready to let your child use a tool like this, this is a great choice. If not, have an adult do this step.
Now, you’ve got a happy cat to peek up from the top of your book.
It won’t purr like a real cat, but it’s definitely as cute as one. And, it’s a great way to keep your place in your favorite book.
You may also like one of these fun craft projects:
Paper Plate Cat Craft at I Heart Crafty Things
My Must Have Kids Craft Resources
Crafting with your kids is so much easier when you keep a few supplies on hand. I keep a supply of recycled materials, such as cardboard tubes, cardboard boxes, newspapers, paper scraps, egg cartons etc. as well as supplies such as paint, construction paper, and glue that we use often. Here are some supplies you may want to keep on hand to make many of the crafts that we share here.
Latest posts by Terri Thompson (see all)
- Cardboard Tube Turkey Craft - October 30, 2023
- Simple and Fun Shape Crafts for Toddlers - October 25, 2023
- Thanksgiving Math Activities for Kids - November 10, 2022
