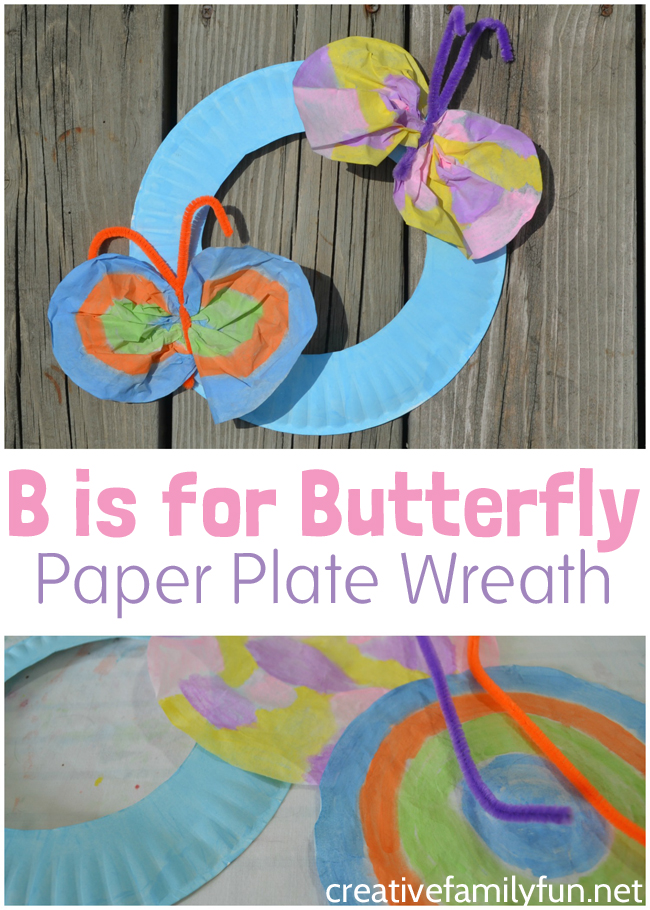
B is for balloon, bear, and boat. And also, B is for butterfly.
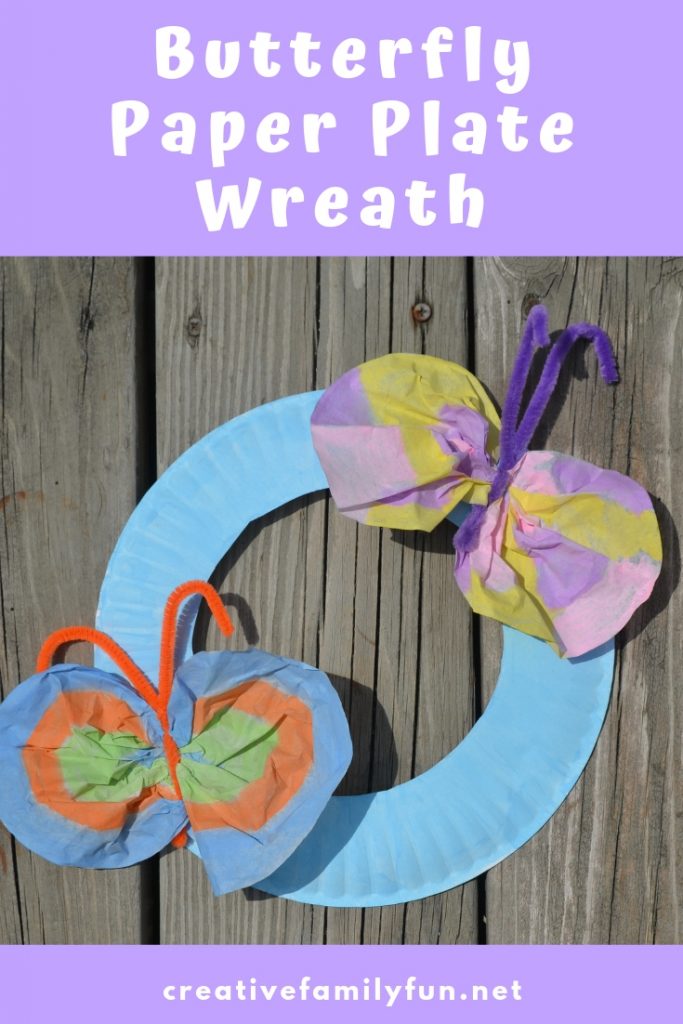
We’re going to have fun with the letter B and also with butterflies with this fun craft, a Butterfly Paper Plate Wreath.
With this craft, we’ll combine a couple of different classic crafts to form one pretty wreath. It’s so much fun to make!
Let’s get started.
Disclosure: CraftProjectIdeas.com provided some of the supplies we used in this project (fuzzy craft sticks and watercolors). All ideas are our own. There are Amazon Affiliate and other affiliate links in this article which means, at no additional cost to you, we could receive compensation for our recommendations. You can read our full disclosure policy on our Disclosure Page for more details.
Table of Contents
Supplies Needed
Paper plate
Light blue craft paint
Scissors
1 coffee filter for each butterfly
Watercolors (We love this set from CraftProjectIdeas.com for its bright, vibrant colors.)
1 fuzzy craft stick (pipe cleaner) for each butterfly
Stapler (or tape)
How to make your Butterfly Paper Plate Wreath
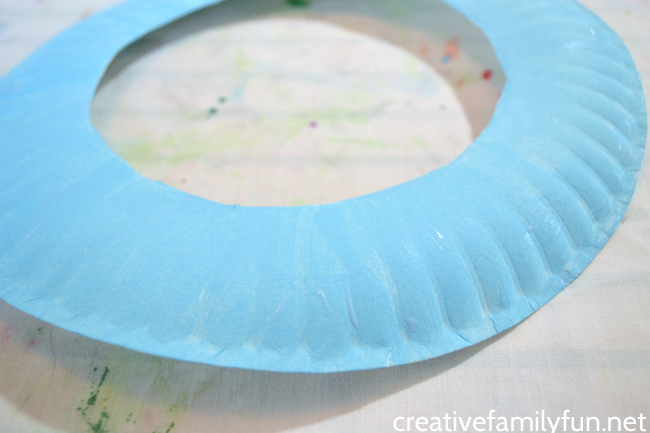
Before beginning, cut out the middle of your paper plate. Depending on the age of your child, this part may best be done by an adult. Save the middle for a future craft project.
Use your light blue craft paint to paint your paper plate wreath. If you don’t want blue, use whatever color you want. We used blue to mimic the color of the sky.
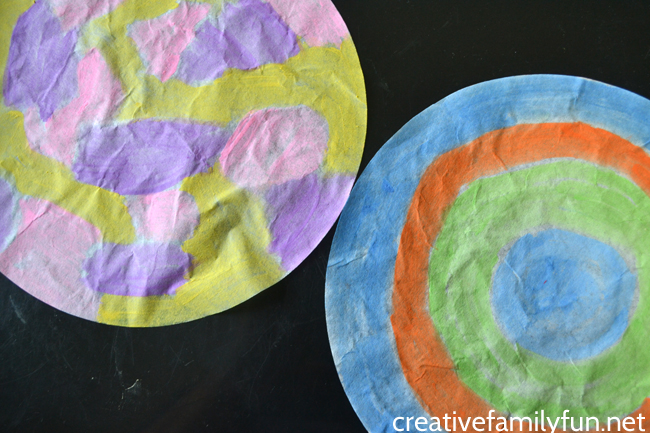
While you are waiting for your wreath to dry, flatten your coffee filters. Use watercolors to paint a design on each coffee filter.
Paint a bulls-eye design (like we did above), splotches, stripes, squiggles, a solid color, or any design you desire. Get creative. Have fun!
Paint as many coffee filters as you want butterflies. We used two coffee filters per wreath, so that we could have two butterflies on our wreath.
Let your coffee filters dry completely.
Once your coffee filters are dry, it’s time to turn them into butterflies.
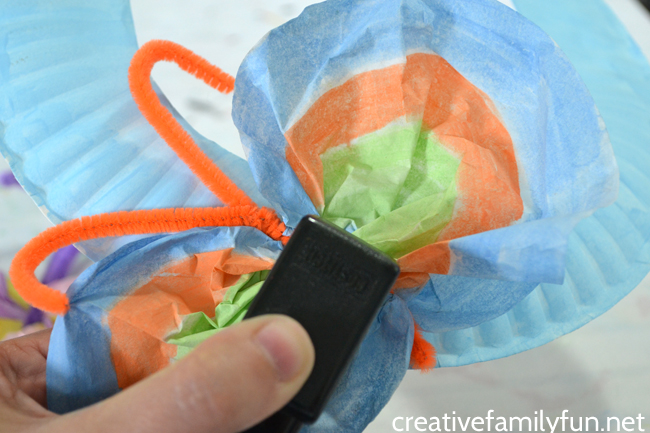
Take a fuzzy craft stick and bend it in half.
Gather your coffee filter in the middle and spread out the two sides (your wings).
Slip the middle of your coffee filter into your bent craft stick. Twist your craft stick both above and below your coffee filter to hold your butterfly’s shape.
Bend the two ends of your craft sticks a little so that they look like antenna.
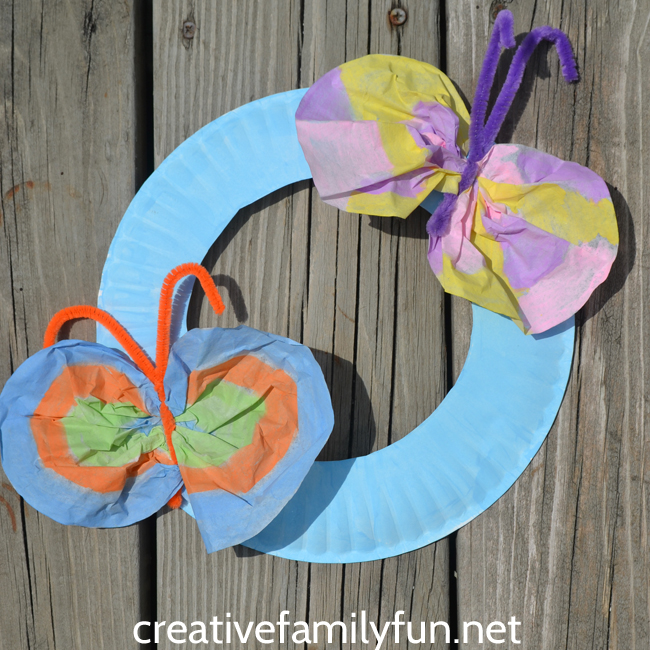
Finally, it’s time to attach your butterflies to your wreath.
I found it easiest to use a stapler. All it took was one staple next to the craft stick to hold the butterfly in place. You could also use tape to attach your butterflies. Unfortunately, glue does not work well in this situation.
Once your butterflies are attached, your B is for Butterfly Wreath is ready to be hung up! Such a pretty kid-made decoration!
You may also like one of these paper plate crafts:
A is for Apple Paper Plate Wreath
Paper Plate Tambourine Kids Craft
Beach Themed Paper Plate Wreath at Rainy Day Mum
My recommended craft supplies
This butterfly wreath is easy to make with a few craft supplies. Many of these you probably already have on hand. If not, keep a few in the craft cabinet so you can do more crafts with your kids.
Latest posts by Terri Thompson (see all)
- Cardboard Tube Turkey Craft - October 30, 2023
- Simple and Fun Shape Crafts for Toddlers - October 25, 2023
- Thanksgiving Math Activities for Kids - November 10, 2022
