Have you seen all those themed Christmas trees? They’re beautiful and often very clever. I’m always blown away when I see some of the themed trees.
My tree won’t ever be on display in a store window, but it does have a theme. My very favorite theme of all.
Memories.
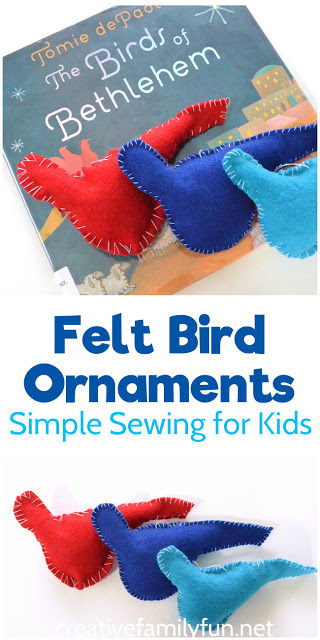
It’s full of memories. I hang ornaments that both my husband and I received as a child, ornaments that my kids’ grandparents give them every year, and many lovely homemade ornaments. Those homemade ornaments are the best ones of all. And this year, we’re going to add a Felt Bird Ornament (or two) to the tree.
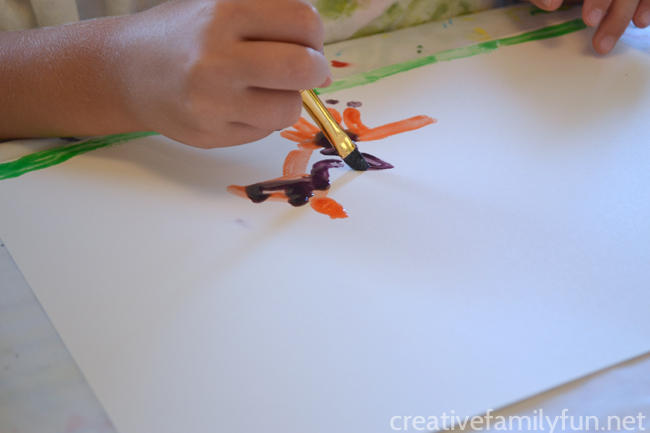
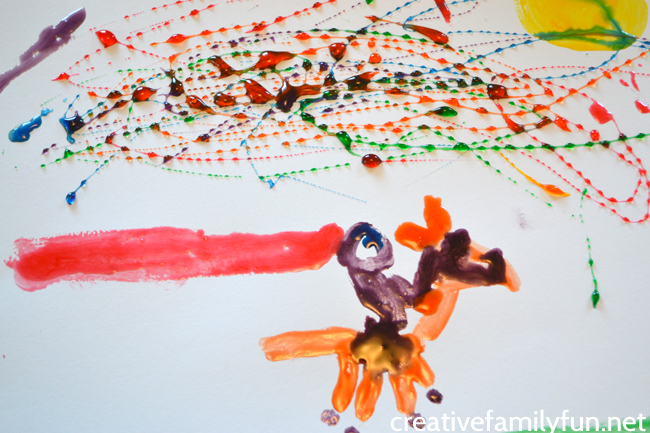
When you look at our tree, you can see the how my girls’ skills improved over the years, from paper and glue to salt dough creations. This year, we’re showing off a new skill – sewing.
My girls were delighted to get out their sewing kits and stitch up simple bird ornaments for our tree.
Disclosure: There are Amazon Affiliate and other affiliate links in this article which means, at no additional cost to you, we could receive compensation for our recommendations. You can read our full disclosure policy on our Disclosure Page for more details.
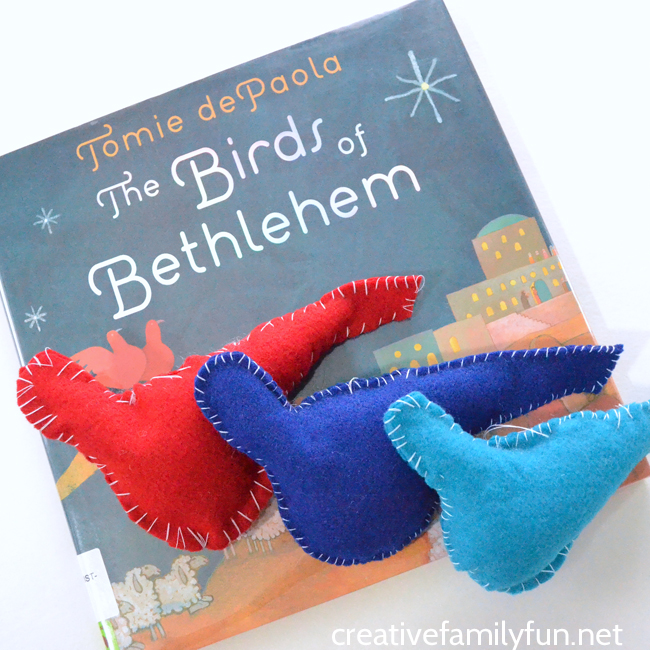
The Birds of Bethlehem
I discovered a lovely Christmas book this year, The Birds of Bethlehem by Tomie dePaola. It’s the story of the Nativity told from the point of view of the birds of Bethlehem who saw all that happened. My older girls (ages 7 and 9) enjoyed the story, but it’s also one that preschoolers and even toddlers would enjoy.
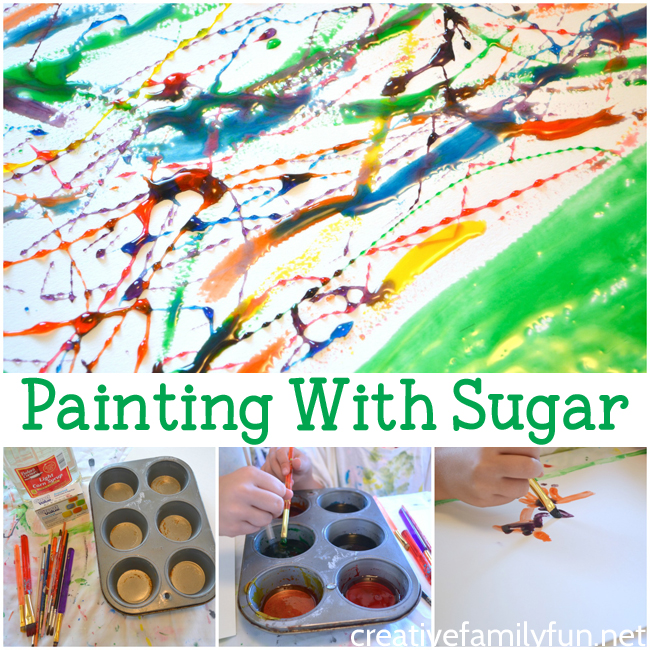
I was completely enchanted by all the bird illustrations. They were simple and translated well to a simple sewing project. Keep reading to find out how we made our Felt Bird Ornament.
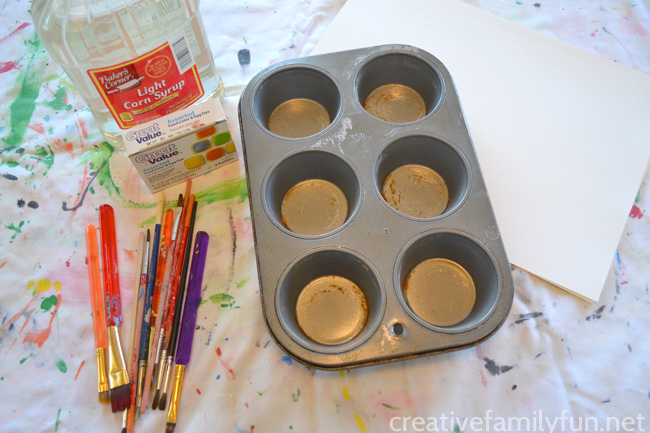
Supplies Needed (for each bird ornament):
1 sheet of felt (approximately 9″ x 12″)
Bird pattern (click here to download pattern)
Scissors
Straight pins
Needle
White thread
Fiberfill
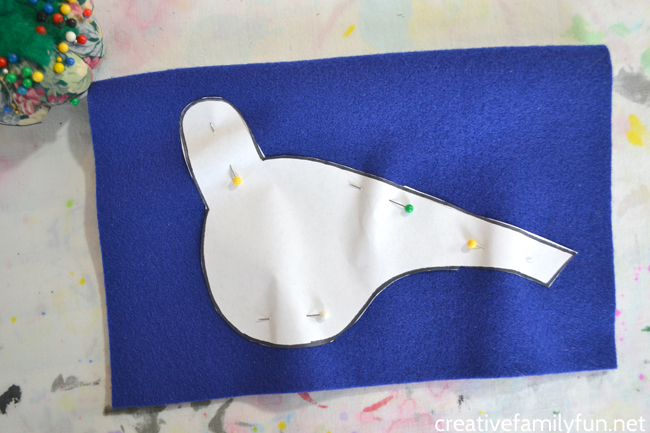
Prepare your pattern
Before you begin, print out the bird pattern. You can click here to download and print. It’s hand-drawn and inspired by all the bird illustrations in the book.
Fold your felt sheet in half and pin the cut-out pattern to your felt with straight pins.
Cut around your pattern. Because of the folded felt, you’ll have two birds.
How to make your felt bird ornament
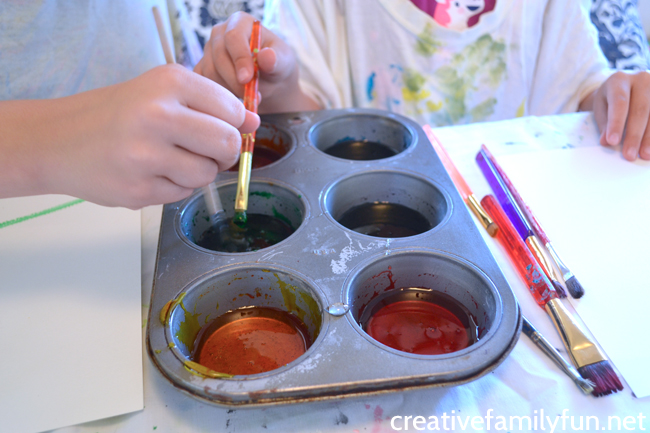
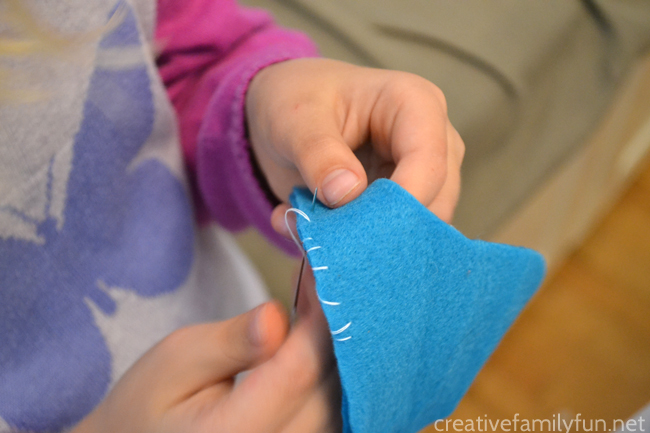
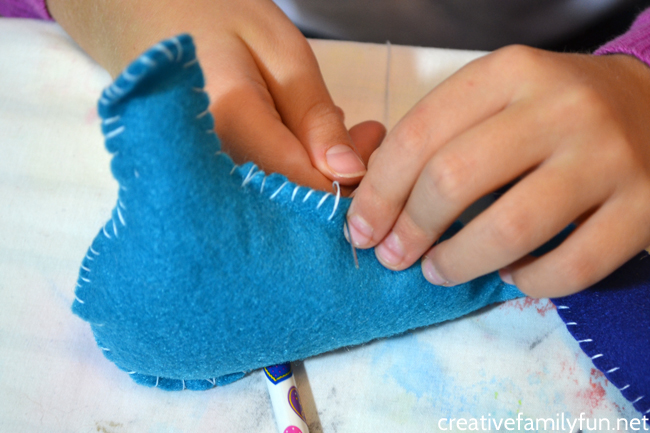
Thread your needle with your white thread. We used white thread for a contrast and so you could see the pretty stitches.
Note: I doubled the thread so you could see it better. Basically, put the needle in the middle of your length of thread. Take both ends of the thread and knot them together. Now you’ve got a double-thickness of thread.
Put the two bird pieces back to back and start sewing the two pieces together. We used a simple whip stitch to combine the two pieces. This is a very easy stitch for kids to try. Basically, you push the needle up through the back, come up through the front. Then bring the thread from front to back and push the needle up through the back again.
Click here for a detailed explanation of a whip stitch.
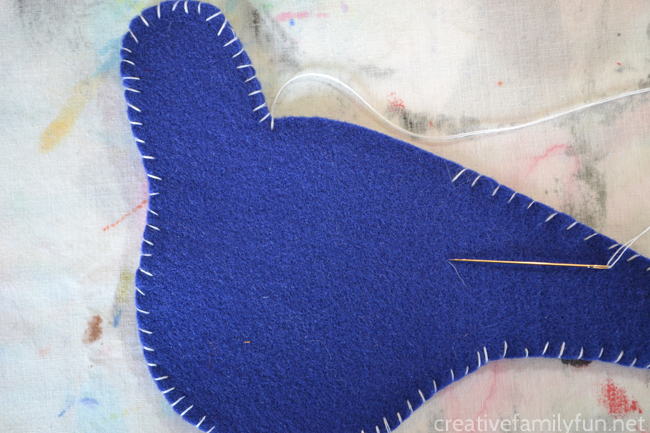
Sew all around the bird. Keep an opening from the beginning of the tail to the base of the neck for your stuffing. (See photo above.)
Do not tie a knot or cut your thread yet.
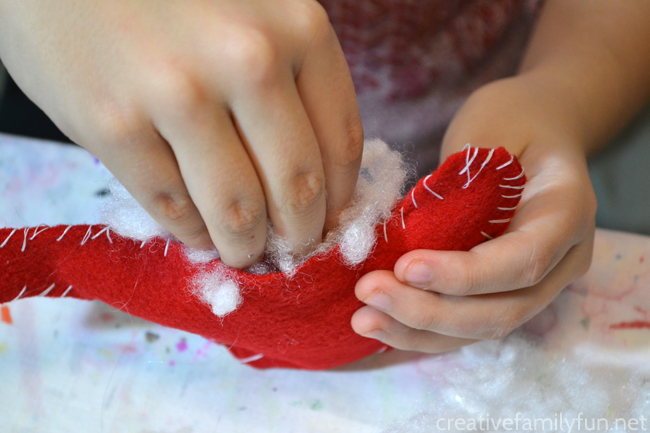
Use your fiberfill to stuff your bird.
Make sure to push some of your stuffing up into the head and into the tail. We left part of our tail flat to look more bird-like.
Once your bird is stuffed, use the leftover thread to sew the hole together. Continue on using a whip stitch until you’ve sewn all the way across your hole. Tie a knot and cut your extra thread.
Use another length of thread and your needle to sew through the top of your bird and form a loop for hanging on the tree. You’re all done.
It’s time to hang your ornament on your tree.
We’ve got our Birds of Bethlehem felt bird ornaments hanging on our memory tree now. Not only do they tell the story of the Nativity, but they also bring back memories of our afternoon sewing.
Our Felt Bird Ornaments are part of a lovely blog hop – 10 bloggers, 10 books, and 10 fun Christmas activities. Check out all the other participants below.

1st Day Inspired by Family-The Legend of the Christmas Cookie book & Easy Reindeer Cookies
2nd Day Teaching Mama The Legend of the Candy Cane book & Easy & Cute Candy Cane ornament
3rd Day Beautiful Messy Motherhood A Carol for Christmas book & Write Your Own Christmas Carol Idea
4th Day Meaningful Mama The Crippled Lamb book & Handprint Nativity Craft
5th Day Happy Home Fairy -M is for Manger book & another lovely and different (from the one above) Nativity Handprint Craft
6th Day Simple Home Blessings Who is Coming to Our House book & Christmas Garland craft
7th Day The Chaos and the Clutter
8th Day Creative Family Fun The Birds of Bethlehem felt bird ornaments. (You’re here now!)
9th Day True Aim Education
10th Day Sunshine Whispers