The cat put on a hat.
The frog sat on a log.
Let’s rhyme!
Rhyming words are just one of the many building blocks for early literacy success. Which means it’s one of the many things you may need to work on at home with your kids.
There are so many fun rhyming games that you can try. There’s no need to print out a worksheet, when you can try one of these Rhyming Activities for Kindergarten.

Disclosure: This post contains Amazon Affiliate and other affiliate links. Please see my Disclosure Page for more details.
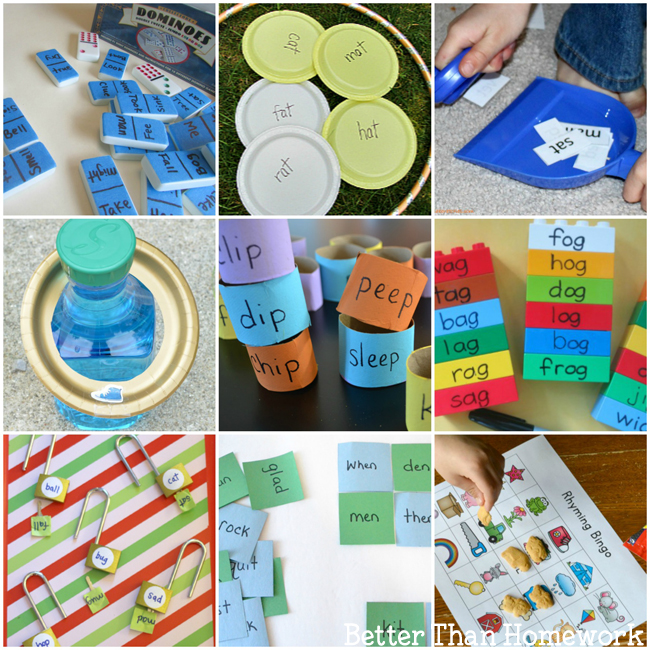
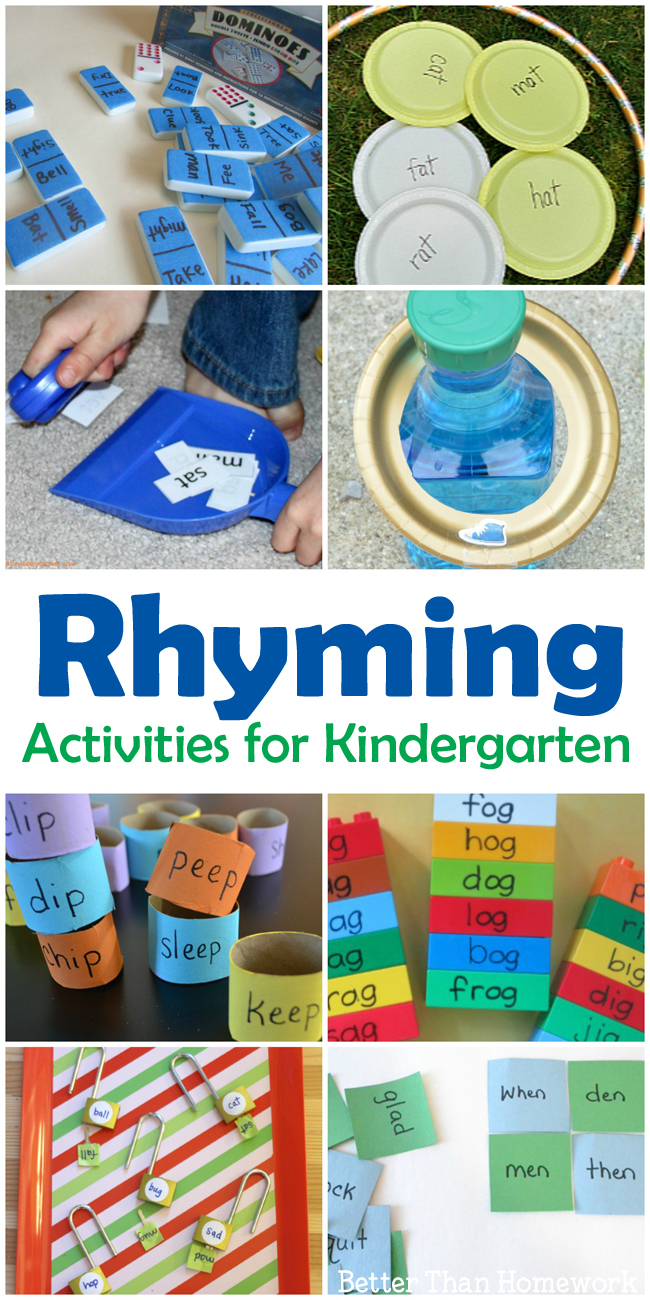
Rhyming Activities for Kindergarten
Play Rhyming Dominoes. With just a few simple supplies, you can turn a set of dominoes into a fun rhyming game. You can find the details here at Teach Beside Me.
Take rhyming outside when you play Find & Rhyme from No Time for Flashcards. It’s a great way for kids to run and get their energy out all while practicing rhyming.
Get moving indoors with a fun game of Sweep Up a Rhyme. Find all the details for this game and printable rhyming words here at Inspiration Laboratories.
Create a simple Rhyming Ring Toss Game with a few supplies. Check out Growing Book by Book for all the details.
Stack your rhymes. Go to our post here to find out how to make and play Stacking Rhyming Words.
More Rhyming Activities for Kindergarten
Transform some old Duplos into a fun word family sorting game. This simple idea from This Reading Mama is a great way to practice rhyming.
Unlock the rhyme. Match the correct key to the lock using rhyming words with this fun idea from No Time for Flashcards.
Play Word Family Four Square. This simple word family game we shared here is also great for rhyming practice.
Practice by playing BINGO. You can get some fun, printable Rhyming BINGO boards over at Growing Book by Book.
Connect the rhymes on a Rhyming Peg Board. Find out how to make this fun learning tool at No Time for Flashcards.
Finally, read some rhyming books! The more you read the more you know. Here’s a great list from Fun-A-Day of fun rhyming books for kids.
You may also like one of these fun reading activities:
IN Word Family Game: Hide and Seek Words
Easy Ways to Encourage Reading Comprehension at Home