• Skip to secondary menu
  • Skip to main content
  • Skip to primary sidebar
  • Skip to footer
  • Home
  • About
    • Email Me
    • Disclosure & Copyright
  • Start Here
  • Subscribe
  • Privacy Policy
  • Books for Moms

Creative Family Fun

Your one-stop shop for kids activities and family fun

  • Facebook
  • Instagram
  • Pinterest
  • Twitter
  • Spelling Activities
  • Family Fun
  • STEM
  • Movie Night
  • Toddler Activities

Terri Thompson

In November: Book and Craft

November 15, 2011 By Terri Thompson

Disclosure: There are Amazon Affiliate and other affiliate links in this article which means, at no additional cost to you, we could receive compensation for our recommendations. You can read our full disclosure policy on our Disclosure Page for more details.

The minute I saw the book, In November by Cynthia Rylant, I knew it needed a great craft project to go along with it.

The book is beautifully illustrated accompanied by a very poetic text  about the different things that happen in November. We heard about what the trees, animals and even families do in November.

After we finished the book, it was crafting time!

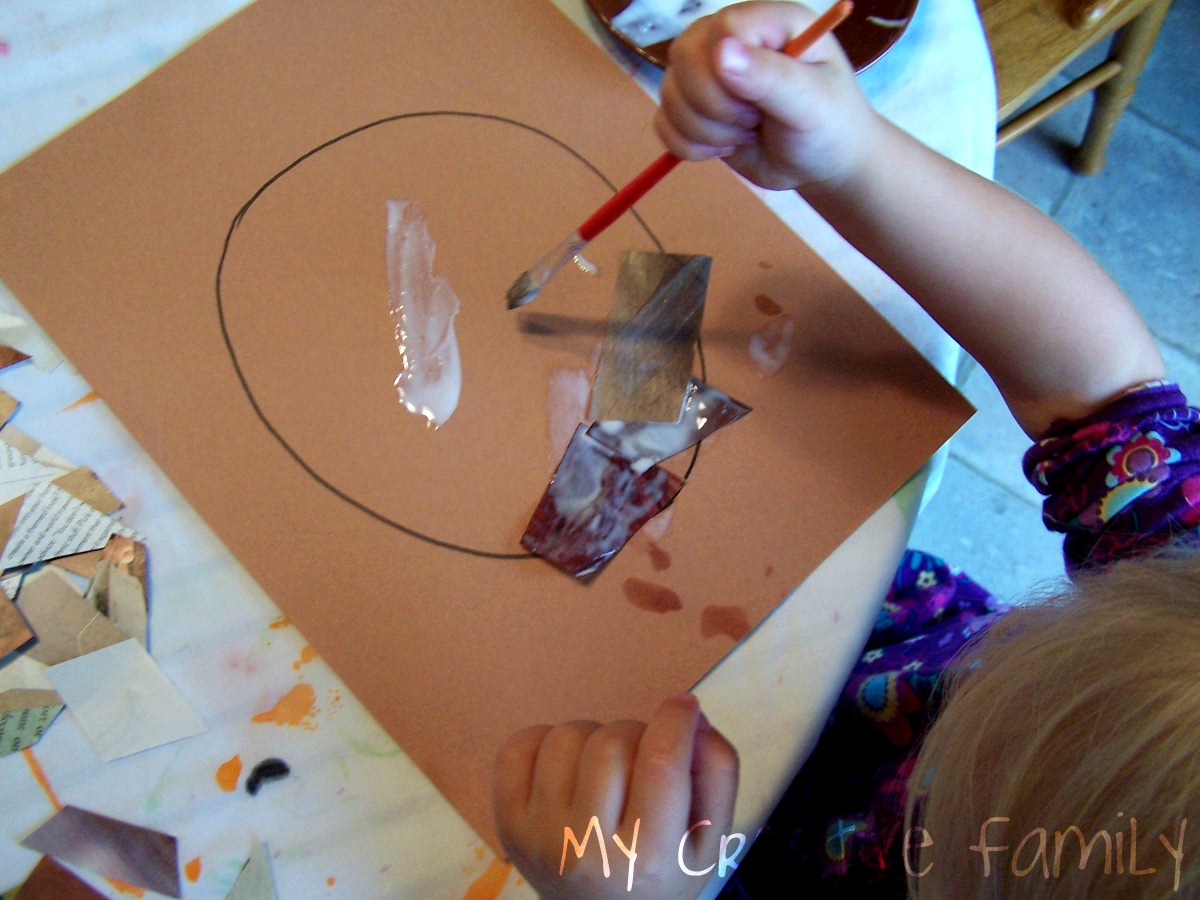
I set out our pressed leaves that we still had from our leaf rubbing garland, paper, and paint. We were going to try some leaf stamping.

I showed the girls how to paint the leaf then turn it upside down and press it on their paper. They were ready to go!

AJ preferred the stamp and press portion of the craft, so I did the leaf painting for her.

Lizzie was able to complete the whole project herself.

We painted, stamped and pressed until we had four pieces of paper covered.

When they were done stamping, they decided to paint with the brushes on their paper as well.

While we were working, we talked about November. We talked about the weather, animals and holidays.

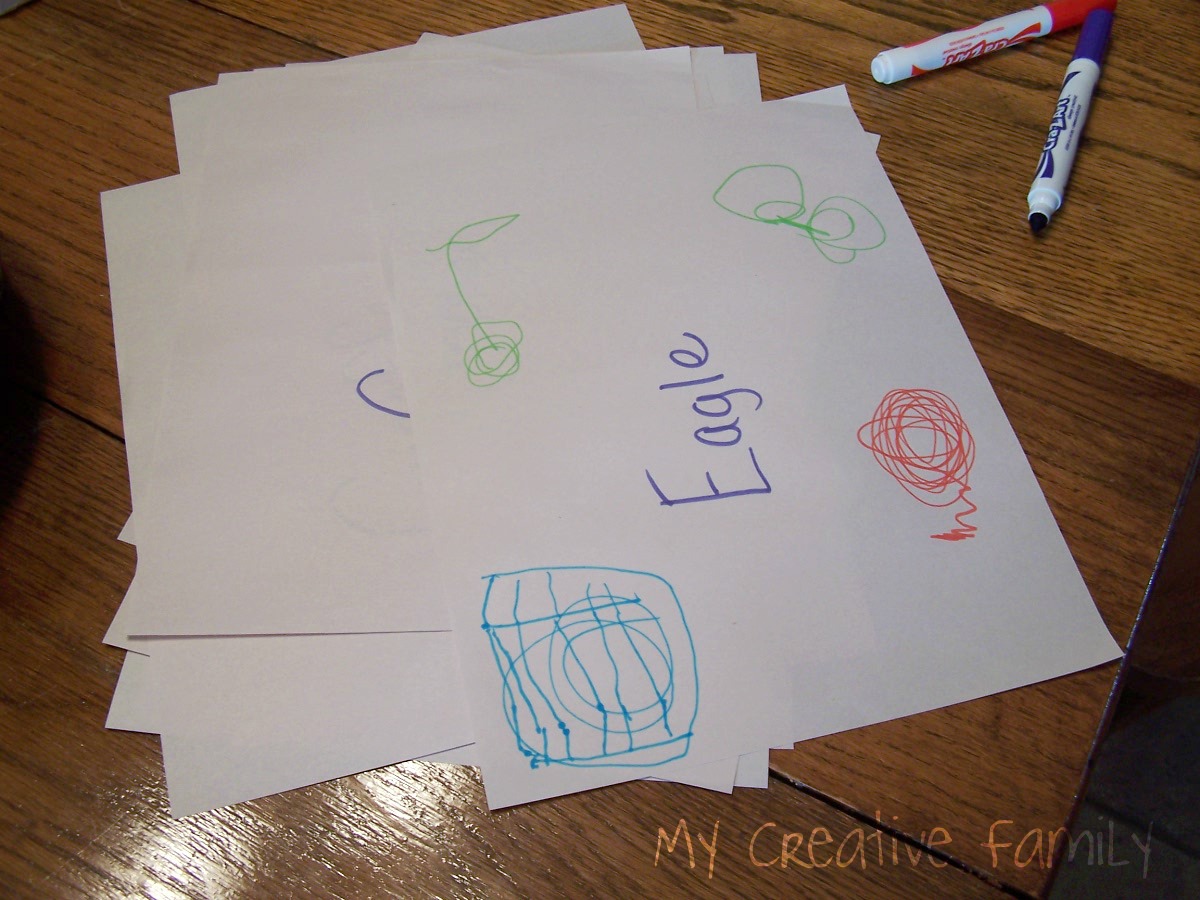
I asked “What happens in November?” and collected their answers.

Once the paint was dry, I took out my Sharpie and wrote their answers on the artwork. I covered them in contact paper and we had four place mats.

In November…
It’s a little bit cold and a little bit warm
We look forward to Thanksgiving
The geese are flying
The leaves are red, yellow and orange and falling to the ground
We eat pumpkin pie
We feed the birds
It’s very windy
We see a lot of orange
We paint a lot

How are you celebrating November?

Art Lessons: Watercolor Resist Circles

November 14, 2011 By Terri Thompson

When we worked on our The Little House pictures, Lizzie told me that she wanted to learn to make pretty pictures.

I took this as a personal challenge to come up with some “art lessons” for her to give her some of the tools needed to produce beautiful artwork.

I’m not a trained art teacher. In fact, I haven’t had an art class since high school. So, I’m just coming up with some ideas in the hopes that it helps her learn that art can come in many forms and also give her some opportunities to produce something pretty.

Disclosure: There are Amazon Affiliate and other affiliate links in this article which means, at no additional cost to you, we could receive compensation for our recommendations. You can read our full disclosure policy on our Disclosure Page for more details.

For our first lesson, I thought we would tackle watercolor resist with crayons.

We talked a little bit about primary and secondary colors as we chose the two colors we would use for this project – once primary one secondary.

She chose red for her primary and purple for her secondary color. In addition, I set out several things we could use as stencils to create circles.

I used water color paper again for this project because Lizzie can be a bit heavy handed when it comes to watercolors. So, the thicker paper, the better!

We started out by tracing circles all over our paper. It helps to be heavy handed with the crayons.

Once the circles were done, we painted over the entire paper with red paint.

Lizzie wasn’t quite satisfied with her picture as it was and thought it needed something a bit extra – hand prints. Hmmmm… it looks a bit (no, a lot) like a prop for a horror movie, but she was pleased.

And, of course, I’m not going to tell her it’s not suitable, because one important lesson I’m trying to teach her is that there is no right or wrong with art. Art is what you make of it.

I was creating right along side Lizzie and used orange for my crayon choice and here are our finished products. They didn’t quite turn out how I expected, but they turned out well nonetheless.

Lizzie was done, but I still wasn’t satisfied.

So, after bedtime, I tackled the project again. After all, I felt like if I was going to share this with you, I should at least figure out what would work better.

This time I reversed the color order. I made the circles with the primary color, red, and used orange as my water color choice.

I thinned the paint out more and tried again. Voila, the look I was going for! If you’re going to give this project a try, use thick crayon lines and thin watercolor.

Here they all are side by side. They all turned out wonderful, although I’m still not sure about those hand prints!

Here’s my question for you: Do you have any suggestion for art lessons for Lizzie? What other techniques should I show her?

Loving Literature: Books About Dogs

November 11, 2011 By Terri Thompson

We all know about Clifford, Biscuit and The Poky Little Puppy.

But, there are many more fun books about dogs. So, for your puppy loving kids are are some favorites that we have found lately.

Disclosure: There are Amazon Affiliate and other affiliate links in this article which means, at no additional cost to you, we could receive compensation for our recommendations. You can read our full disclosure policy on our Disclosure Page for more details.

The Great Gracie Chase: Stop that Dog! by Cynthia Rylant is a fun romp around town led by Gracie, who’s usually a quiet little dog. When the painters come and put her outside, she decides to run off and soon has the whole town chasing after her. She runs and runs until no one can keep up with her. My girls loved Gracie’s spunk and Mark Teague’s illustrations are well suited to the action in the book. It is a great read aloud choice!

Fergus is a little guy who can be just a bit naughty. But, like all dogs, we love him anyway! Good Boy, Fergus! by David Shannon is a fun story. Through the illustrations, we see Fergus’s day and through the words we hear what Fergus must hear as he goes about his day getting in all sorts of trouble. This has long been a favorite at our house and has been sitting in the bookshelf since my oldest was a baby.

Some Dog! by Mary Casanova is the story of George, a basset hound, who is well-loved and lives a quiet life. Then one day, Zippity, a stray dog, shows up and just like his name, jumps, bounces, runs around and is quite loud. Zippity disrupts George’s life and George even grows a bit jealous of the attention Zippity gets. Then one day, Zippity runs off in the middle of a thunderstorm and it’s time for George to save the day. George is a very lovable fellow and we enjoyed reading about his feelings and his loyalty as well as watching him learn to be friends with Zippity.

Sit, Truman! by Dan Harper is perfect for even the youngest dog lover. The words are few, but the story is in the illustrations of Truman, a big, lovable Mastiff. My girls fell in love instantly with Truman while they watched him go about his day. Pick this one up and when you’re done, you’ll want to find a dog to hug!

These are just a few of the great dog books we have found recently. Do your kids have a dog book they love?

The Zoo In My Living Room

November 10, 2011 By Terri Thompson

Yesterday we worked hard.

We decided that we really needed our own zoo and the living room was the perfect place for it.

It was a day long project to put it all together… and boy, did we have fun!

The first task was sending the girls through the house to find zoo animals. They looked and looked until we had quite a pile.

Disclosure: There are Amazon Affiliate and other affiliate links in this article which means, at no additional cost to you, we could receive compensation for our recommendations. You can read our full disclosure policy on our Disclosure Page for more details.

Now, it was time for the signs.

The girls helped me figure out what animals we had.

We sorted all the animals. We had lions, bears, monkeys, horses, a whole lot of rabbits and more.

I wrote the names on the signs and the girls started decorating them.

After a break for lunch and naps, it was time to set up that zoo.

At this point, I did have my own secret plans… we had to clean up all the other toys in the living room in order to set up our zoo. I’ve never seen the toys get picked up so quickly!

We found a spot for all of our zoo animals and then found the matching sign for each.

Lizzie worked on determining the beginning letters of the animals and building a zoo provided a lot of motivation for her. (I love it when I can sneak learning into our play!)

Once every animal had a spot, we had one more thing to do. We needed a map. After all, every zoo we’ve been to has had a map.

I did the drawing and the writing, but Lizzie helped me every step of the way. When it was done we had to walk through the zoo by following the map. In fact, she had that map in her hands the entire time she was playing! Lizzie loves maps.

At one point, I even let her take the camera around and take pictures of our zoo. You can see some of the pictures she took below. If you notice, our cat plopped her self down on the couch and took a nap all afternoon. We made her an exhibit in the zoo. After all, she is an animal!

When Daddy got home that night, the girls were eager to give him a tour of the zoo. Before bedtime, all of the animals got fed and put to bed. We still have the zoo set up today… we’ll see where the fun leads us!

Collage Owls

November 9, 2011 By Terri Thompson

After gathering a lot of inspiration for owl crafts, I combined bits of all the ideas and came up with an owl craft of my own.

I had a pile of old magazines that needed to head to the recycling bin, and they became the inspiration behind our magazine collage owls.

Before we recycled the magazines, the girls and I spent an evening around the dining room table cutting out scrap pieces from the pages.

We talked about owls and what colors they were, so decided to look for brown, black, white, and grey in the magazines.

It didn’t take long for use to have quite a big pile of  paper. Once we had our magazine scraps, it was time to craft.

Disclosure: There are Amazon Affiliate and other affiliate links in this article which means, at no additional cost to you, we could receive compensation for our recommendations. You can read our full disclosure policy on our Disclosure Page for more details.

Supplies Needed:

Old magazines
Glue
Paintbrushes
Brown construction paper
Black construction paper
Yellow and white paper scraps

To prepare the project, I drew a large oval on the brown construction paper for the body of the owl.

I then took the glue and thinned it out a bit with the water to make it easier to spread. I used a ratio of about 3 parts glue to 1 part water.

The girls started painting on the glue and covering every bit of the oval with magazine pieces. They used a lot of glue!

Finally, after a bit of encouragement on my part to actually stick the magazine pieces on the paper instead of playing with the glue, we had completed collages.

Drying time took awhile, since we had used so much glue.

In the end, the collages turned out well and all the glue dried clear.

Once the collages were dry, I took out my scissors and cut out the ovals. I used the scrap brown paper to cut out a branch shape.

We glued down the branch to the black paper and added our collage ovals.

I had cut out yellow triangles for the beaks and white ovals for the eyes out of scrap paper.

Lizzie, who’s 4, put together the first owl without any assistance on my part. The second owl was done by AJ, who’s 2, with a lot of mommy assistance.

I love how they turned out!

  • « Go to Previous Page
  • Page 1
  • Interim pages omitted …
  • Page 173
  • Page 174
  • Page 175
  • Page 176
  • Page 177
  • Interim pages omitted …
  • Page 190
  • Go to Next Page »

Primary Sidebar

Footer

Categories

Archives

Copyright © 2026 ยท Designed by The Blog Surgery

Creative Family Fun uses cookies to improve your experience. These cookies provide feedback to our analytics and advertisers. We use the information to track views of the site, where you go and to know if you are a regular visitor or brand new as well as provide a personalized experience where possible. We'll assume you're ok with this, but you can opt-out if you wish.Accept Reject Read More
Privacy & Cookies Policy

Privacy Overview

This website uses cookies to improve your experience while you navigate through the website. Out of these, the cookies that are categorized as necessary are stored on your browser as they are essential for the working of basic functionalities of the website. We also use third-party cookies that help us analyze and understand how you use this website. These cookies will be stored in your browser only with your consent. You also have the option to opt-out of these cookies. But opting out of some of these cookies may affect your browsing experience.
Necessary
Always Enabled
Necessary cookies are absolutely essential for the website to function properly. This category only includes cookies that ensures basic functionalities and security features of the website. These cookies do not store any personal information.
Non-necessary
Any cookies that may not be particularly necessary for the website to function and is used specifically to collect user personal data via analytics, ads, other embedded contents are termed as non-necessary cookies. It is mandatory to procure user consent prior to running these cookies on your website.
SAVE & ACCEPT