Disclosure: I wrote this post as part of a paid campaign with Martha Stewart Crafts and Blueprint Social. The opinions in this post are my own.
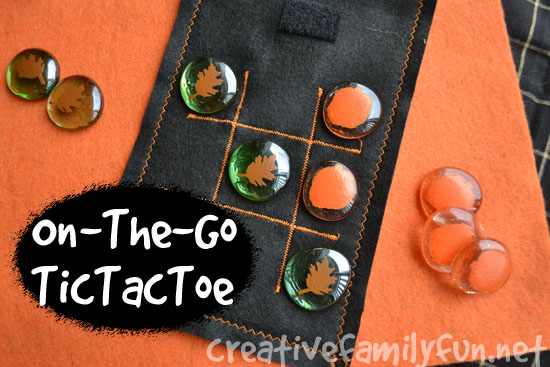
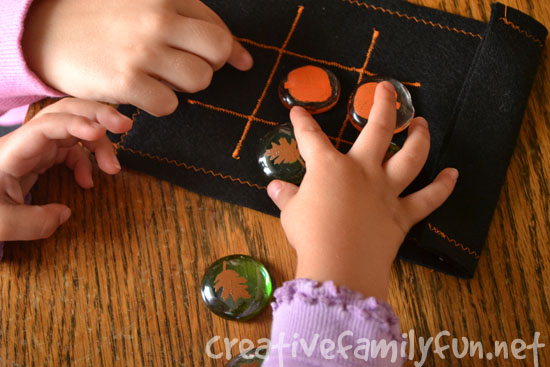
Confession time: I love to craft. Don’t be shocked. When I’m not coming up with craft projects for my girls, I like to do a little crafting myself. When I was given the opportunity to come up with a craft project using supplies from Martha Stewart Crafts, I jumped at the chance. After playing around with a box FULL of fun crafts supplies, I decided to make a fun fall-themed game for the girls. This tic tac toe game is perfect for car trips, waiting in restaurants, or even at the doctor’s waiting room. And, the best part… it was easy to make.
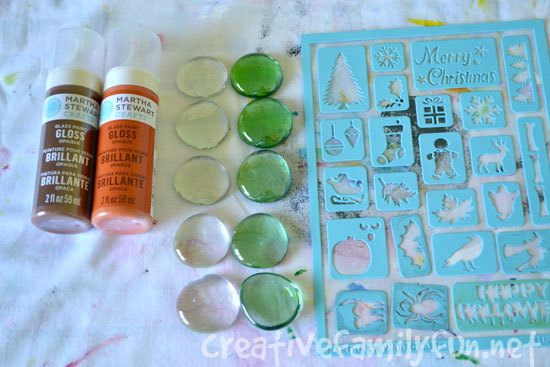
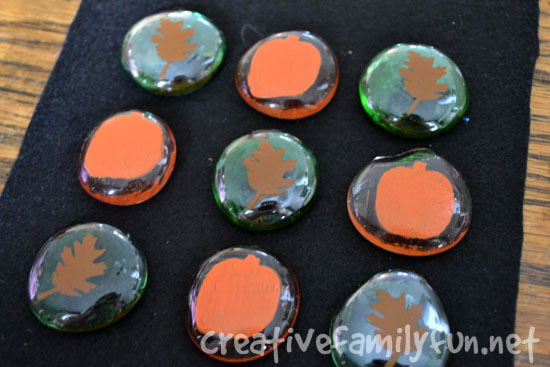
I started with glass beads. I used the glass vase-filler beads you can find at the dollar store. They are flat on one side and rounded on the other. I also used Martha Stewart Crafts gloss opaque glass paint in mace and chestnut brown. The stencils came from the Holiday Icons II set of adhesive stencils.
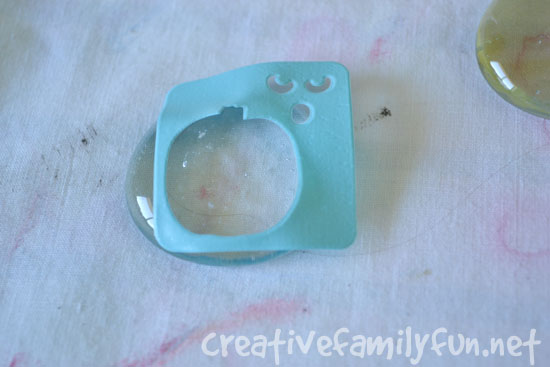
The stencils are small and flexible, perfect for my glass beads. I applied the stencil to the rounded top being careful to press it down on all sides. If you press down well, the stencil will not bleed.
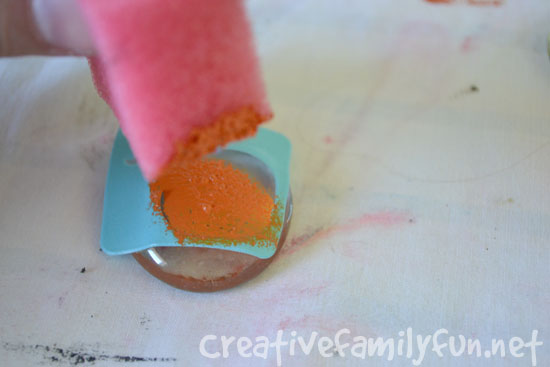
I used a small bit of sponge to apply my paint. I covered it lightly, then dabbed in layers until I had the solid covering I wanted. I made five pumpkins and five autumn leaves. The great thing about these stencils are that you can use them again and again… and believe me, I have!
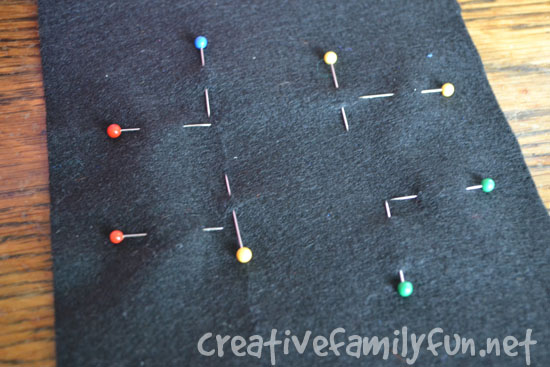
After I made all my playing pieces, It was time for the pouch. I chose black felt for the pouch. I knew that the felt would hold up to the beads, plus, felt is very easy to sew. I used one sheet of good quality craft felt and cut it in half. I placed my game pieces down in a grid to see how big I needed to make the squares in my tic tac toe board. I used stick pins on one of my pieces of felt to mark the lines I needed to sew.
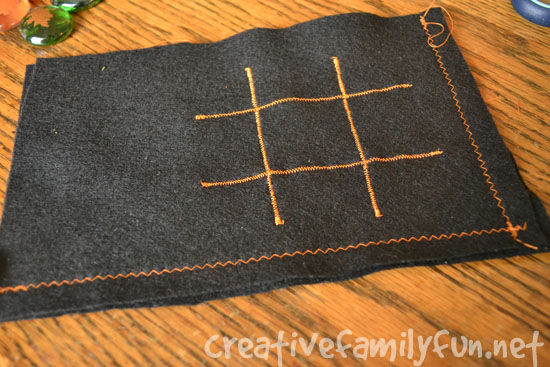
I used orange thread to stand out against the black and sewed my lines using a tight zig zag stitch. I used my sewing machine guides to help me get a straight stitch and once I had two lines down and two across, I had my game board. This is for the front of my pouch.
To make the pouch, I lined up my two pieces of felt. I sewed around three sides of my pouch leaving a 1/2-inch seam allowance. I wanted to make sure I had room to trim my sides and get rid of any uneven edges. With using felt, I didn’t have to worry about finishing any edges, so I left the top open.
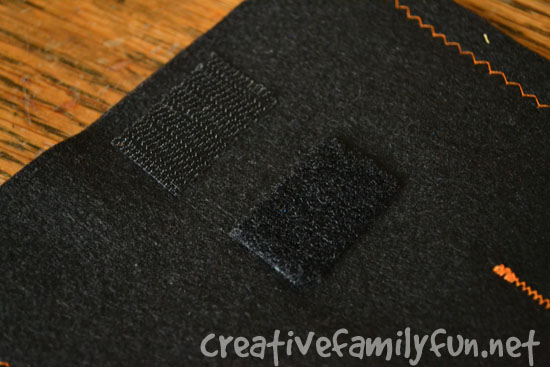
As a finishing touch, I added two small strips of self-adhesive velcro to close the pouch. I trimmed up all my uneven edges and my pouch was finished.
Ever since I made this game, the girls have been playing it non-stop. They love the pouch and I love the fact that it’s easy to carry with us. And with all the cool Martha Stewart Crafts stencils I have, I think we may just need a Christmas-theme game, a Valentine-themed game, an Easter-themed game…. and I could go on and on.
Latest posts by Terri Thompson (see all)
- Cardboard Tube Turkey Craft - October 30, 2023
- Simple and Fun Shape Crafts for Toddlers - October 25, 2023
- Thanksgiving Math Activities for Kids - November 10, 2022
