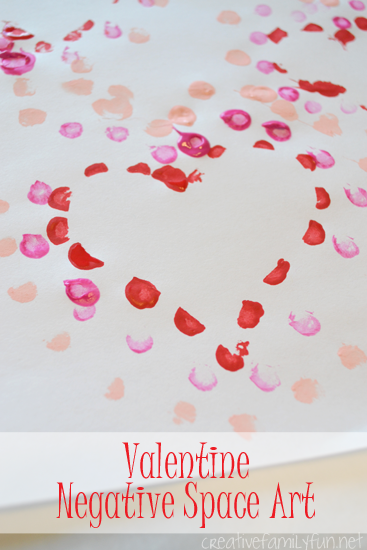
I don’t think we’ve ever let Valentine’s Day pass without doing a ton of craft projects. And, this year is no exception. For this project, we played around with the concept of negative space, which is the space around and between an object, to make these pretty Valentine’s paintings.
Disclosure: There are Amazon Affiliate and other affiliate links in this article which means, at no additional cost to you, we could receive compensation for our recommendations. You can read our full disclosure policy on our Disclosure Page for more details.

Supplies Needed:
Thin cardboard
Drawing paper
Pink and red paint
Cotton swabs
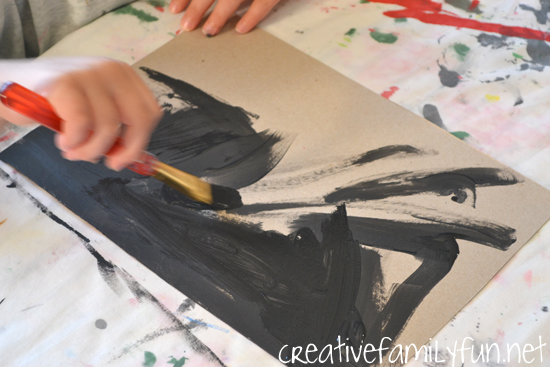
Before we began the project, I cut several heart shapes from a recycled cereal box. I cut a few different sizes, so we had many to choose from.
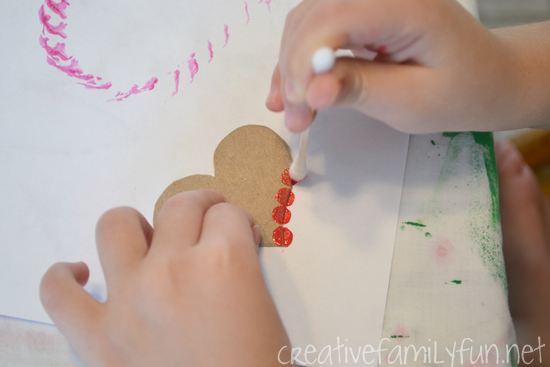
Next, I told the girls we were going to make heart shapes by painting around our stencils. And, to add a fun twist to the project, we used our cotton swabs to paint dots.
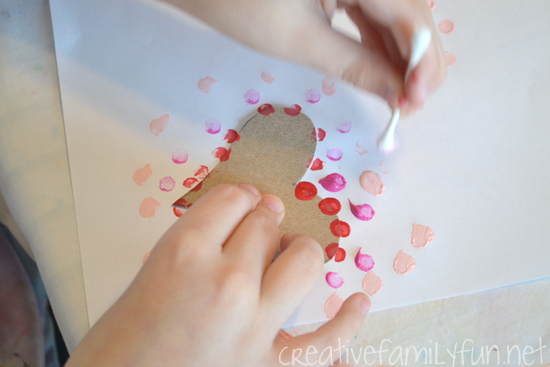
The process was easy and they didn’t need much explanation afterwards. We did find that the heart shape was much more apparent if we did a row of dots that overlapped the edge of the cardboard. After that, we used our own creativity to create our heart pictures.

It was so much fun to lift up the stencils and see the heart shapes left behind!
If you’re looking for a fun and easy Valentine’s project, this would be perfect. The supplies are minimal and the possibilities are endless.